AI Services Market › Skills factory › Images › Product Poster
$4.99 · No sign-inv1.0.0– views
Product Poster
E-commerce posters: selling points, price anchors, CTA in one go
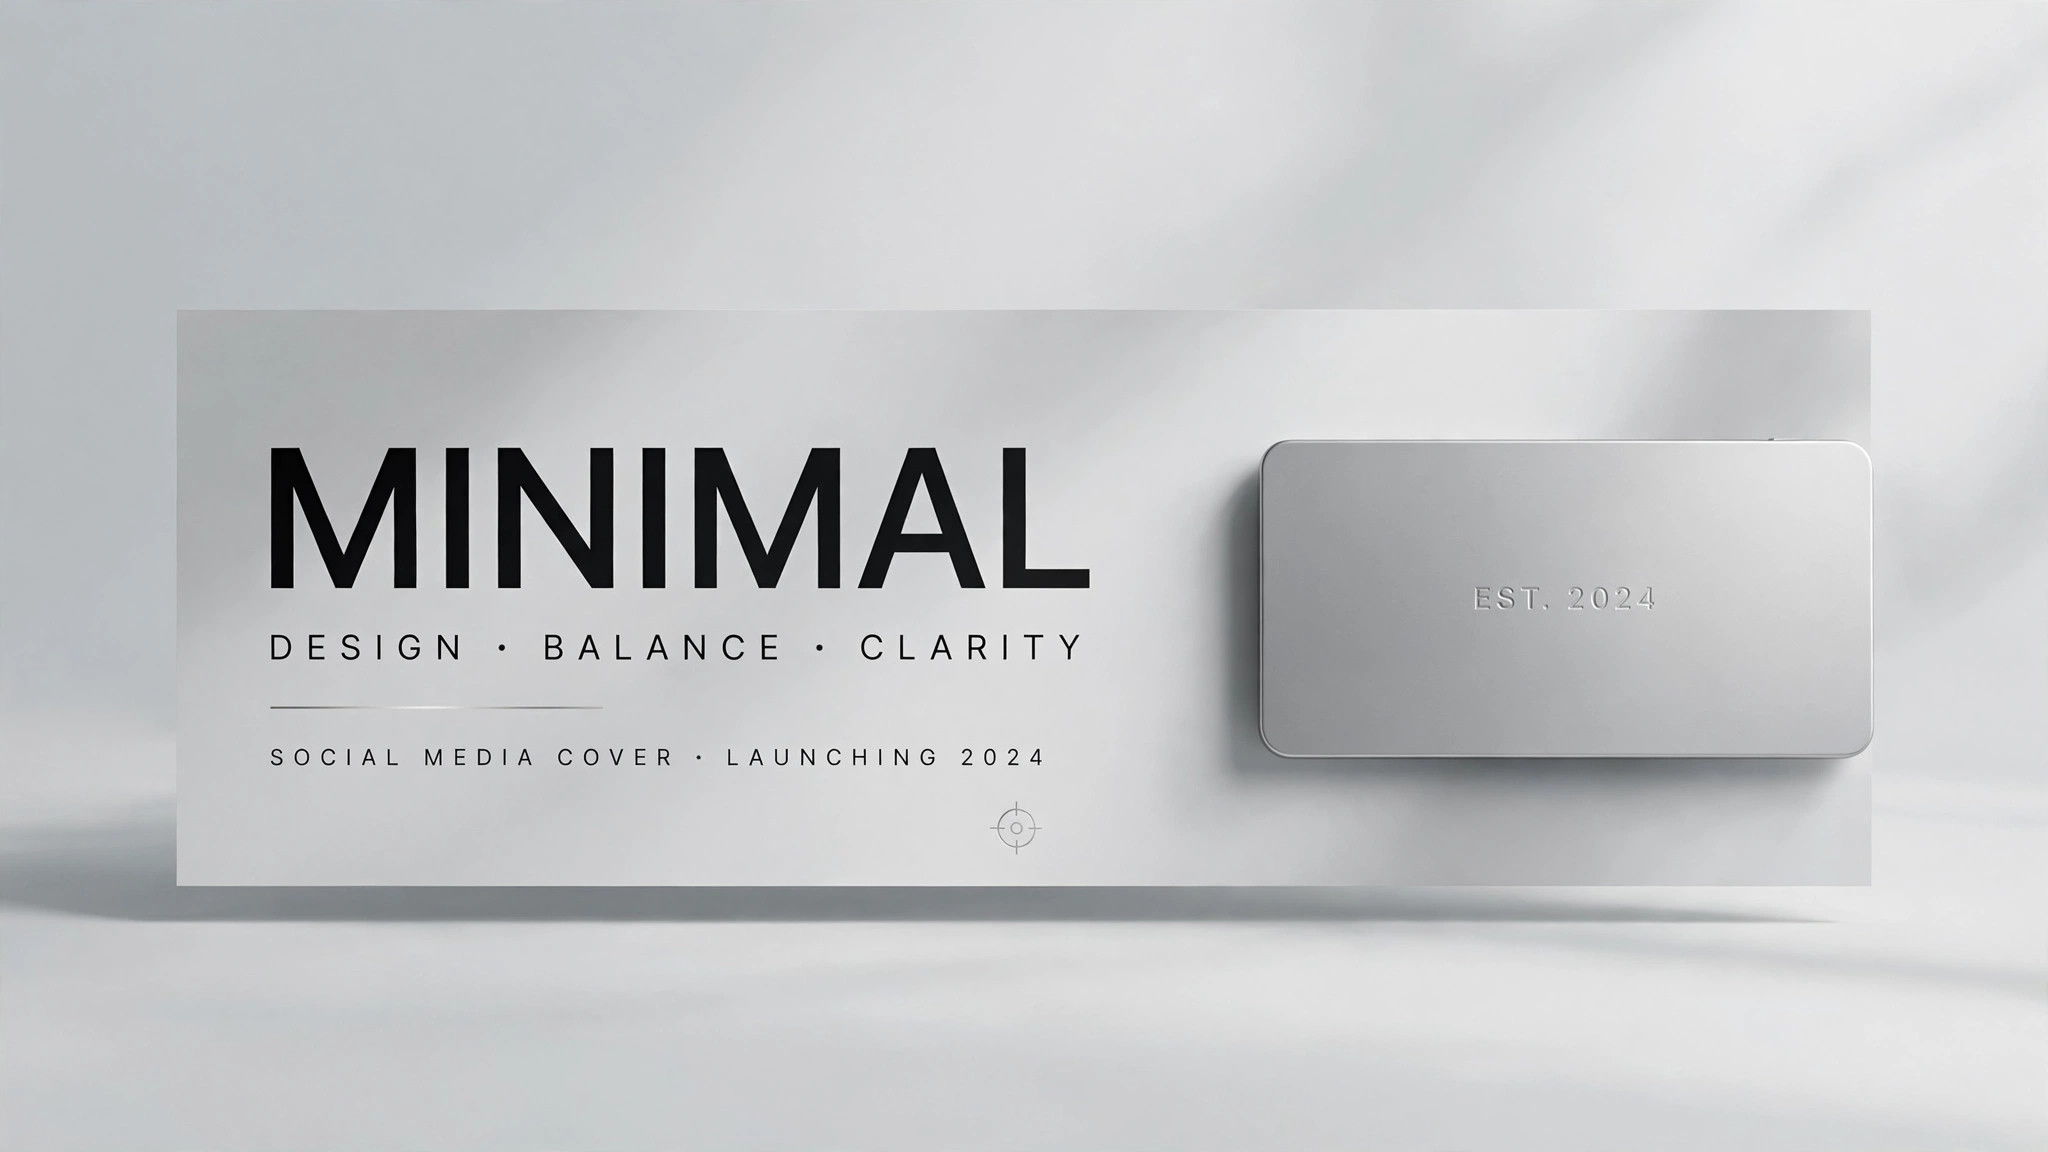
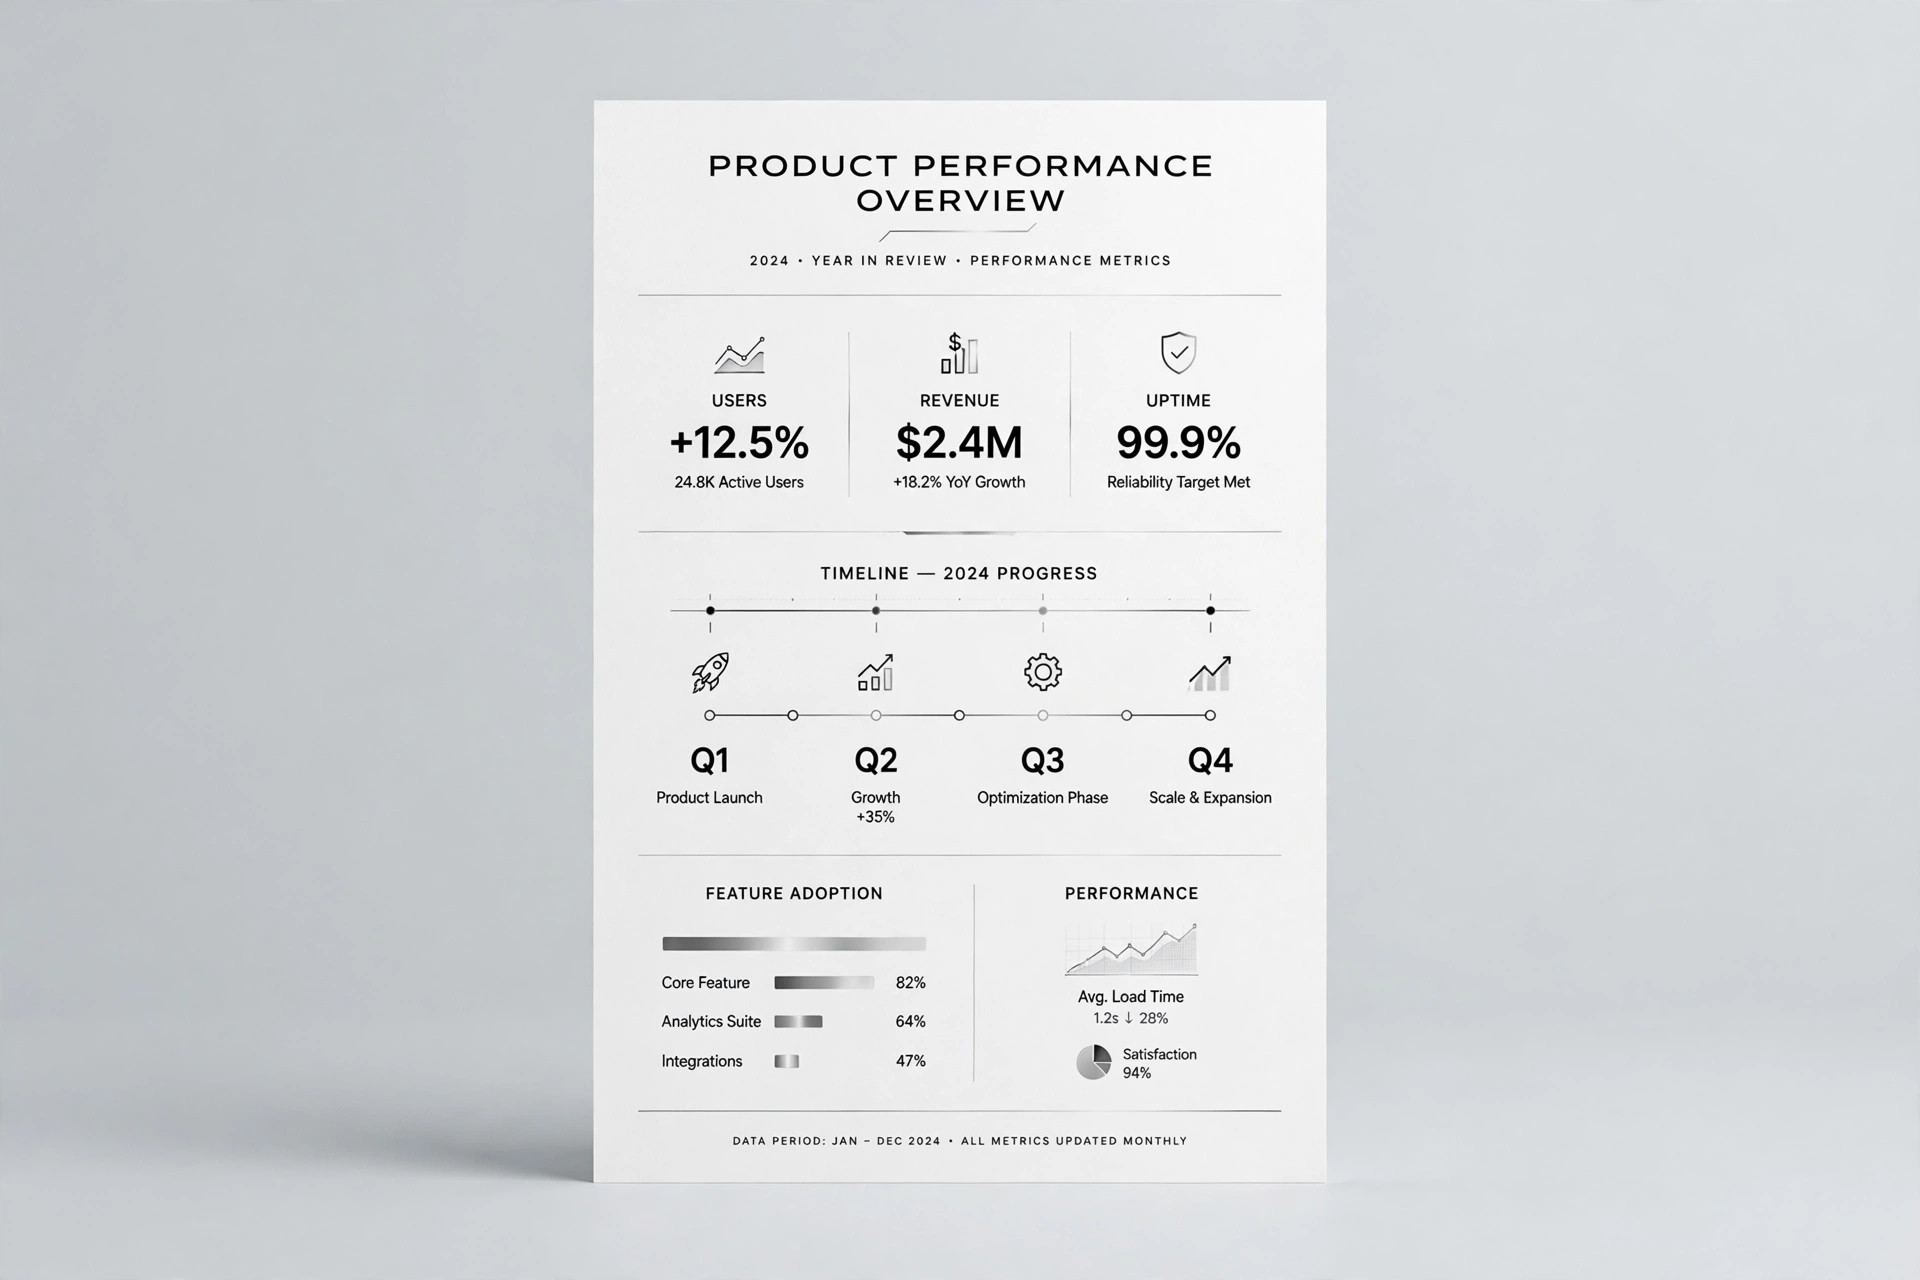
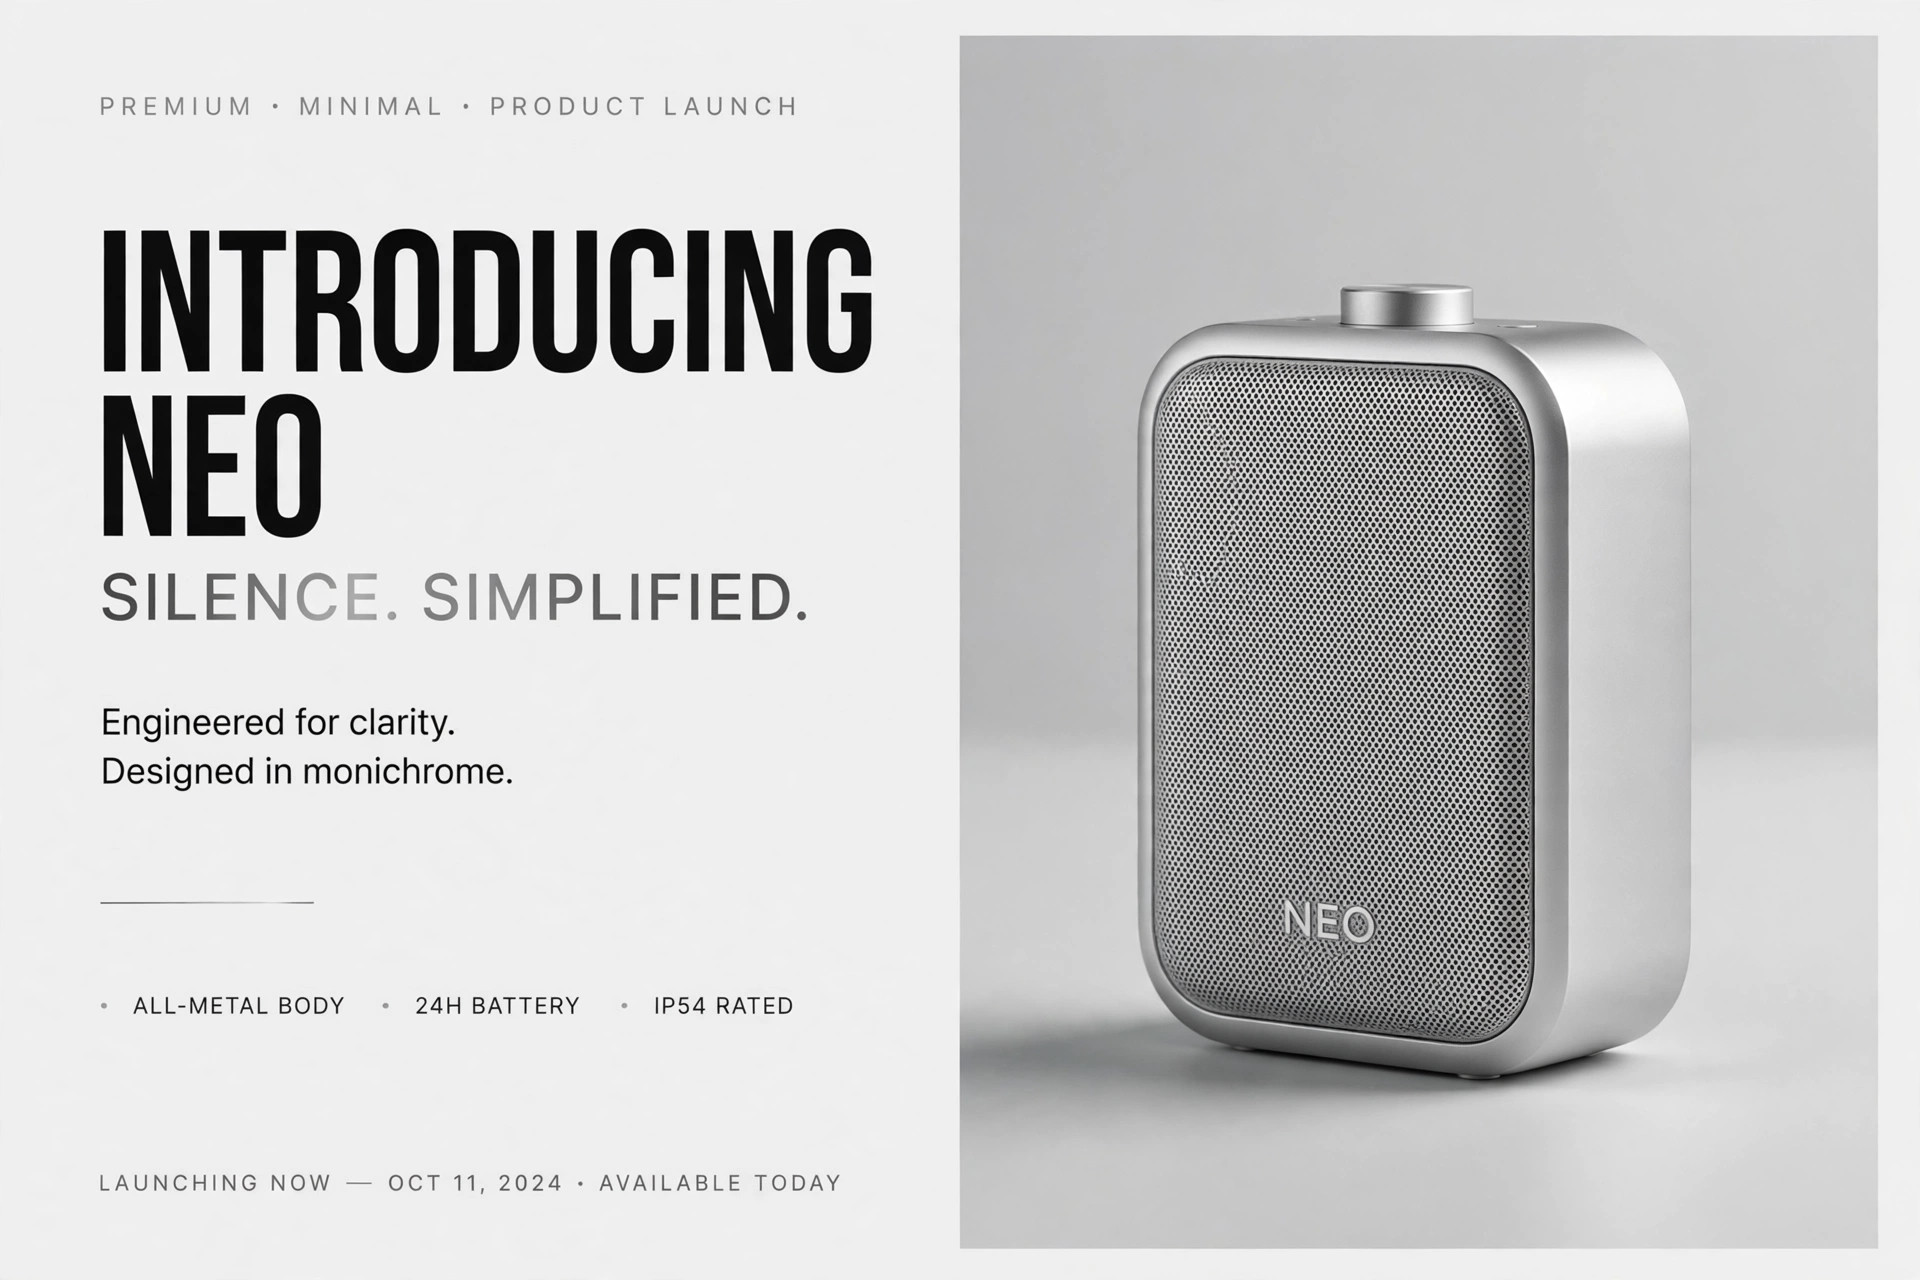
Product poster direction: hero visual, selling points, price anchoring, call to action — three layout recipes for e-commerce and events.
Best for
E-commerce sellers, shop owners, event planners
Time needed
~15 min per poster
Level
Beginner-friendly
Install it in 3 steps
No sign-up. No CLI tools. Pick your AI, copy one line, paste it over.
Prefer doing it yourself? Buy the skill ($4.99), download the ZIP from your checkout confirmation, unzip it into the directory shown above, restart your AI session — same result. Already bought it? Your AI assistant can download it for you.
Real-world proof
Real people did this exact job with AI agents.
Use case
Build a paid ad campaign from scraped brand and competitor data
Read case →Use caseRecreate a video ad as a JavaScript animation
Read case →Use caseTurn product photos into video ads with an ad agent
Read case →What’s inside
One SKILL.md (the playbook) + one starter template. A preview:
Product Poster
When to use
- The user is launching a product or running a promo and needs a hero image for a product page or a social post.
- The user is hosting an event (course launch, offline salon, livestream announcement) and needs a shareable poster.
- The user hands over a long product write-up and needs it distilled into "one graphic that explains the selling points, the price, and how to buy".
- The user is running feed ads and needs the first frame to grab attention in 1 second (headline + visual hook).
- The user already has a poster draft and wants it reviewed against layout and conversion elements.
Workflow
- Break down the selling points (Input: product brief/event plan → Action: distill → Output: selling-point list)
Distill 1 core selling point (≤ 10 words, answering "why you") + 2–3 supporting points (≤ 10 words each). Method: delete every adjective in the brief — the facts left standing are your selling points; if facts run short, ask the user. Never pad with "ultimate" or "premium". - Set the price anchor (Input: pricing → Action: three-layer presentation → Output: price plan)
Present price in three layers: original price (struck through, anchors perceived value) → current price (big type) → urgency (limited time/quantity, e.g. "first 100 only"). No real original price? Then no strikethrough — a fake original price is price fraud; for free events, make "FREE" the big price. - Write the call to action (Input: user goal → Action: write CTA → Output: CTA copy)
CTA ≤ 8 words, a direct action: "Buy now", "Scan to register", "Book a slot" — never a passive "Learn more". Pair it with one urgency element (pick one): a deadline ("ends tonight at midnight") or scarcity ("37 seats left" — the number must be real). - Pick a layout (Input: selling points + price + CTA → Action: choose one of three → Output: layout plan)
Layout A — centered hero: big product/person image centered, selling points around it, price bar at the bottom; best for a single hero product. Layout B — split columns: image left, copy right (or reverse), selling points stacked vertically; best for multi-point products. Layout C — three bands: top = hook headline, middle = product + points, bottom = price + CTA; best for events/courses. After choosing, mark safe margins (keep price and CTA 8–10% clear of every edge). - Write the image prompt (Input: layout + points + price + CTA → Action: fill the template.md skeleton → Output: complete prompt)
Template preview