Fashion Show OG Image
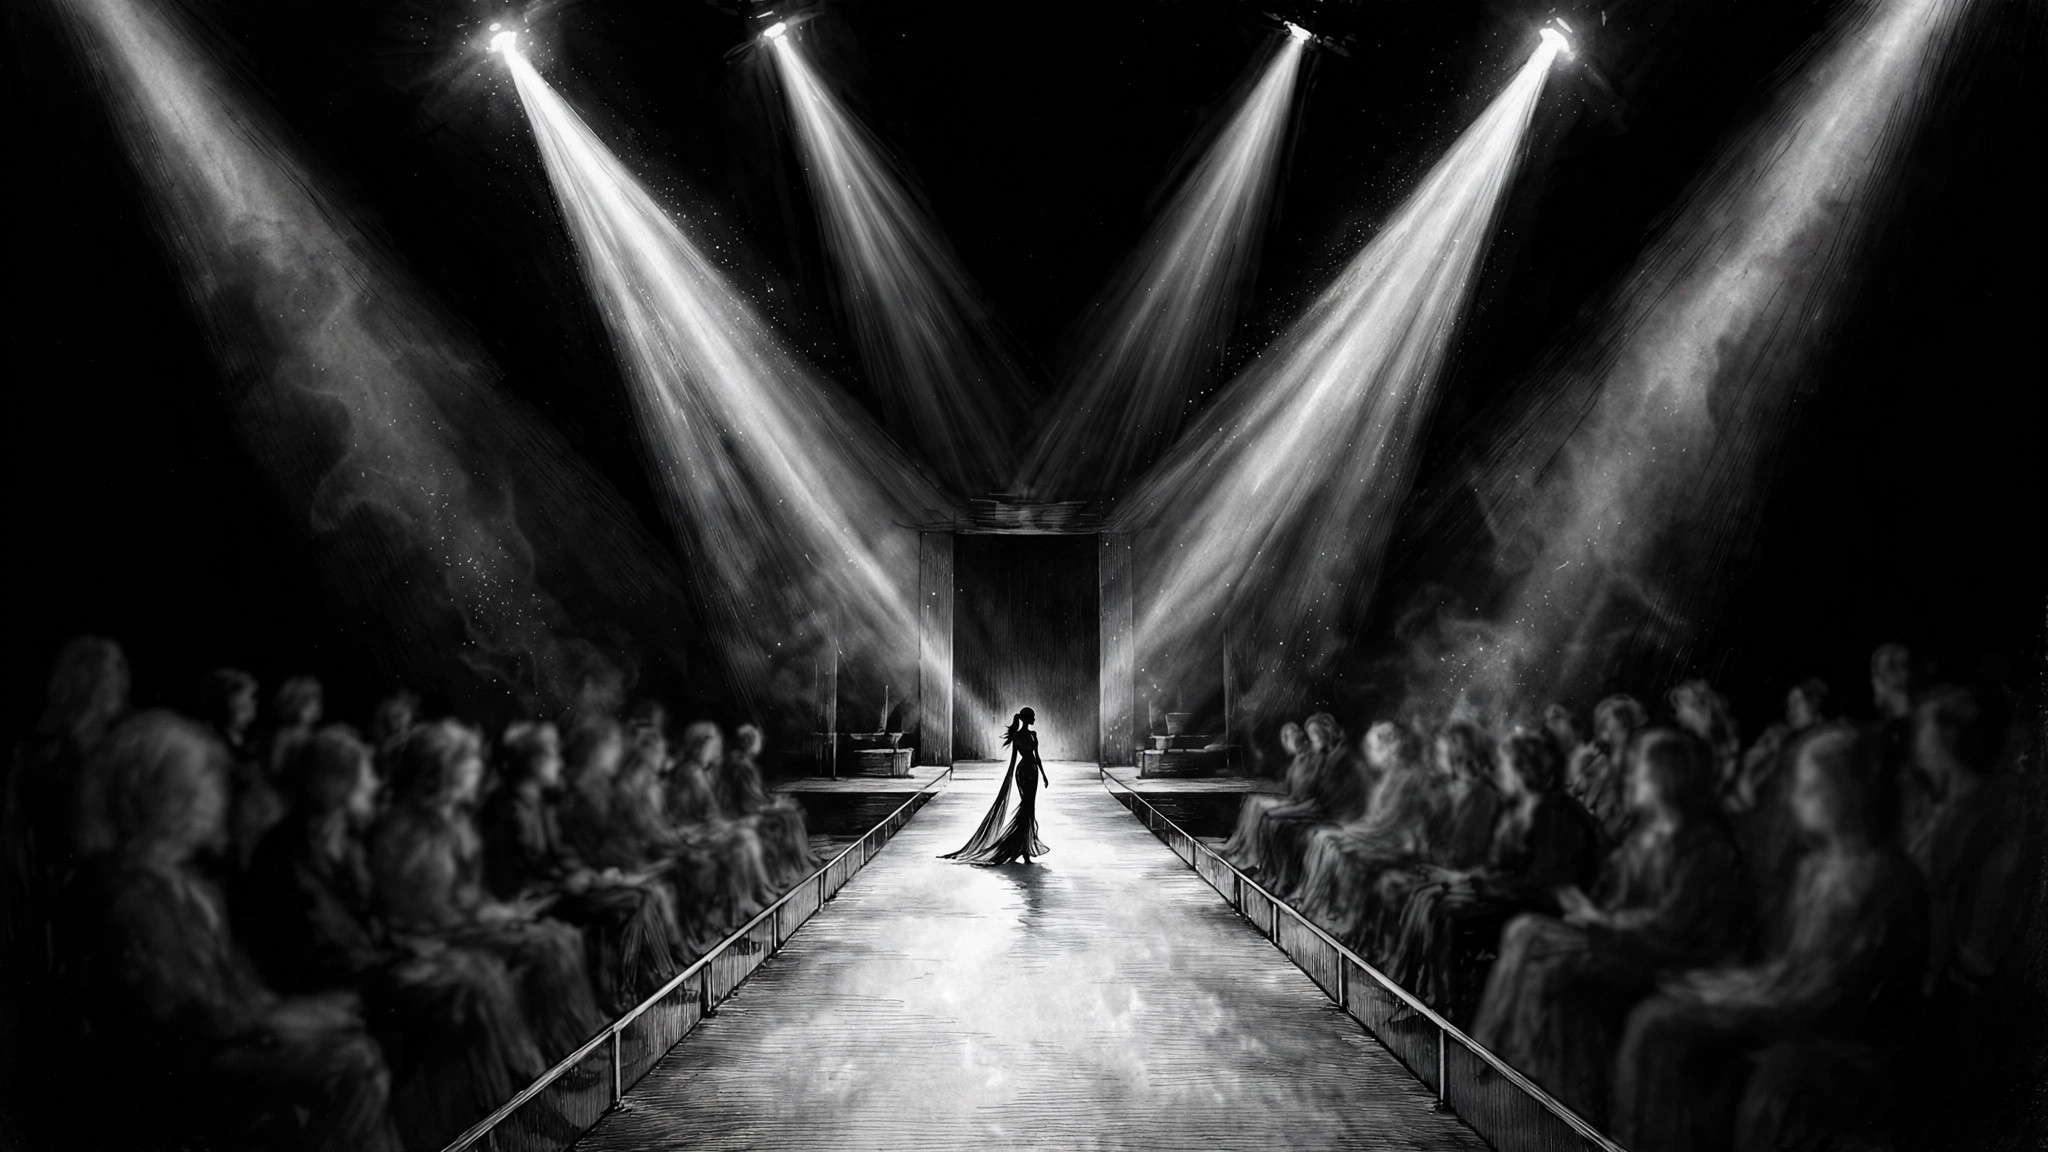
The runway shot that still reads at thumbnail size.
Turns your AI into a social-preview designer — builds a 1200×630 fashion-show OG image from your event name, date, and hero photo, with legible type at thumbnail size and safe-area margins that survive every platform's crop.
Install it in 3 steps
No sign-up. No CLI tools. Pick your AI, copy one line, paste it over.
Prefer doing it yourself? Buy the skill ($4.99), download the ZIP from your checkout confirmation, unzip it into the directory shown above, restart your AI session — same result. Already bought it? Your AI assistant can download it for you.
What’s inside
One SKILL.md (the playbook) + one starter template. A preview:
Fashion Show OG Image
When to use
- You are announcing a fashion show, runway event, or collection presentation and the link preview is the first thing people see
- A lookbook or show page keeps getting shared with a blank gray box or a randomly cropped photo
- You are promoting ticket sales and the date and venue keep getting cut off in messaging-app previews
- A collection drop announcement needs one image that works on social feeds, chat apps, and search results alike
- You have a great runway photo but the model's face or the headline text gets cropped by the platform
Workflow
- Collect the raw ingredients (input: event name, date, venue, one hero photo, optional ticket link → output: ingredient sheet)
Gather exactly five things before any design starts: the event name as it should appear, the date and time, the venue or city, one hero photo (a runway shot with clear space around the subject works best), and the one link the preview must point to. Write them down in one place and check the spelling of every name — a typo baked into an image cannot be clicked or corrected later. If the hero photo is low resolution or the subject touches the frame edge, pick a different photo now; no layout trick fixes a bad source image. - Pick the composition (input: ingredient sheet → output: layout choice)
Choose one of three layouts and commit to it: full-bleed photo with a dark bottom band for text, a split panel with photo on one side and a solid color block for text on the other, or a centered photo card on a solid background. Full-bleed suits strong runway shots; split panels suit long event names; centered cards suit photos with busy backgrounds. The choice is driven by the photo and the length of the event name, not by taste — a long name on a full-bleed photo will fight the image for space. - Set the type (input: layout choice → output: type-locked draft)
Set the event name largest, the date and venue second, and anything else smallest — one size step per level, no more than three text sizes total. Keep all text inside the central safe area (roughly the middle 90% of the width and the middle 80% of the height) so platform crops never eat a letter. Use a high-contrast pairing: light text on a darkened photo area, or dark text on a light solid block. If the text is hard to read at a glance, darken the photo behind it or move the text onto the solid block — never add a drop shadow and call it done.
Template preview
Fashion Show OG Image — Brief Template
Fill this in before any design starts. One event = one brief.
Event
Event name (as it should appear): {event name} Date and time: {date, time} Venue / city: {venue, city} Link the preview must point to: {URL}
Hero photo
Photo file: {filename} Why this photo: {runway shot / detail / portrait — what makes it the hero} Check: [ ] Subject has clear space around it · [ ] No face touching the frame edge · [ ] High enough resolution for 1200×630
Layout (pick one)
- [ ] Full-bleed photo with dark bottom band for text
- [ ] Split panel — photo one side, solid color block for text on the other