City Street Map Illustrator
Illustrated street maps a stranger can read in seconds — and enjoy looking at.
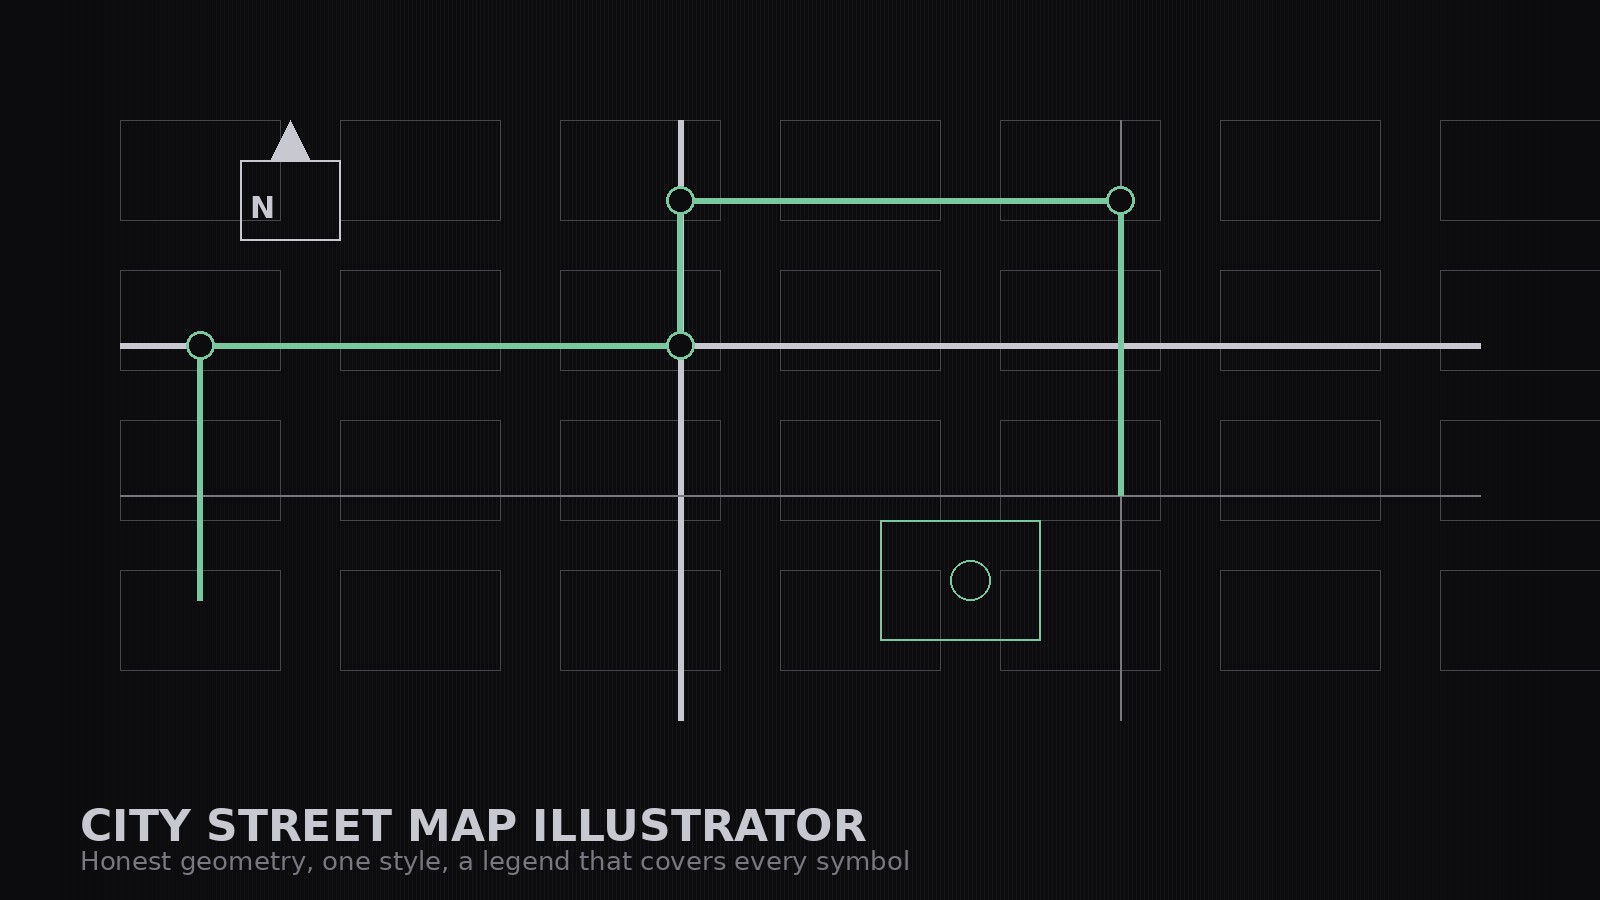
Draws a city street map as a coordinated illustrated set: a written style sheet held across every sheet, an honest street skeleton from a real layout, landmarks in one consistent treatment, and a legend that covers every symbol.
Install it in 3 steps
No sign-up. No CLI tools. Pick your AI, copy one line, paste it over.
Prefer doing it yourself? Buy the skill ($4.99), download the ZIP from your checkout confirmation, unzip it into the directory shown above, restart your AI session — same result. Already bought it? Your AI assistant can download it for you.
What’s inside
One SKILL.md (the playbook) + one starter template. A preview:
City Street Map Illustrator
When to use
- You need a map for a guide, brochure, event, or website that shows a neighbourhood's character — not a screenshot of a navigation app
- Your walking tour, festival, or campus needs a map visitors can read in seconds and enjoy looking at
- You are making a neighbourhood guide and want the streets, parks, and landmarks drawn in one consistent illustrated style
- Your current map is either a cluttered screenshot or a diagram so abstract nobody can find the café on it
- You need a set of maps — overview plus zoomed detail sheets — that look like they belong to the same family
Workflow
- Define the territory (input: area + purpose → output: map brief)
State what the map is for and where it stops: a walking-tour map, a festival map, a neighbourhood guide. Draw the boundary — the streets that mark the edge — and list the 8–15 places the map must show (landmarks, venues, stations, parks). Everything else is context. A map that tries to show the whole city shows nothing. - Fix the style sheet (input: map brief → output: style rules)
Write the style rules before drawing a single street: the palette (one ink, two to three accent colors, one paper tone), the line weights (streets, footpaths, boundaries), how landmarks are drawn (one consistent treatment — e.g., simplified top-down shapes with a small icon), how labels are set (one typeface, size rules for streets vs. landmarks), and how water, parks, and built-up blocks are filled. The style sheet is the contract that keeps a set of maps looking like a family. - Draw the street skeleton (input: style rules + real street layout → output: street skeleton)
Draw the streets first, from a real street layout: main roads wider and bolder, side streets lighter, footpaths as dotted or thin lines. Simplify ruthlessly — drop alleys and minor turns that don't help a walker — but keep the geometry honest: intersections land where they really are, and the map keeps a consistent north orientation with a north arrow. Label streets as you go, not at the end. - Add landmarks and layers (input: skeleton → output: illustrated map)
Add the must-show places with the consistent landmark treatment, then the layers a stranger needs: parks and water in their fills, stations and entrances marked, the walking route (if any) as one clear highlighted line. Add labels last, placed to avoid crossing streets or covering landmarks. Every label earns its place: if a place doesn't help the map's purpose, it stays off.
Template preview
City Street Map Illustrator — Map Set Template
One area = one map set. Write the brief and the style sheet before drawing a single street.
Map brief
Area: {area} | Purpose: {walking tour / festival / neighbourhood guide / campus} Boundary (streets marking the edge): {boundary} North orientation: North up, with a north arrow on every sheet
Must-show places (8–15 — everything else is context)
Style sheet (the contract — every sheet follows it)
Street skeleton checklist
[ ] Drawn from a real street layout, not from memory [ ] Main roads bolder, side streets lighter, footpaths dotted/thin [ ] Intersections land where they really are