Appliance Exploded Poster
Take it apart on paper, so anyone can put it back together.
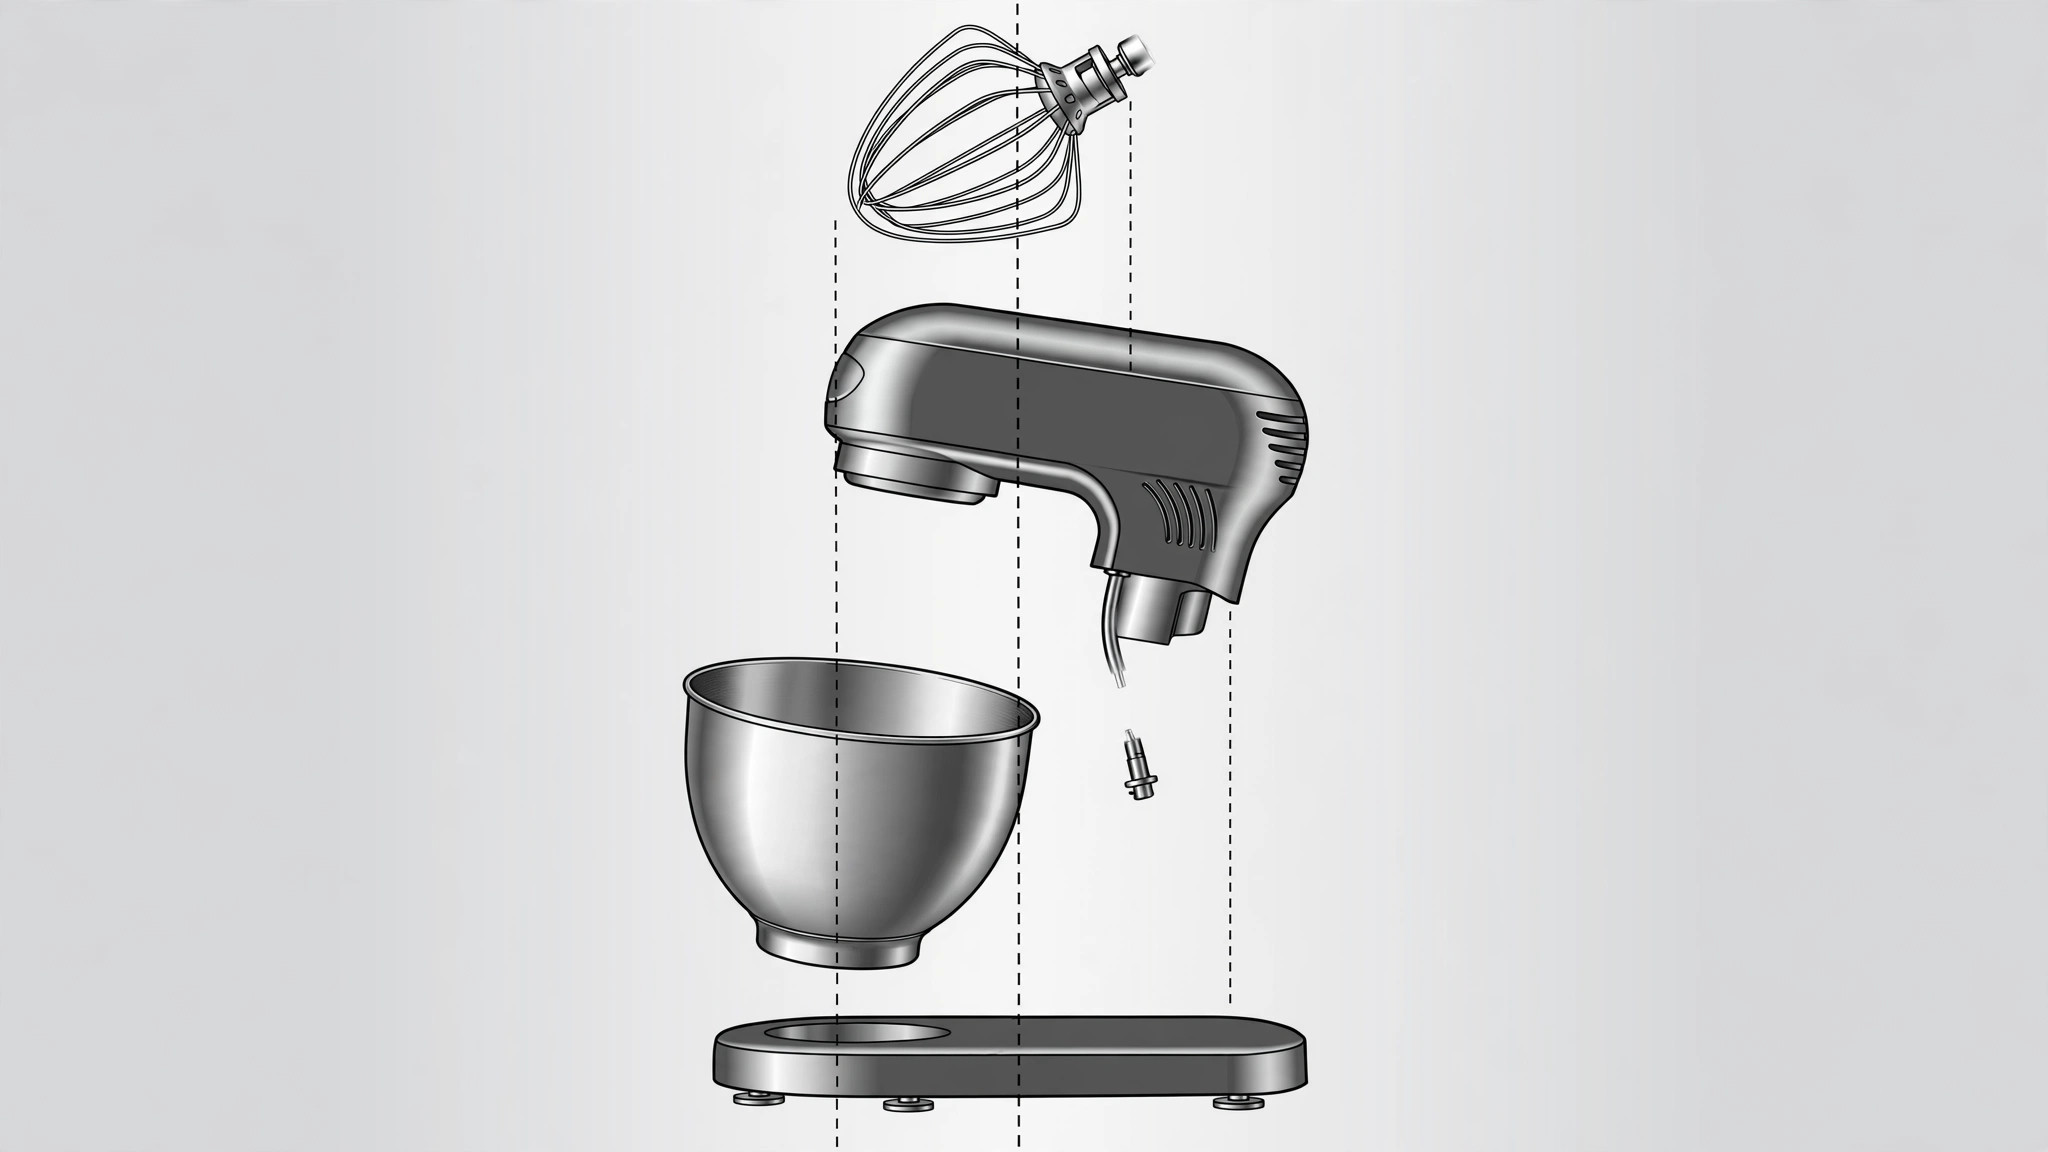
Builds an exploded-view poster of an appliance: parts arranged along one axis in assembly order, connected by guide lines, every part labeled so a reader can see how it all fits together.
Install it in 3 steps
No sign-up. No CLI tools. Pick your AI, copy one line, paste it over.
Prefer doing it yourself? Buy the skill ($4.99), download the ZIP from your checkout confirmation, unzip it into the directory shown above, restart your AI session — same result. Already bought it? Your AI assistant can download it for you.
What’s inside
One SKILL.md (the playbook) + one starter template. A preview:
Appliance Exploded Poster
When to use
- You need a poster for a repair workshop that shows exactly which parts come out in which order
- A product manual needs one page that names every component instead of burying them in paragraphs
- You are presenting a product teardown and want the audience to grasp the internal layout at a glance
- A retail or trade-show display needs a technical-but-readable visual that draws people in
- You are documenting a disassembly so someone else can reassemble the appliance without guessing
Workflow
- Collect the parts list (input: appliance + reference photos → output: numbered parts inventory)
Photograph the appliance from the front, back, and sides before you take anything apart, then list every part you will show: housing, fasteners, motor, wiring harness, controls, seals, and accessories. Number each part in disassembly order and note which parts are small enough to get lost. If you cannot name a part, describe it by location and function ("rubber gasket, seals the door") rather than inventing a technical name. - Set the explosion axis (input: parts inventory → output: layout direction)
Choose one axis for the explosion — usually vertical, bottom-to-top in reassembly order, or horizontal for long appliances like a vacuum. Parts that sit inside one another should separate along that same line so the reader can trace the stack. Keep the outer housing at one end and the innermost components at the other; never scatter parts in two directions at once. - Place and space the parts (input: layout direction → output: exploded arrangement)
Lay the parts out along the axis with even gaps between them, largest parts anchoring the composition and small fasteners grouped near the component they belong to. Keep every part large enough to recognize — if a screw is invisible at poster size, show it in a small magnified inset next to its parent part instead of shrinking the whole layout. Leave a clear margin around the edges for labels. - Draw the alignment guides (input: exploded arrangement → output: guided layout)
Connect each part to its position in the assembled appliance with a thin dotted or dashed line running along the explosion axis. Lines should never cross a part they do not belong to; reroute or reorder parts rather than letting lines tangle. One line per part, same line style throughout, so the eye reads the assembly order instead of a web of strings.
Template preview
Appliance Exploded Poster — Build Template
One appliance = one poster. Fill this in before laying out any art.
Appliance: {name} — {model, if known}
View: Exploded view — assembly order, {bottom to top / left to right} Poster size: {e.g., A2 portrait / 16:9} | Display location: {workshop wall / manual page / trade show}
Reference photos
- [ ] Front view photographed
- [ ] Back view photographed
- [ ] Side views photographed
- [ ] Photos taken before disassembly
Parts inventory (disassembly order)
Small parts that need a magnified inset:
Explosion axis
Direction: {vertical, bottom-to-top / horizontal, left-to-right}