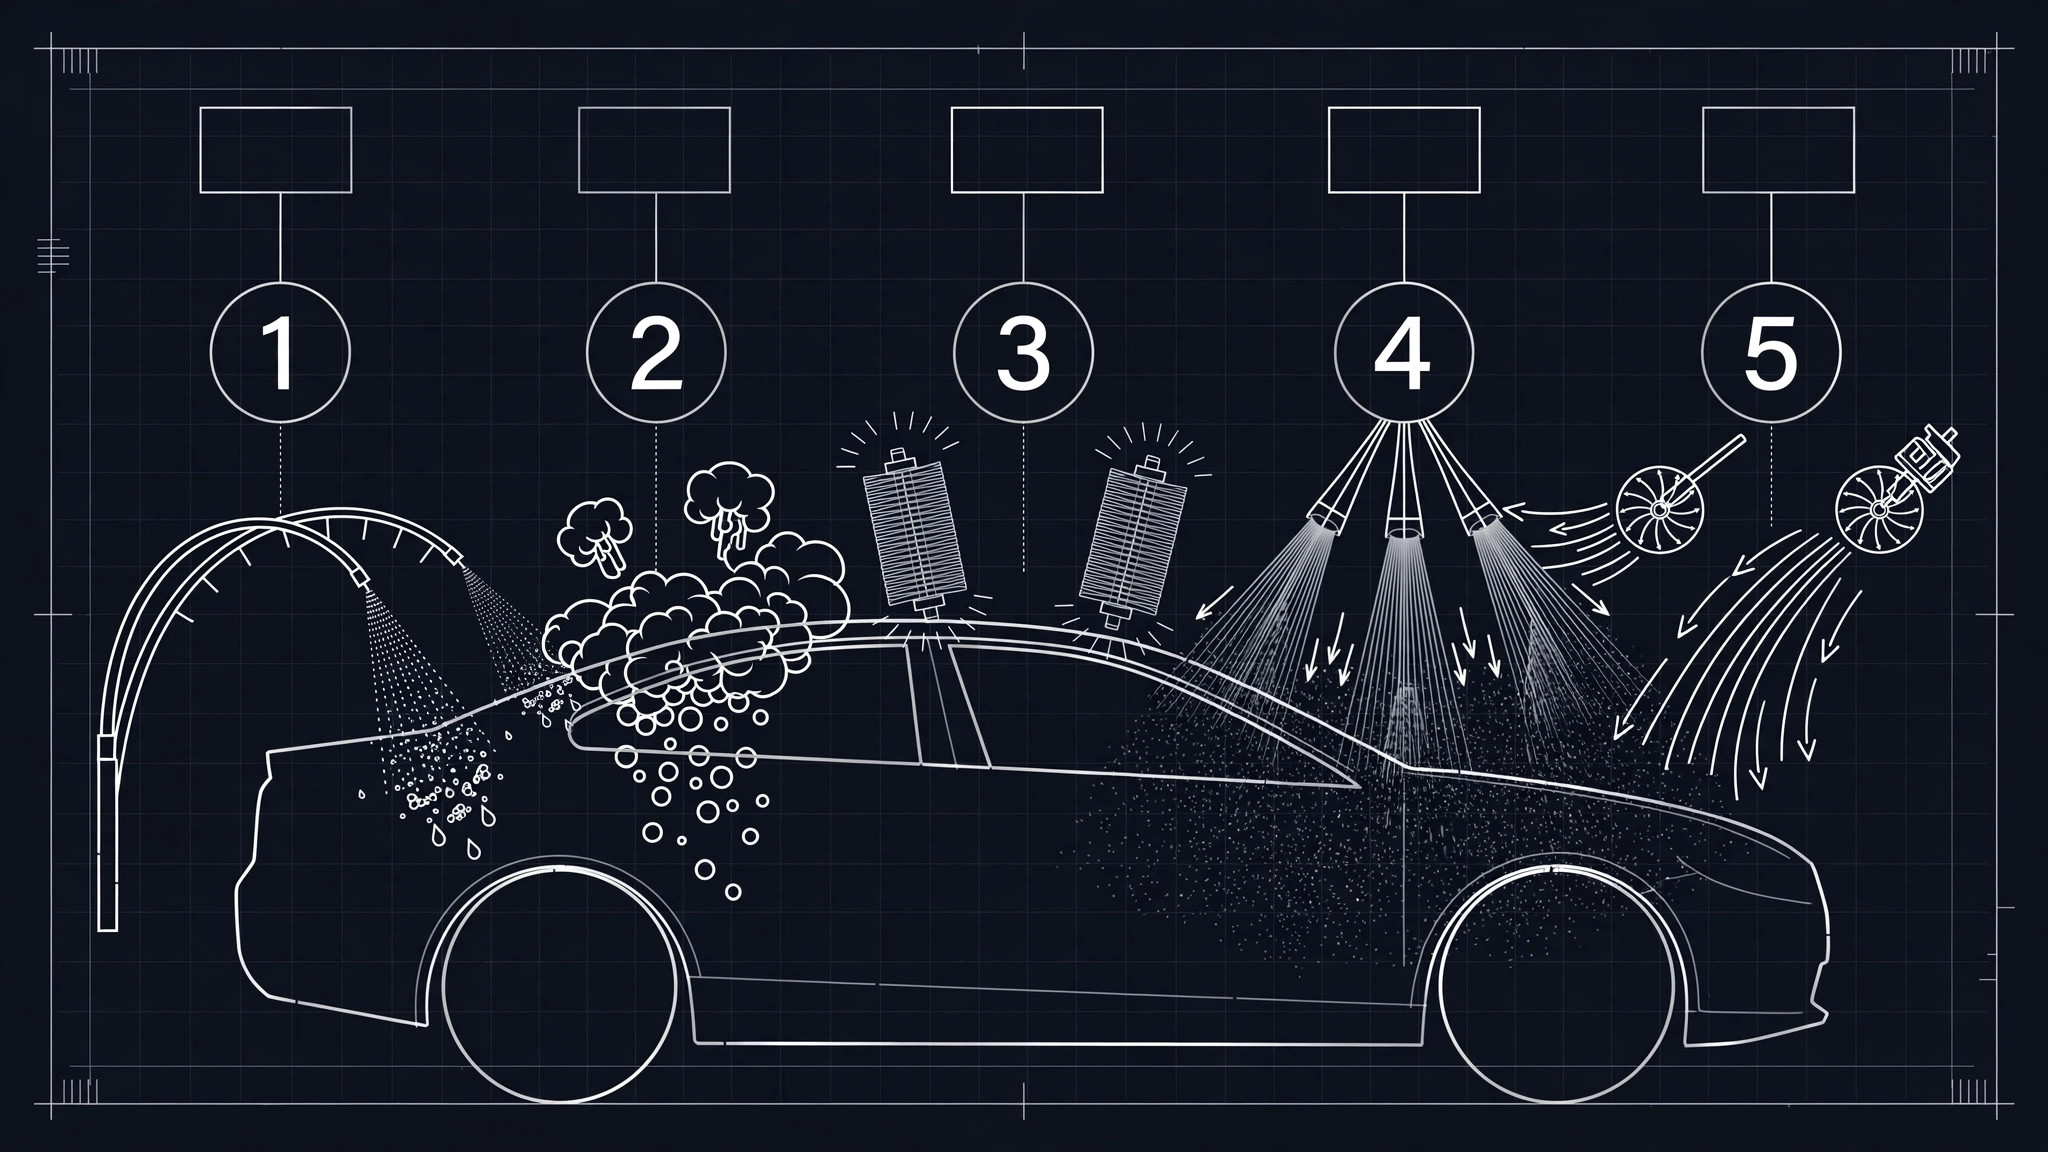
Annotated Wash Diagram
Every stage in order. Nothing left to guess.
Build a diagram explaining a wash process, such as car-wash stages, as one ordered spine with numbered callouts, leader lines, and warnings placed where the mistakes happen.
Install it in 3 steps
No sign-up. No CLI tools. Pick your AI, copy one line, paste it over.
Prefer doing it yourself? Buy the skill ($4.99), download the ZIP from your checkout confirmation, unzip it into the directory shown above, restart your AI session — same result. Already bought it? Your AI assistant can download it for you.
What’s inside
One SKILL.md (the playbook) + one starter template. A preview:
Annotated Wash Diagram
When to use
- You need to explain a multi-stage wash process — a car wash, a parts wash, a laundry line, a cleaning protocol — and a paragraph of text leaves readers unsure of the order
- Customers keep asking "what actually happens to my car in there?" and your answer is currently a list of chemical names
- You are writing an operations manual, training doc, or customer-facing explainer where each stage's purpose, inputs, and result must be unambiguous
- You need a diagram that works in print, on a web page, and on a wall poster without being redrawn three times
- Your existing diagram has arrows pointing everywhere, labels overlapping the drawing, and no clear place to start
Workflow
- List the stages (input: the real process → output: ordered stage list)
Walk the actual process in order and write each stage as a verb phrase: pre-rinse, foam, contact wash, rinse, dry. Confirm the order with someone who runs the process — diagrams drawn from memory routinely swap two stages or invent one. For each stage, note three things: what goes in, what happens, what comes out. If a stage has a branch (a deluxe option, a decision point), mark it as a branch now rather than forcing it into the main line. - Draw the spine (input: stage list → output: process flow)
Lay the stages out as one clear spine — left to right for a horizontal diagram, top to bottom for a vertical one — with one arrow of flow between consecutive stages. The spine is the diagram's promise: a reader can follow it from stage one to the end without lifting their eyes. Keep the spine straight and uncluttered; anything that is not a stage (chemicals, equipment, warnings) hangs off the spine as annotation, never sits on it. - Number and annotate (input: process flow → output: callout system)
Number every stage in order, large and unmissable. Each number gets a callout with the same three-part structure: what happens (one line), why it matters (one line), and the key detail (water temperature, contact time, product used — whatever the stage turns on). Keep callouts outside the drawing with leader lines to their stages, and keep leader lines short, straight, and non-crossing. One number, one callout, one leader line — if two leader lines cross, the layout needs reworking, not the reader's patience.
Template preview
Annotated Wash Diagram — Diagram Template
One diagram, one process. Confirm the stage list with someone who runs the process before drawing.
Process: {e.g. standard car wash} | Orientation: {horizontal L→R / vertical top→bottom}
Verified with: {name of person who runs the process} — Date: {date}
Stage list (in real order — never rearranged for visual balance)
Branches: {deluxe option / decision point — describe, or "none"}
Callouts (one per stage — what happens / why it matters / key detail)
1 — {stage}: {what happens — one line} Why: {one line} Key detail: {…}
2 — {stage}: {…} Why: {…} Key detail: {…}
3 — {stage}: {…} Why: {…} Key detail: {…}