Wall Checklist Reveal
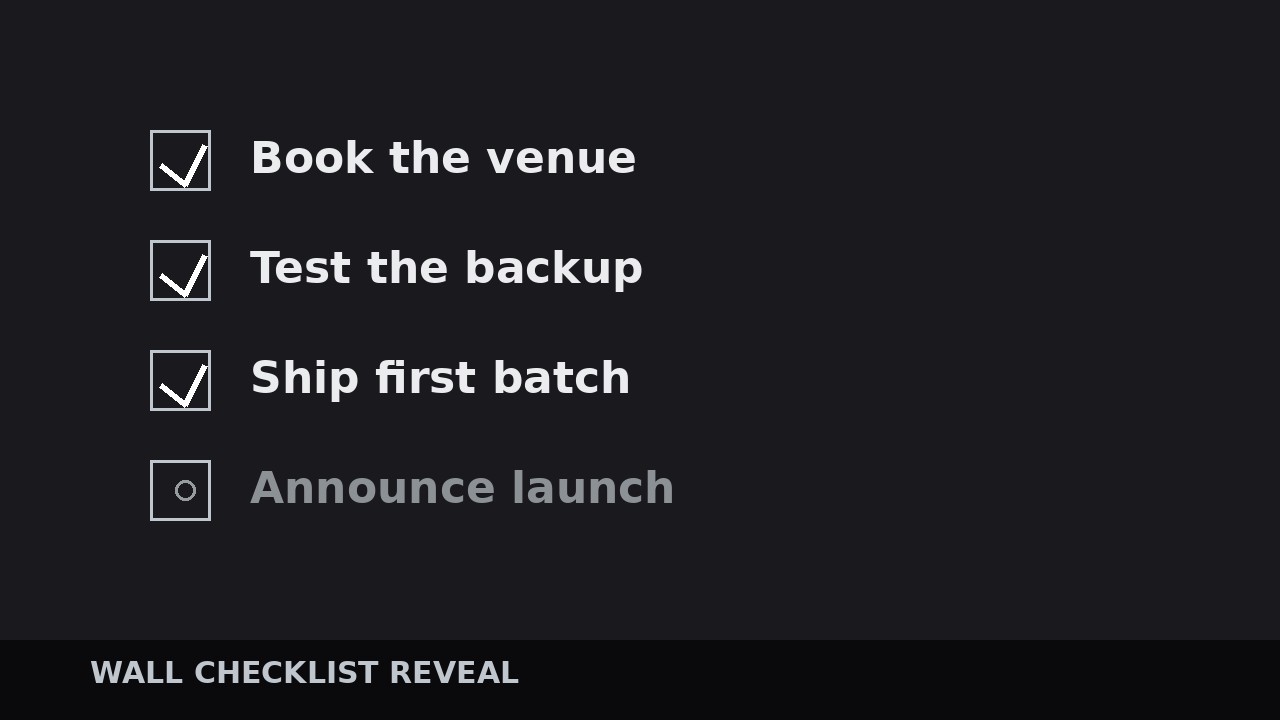
One checked item at a time — until the finished wall proves the work is done.
Reveals a checklist on a wall with a stamp per completed step, the camera travelling down the list, and an honest final state for unfinished items. Covers list writing, wall layout, check timing, and the payoff wide shot.
Install it in 3 steps
No sign-up. No CLI tools. Pick your AI, copy one line, paste it over.
Prefer doing it yourself? Buy the skill ($4.99), download the ZIP from your checkout confirmation, unzip it into the directory shown above, restart your AI session — same result. Already bought it? Your AI assistant can download it for you.
What’s inside
One SKILL.md (the playbook) + one starter template. A preview:
Wall Checklist Reveal
When to use
- You are showing a process with visible steps — a launch sequence, a setup guide, a safety procedure, a renovation — and you want the audience to feel each step land
- The video needs a completion payoff: a wall of checked items is the most satisfying proof that the work is done
- You have 4–10 steps that can each be stated in 2–6 words, in an order that matters
- The footage or the set has a wall, a board, or a flat surface where a list can live — real or built in graphics
- You want a repeatable closer: the finished checklist wall can end every episode of a series
Workflow
- Write the list (input: process → output: 4–10 checklist items)
Write each step as 2–6 words starting with a verb: "Book the venue", "Test the backup", "Ship the first batch". If a step needs more than 6 words, it is two steps or it is badly written — rewrite it. Aim for 4–10 items: fewer than 4 and the wall looks bare; more than 10 and the reveal drags past the audience's patience. Order them in true sequence, not in importance order — the wall's power is that it shows a process completed in order. Mark the one item that is the emotional peak of the process (usually the hardest or the most dramatic step) — that item gets the biggest check and a half-beat of extra hold later. Every item must be checkable: a viewer should be able to tell from the video whether it was done. "Improve quality" is not checkable; "Pass the 50-cycle test" is. - Build the wall (input: checklist → output: wall layout)
Lay the items out as a vertical list on a wall-like surface: left-aligned, generous line spacing, one consistent typeface, all items in the same dim "unchecked" state at the start (40–50% opacity, gray or muted ink). Leave a checkbox square or circle beside each item — empty at the start, so the audience can see the checks coming. Size the list to fill 70–85% of frame height with even margins; the wall should feel like a real board, not a slide. If you are shooting a real wall, print or write the list large enough to read on a phone at arm's length, and leave real physical space for the checks. If you are building it in graphics, add a subtle paper or board texture and a soft shadow under the list so it reads as an object in space, not a floating overlay. Number the items or not — numbers help when the audience may refer back ("step three"), plain checks are cleaner when the list is short.
Template preview
Wall Checklist Reveal — Build Template
One wall, one process, one check at a time. Fill in the list before building the wall.
Process: {name} | Items: {4–10} | Wall: {real wall / graphics board}
Checklist (true sequence, verb-led, 2–6 words, checkable)
Peak item (hardest / most dramatic): #{n} — {item} Unfinished / in-progress items (stay unchecked): {list or "none"}
Wall layout
Typeface: {one family} | List height: {70–85% of frame} | Alignment: left-aligned Unchecked state: opacity {40–50%}, {gray / muted ink} | Checkbox per item: {square / circle}, empty at start