Timeline Node Reveal
Let the audience travel the timeline, one node at a time.
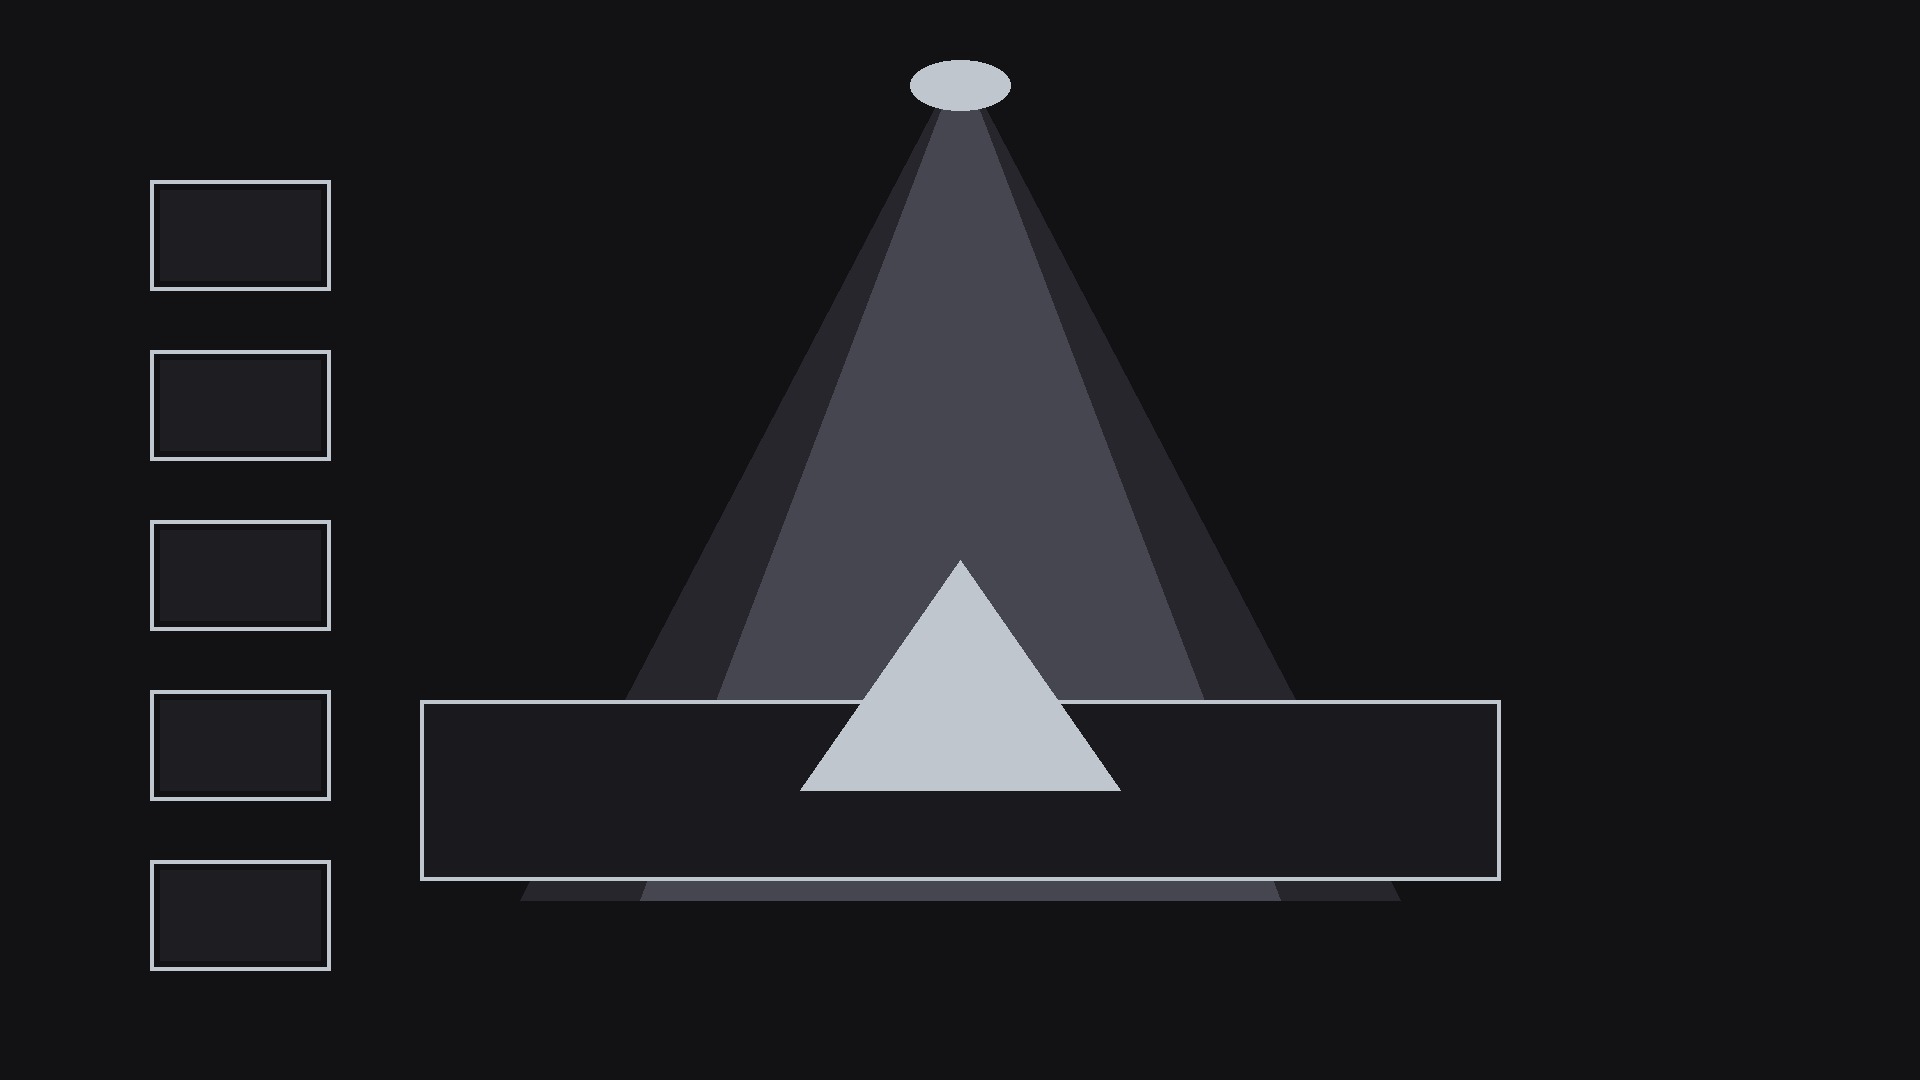
A timeline that draws itself and lights up its nodes one by one — with honest proportional spacing, a clear present marker, and a hold on the finished diagram for screenshots.
Install it in 3 steps
No sign-up. No CLI tools. Pick your AI, copy one line, paste it over.
Prefer doing it yourself? Buy the skill ($4.99), download the ZIP from your checkout confirmation, unzip it into the directory shown above, restart your AI session — same result. Already bought it? Your AI assistant can download it for you.
What’s inside
One SKILL.md (the playbook) + one starter template. A preview:
Timeline Node Reveal
When to use
- A history or origin story where events must land in order and each one deserves its own beat
- A product roadmap or project plan where the audience needs to feel the sequence, not just see a list of dates
- A biography, case study, or "how we got here" segment where each milestone builds on the last
- A process explainer where the steps happen over time and the timeline is the argument
- A year-in-review or retrospective where the reveal itself is the recap
Workflow
- Choose the nodes (input: story or plan → output: 4–9 nodes, each with date + one-line event)
List the events in chronological order and cut ruthlessly: a timeline with more than 9 nodes becomes a ruler nobody reads, and a timeline with fewer than 4 is barely a timeline. Each node gets a date (year, month, or exact day — pick one granularity and keep it for every node) and one event line of ≤8 words. If an event needs more than 8 words, it is two events or a paragraph — split it or shorten it. Space the nodes by time, not by slot: if two events are a month apart and the next gap is three years, the timeline should show that — equal spacing lies about the story. If true proportional spacing makes early nodes collide, use a broken-axis convention (a visible // gap mark on the line) rather than silently equalising everything. - Design the line (input: nodes → output: static timeline with line, node markers, and labels)
Draw the spine: a horizontal line for most videos (left-to-right = past-to-future, the reading direction), or a vertical line for portrait formats. Node markers sit on the spine — circles, diamonds, or dots, 10–16 px at 1080p, with the current node's marker larger or accent-coloured. Alternate labels above and below the spine (or left and right on a vertical line) so they never collide; keep every label the same type size and leave room for the longest label before animating. Style the spine as a quiet track — thin, muted — and the nodes as the actors. Decide the "future" treatment now: if the timeline extends past the last real event (a roadmap), render the future portion of the spine as dashed or faded, so the audience can tell what happened from what is planned.
Template preview
Timeline Node Reveal — Build Template
Fill this in before animating. One timeline per story.
The story
Timeline type: {history / roadmap / project plan / biography / retrospective} Date granularity: {year / month / exact day — one for all nodes} Spacing rule: {proportional to time / proportional with // break marks}
Nodes (4–9, chronological, event ≤8 words)
Design
- Orientation: {horizontal / vertical for portrait}
- Spine: {thin, muted} | Future portion: {dashed / faded}
- Markers: {10–16 px} | Current node: {larger / accent colour}
- Labels: {uniform size, alternated} | Longest label fits: [ ]