Tile Scene Dissolve
Scenes that come apart tile by tile.
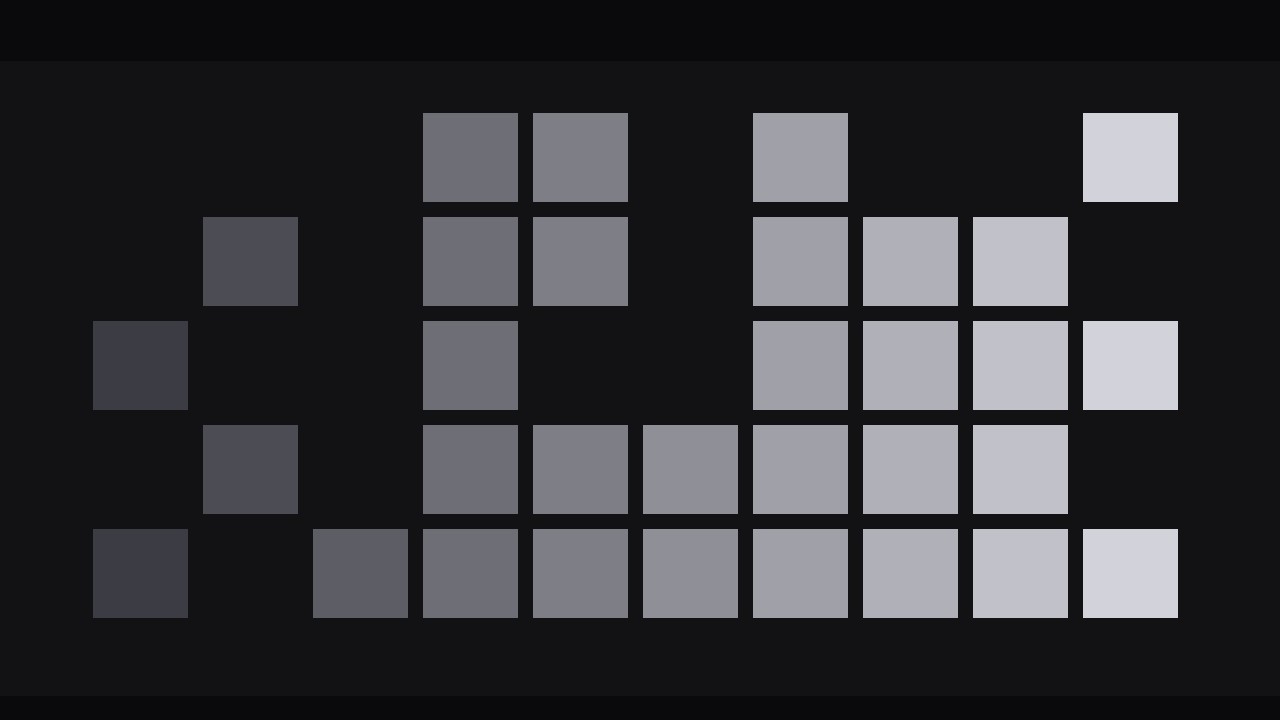
A transition where the outgoing scene breaks into tiles that dissolve away in a chosen direction to reveal the next scene — with per-tile texture, rhythm, and a clean landing.
Install it in 3 steps
No sign-up. No CLI tools. Pick your AI, copy one line, paste it over.
Prefer doing it yourself? Buy the skill ($4.99), download the ZIP from your checkout confirmation, unzip it into the directory shown above, restart your AI session — same result. Already bought it? Your AI assistant can download it for you.
What’s inside
One SKILL.md (the playbook) + one starter template. A preview:
Tile Scene Dissolve
When to use
- A scene change in an explainer, documentary, or vlog where a hard cut feels abrupt but a crossfade feels lazy
- A before/after reveal: the old scene tiles away to expose the new one underneath
- A montage where each beat needs a visible, repeatable transition that becomes part of the video's rhythm
- A title-to-content handoff: the title card breaks into tiles and the first scene emerges
- A product or location change where you want the audience to feel the old scene physically come apart
Workflow
- Choose the two scenes (input: edit timeline → output: outgoing scene + incoming scene + transition point)
Pick the exact cut point first. The outgoing scene's last frame and the incoming scene's first frame are the two images the transition connects. Watch 2 seconds either side of the cut: if the outgoing scene ends mid-motion (a hand swinging, a car passing), the tiles will inherit that motion and the dissolve can look chaotic — choose a cut point where the outgoing frame is relatively stable, or freeze its last 4–6 frames as the dissolve source. The incoming scene should start stable too, for the same reason. If either scene is very dark or very bright, note it: tile edges read best when the two scenes differ in tone, and worst when both are near-black. - Set the tile grid (input: two scenes → output: grid size, tile shape, and dissolve direction)
Divide the frame into a grid of tiles. For a 16:9 frame, a good starting point is 8×5 or 10×6 (40–60 tiles); fewer than 24 tiles reads as a crude mosaic, more than 100 reads as noise and will choke slower machines. Tiles are usually rectangles matching the frame's aspect, but square tiles work when you want a more graphic, game-like feel. Choose the dissolve direction now — the order in which tiles vanish: left-to-right (a wipe with texture), top-to-bottom (a falling curtain), centre-outward (an opening), or random (organic decay). Direction is meaning: left-to-right pushes the story forward, centre-outward opens a reveal, random suits decay or memory. Write the grid and direction down before animating; changing them mid-build means rebuilding every tile's keyframes.
Template preview
Tile Scene Dissolve — Build Template
Fill this in before animating. One transition per cut.
The cut
Outgoing scene: {description / timecode of last frame} Incoming scene: {description / timecode of first frame} Outgoing frame stable? [ ] yes — or freeze last {4–6} frames as dissolve source Incoming scene starts stable? [ ] yes Tone contrast between scenes: {strong / weak — if weak, add 3–5% tile brightening}
Grid
- Grid size: {8×5 / 10×6 — 40–60 tiles for 16:9}
- Tile shape: {rectangular / square}
- Edge feather: {1–2 px}
- Dissolve direction: {left-to-right / top-to-bottom / centre-outward / random}