Region Callout
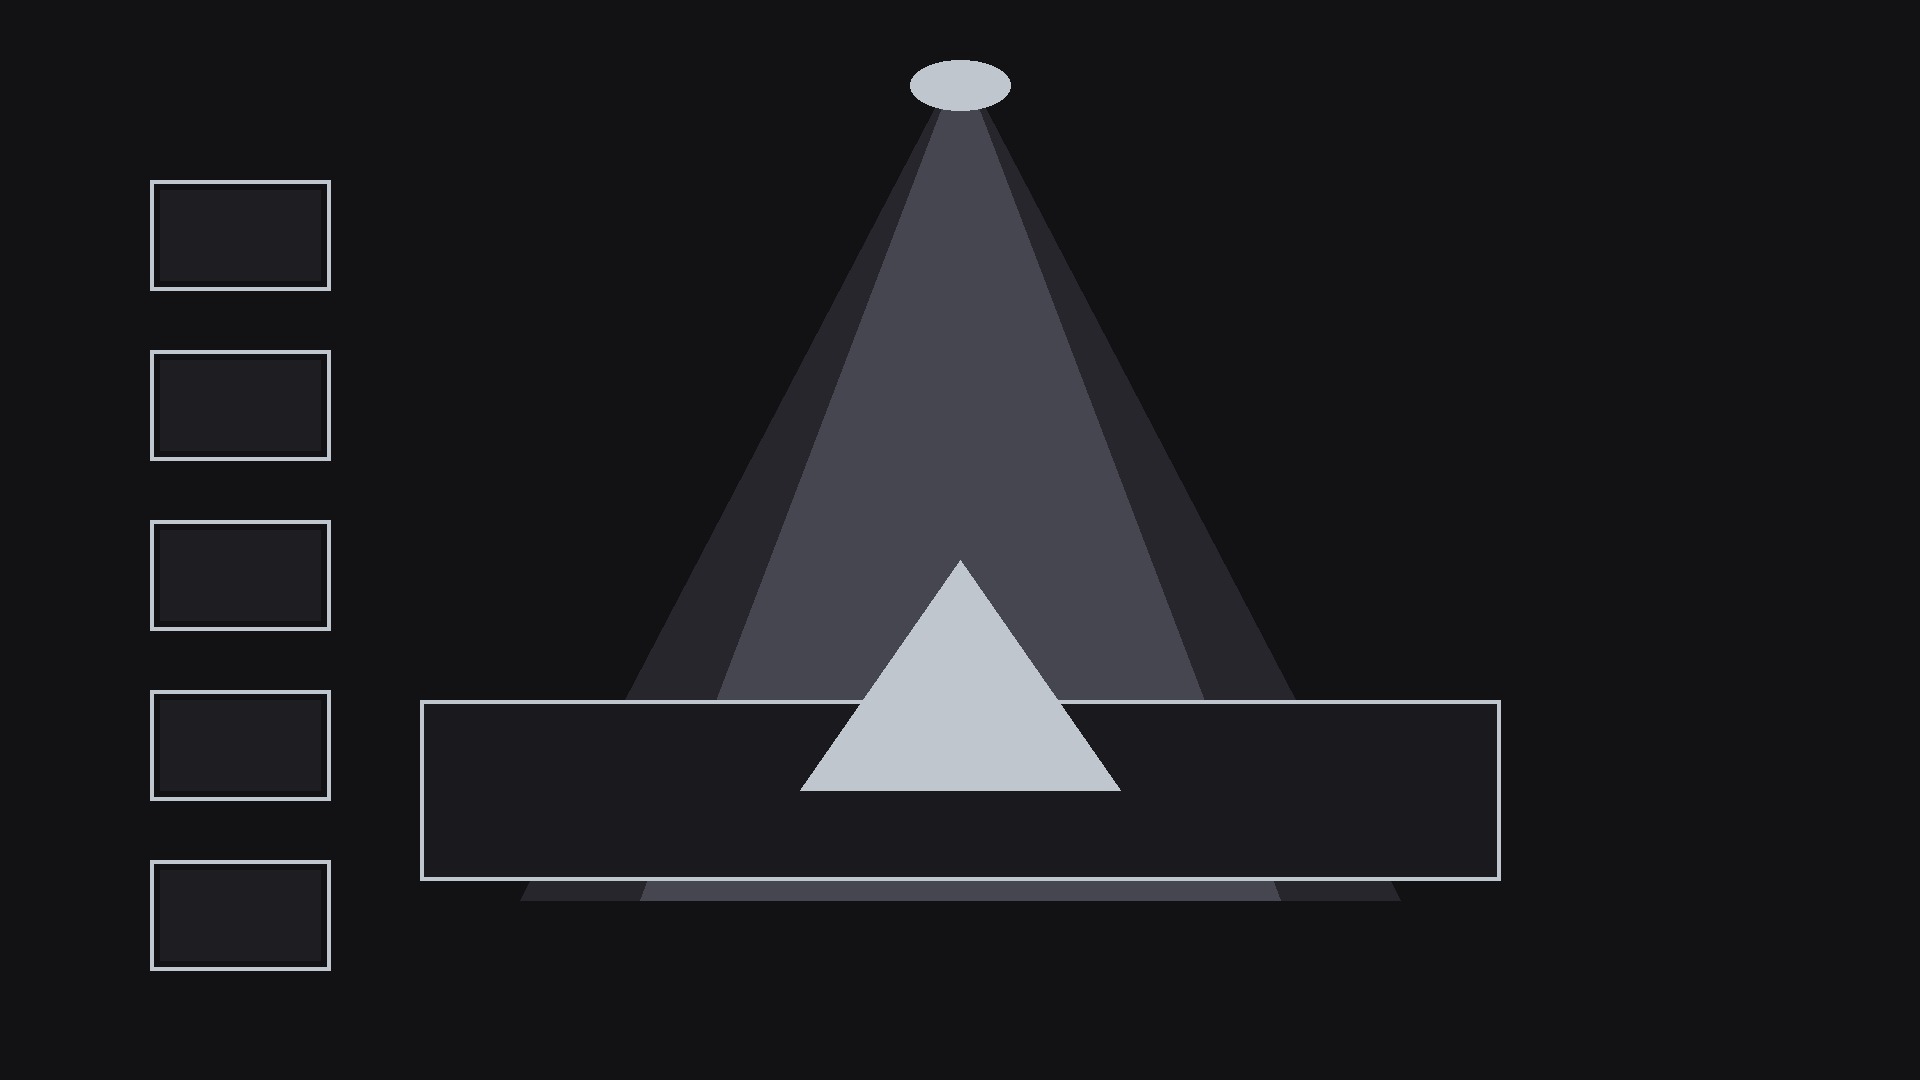
Dim the rest, light up the region, and let the callout name it.
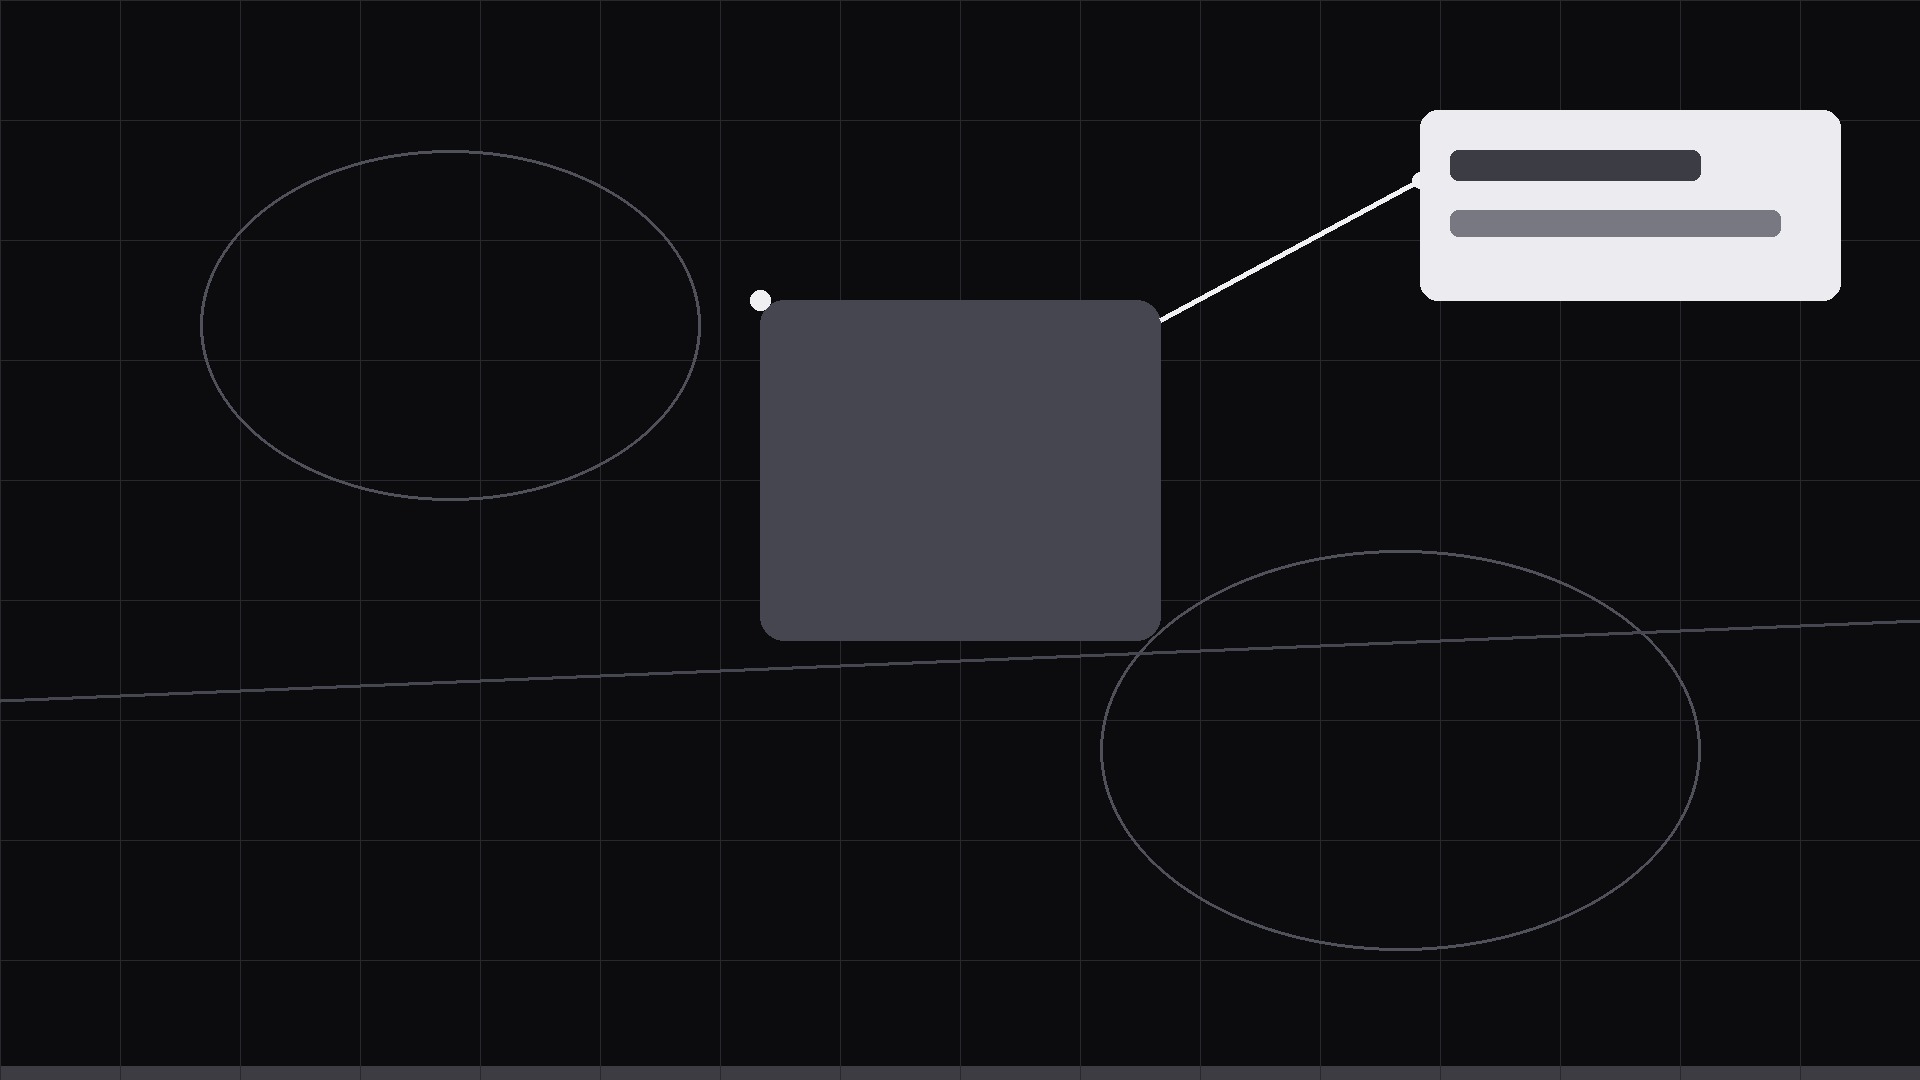
Attention zoomed onto one region of a map, diagram, or image: the region highlights, the rest dims, and a callout line draws out to a label card with the detail.
Install it in 3 steps
No sign-up. No CLI tools. Pick your AI, copy one line, paste it over.
Prefer doing it yourself? Buy the skill ($4.99), download the ZIP from your checkout confirmation, unzip it into the directory shown above, restart your AI session — same result. Already bought it? Your AI assistant can download it for you.
What’s inside
One SKILL.md (the playbook) + one starter template. A preview:
Region Callout
When to use
- You are presenting a map, diagram, chart, screenshot, or photo and one region carries the point (a neighborhood, a chart spike, a UI element, a defect)
- Saying "in the top right" loses half the audience; you want the region itself to light up and name itself
- The clip is a 10–25 second beat inside a longer explainer, a lesson, a report video, or a product walkthrough
- The base image is busy — without a callout the viewer scans everywhere and finds the point late or never
- You need to chain callouts: first region A, then region B, building an argument across one image
Workflow
- Choose the region (input: base image → output: one bounded region)
Draw the region as a simple shape: rectangle, ellipse, or a freehand-style rounded outline following the region's natural boundary. One region per callout — if two regions compete, that is two callouts in sequence. The region must be big enough to see at phone size (at least ~8% of frame width); if it is smaller, you need a zoom step (step 4), not a bigger outline. Name the region in 1–5 words; write its one-line detail (≤12 words) now, not during animation. - Dim the rest (input: base image + region → output: focus composition)
Drop the whole base image to 35–50% brightness/saturation except the region, which stays full-strength — or overlay a 55–70% dark scrim with a hole cut for the region. Either way the effect is the same: everything else recedes, the region owns the frame. Add the region outline (3–5 px at 1080p, accent color, slightly rounded corners) — the outline draws the eye before the label does. - Draw the callout (input: focus composition → output: callout keyframes)
From the region's edge, draw a leader line (2–3 px) outward to a label card placed in the nearest clean space — never over the region itself, never over another key detail. Leader line: 0.3–0.4 s draw, ease-out, with a small dot (6–8 px) anchoring it at the region edge. Label card: rounded rectangle, one title line (the region name, bold) + one detail line (≤12 words), fading/sliding in 0.35 s (ease-out, 10–14 px slide toward the region). Card background: solid, high contrast, readable at phone size. Total callout build: under 1 s. - Zoom if the region is small (input: callout → output: zoom keyframes; only when needed)
If the region is under ~8% of frame width, add a zoom: scale the base image 1.0 → 1.5–2.0 over 0.7–0.9 s (ease-in-out), centered on the region, BEFORE drawing the callout — zoom first, then outline, then leader, then card. The zoom is a dolly toward the evidence, not a gimmick: after the zoom the region must fill 25–40% of the frame. For chained callouts, zoom back out (0.6 s) before moving to the next region so the audience re-orients.
Template preview
Region Callout — Template
Fill in the blanks, then build the clip from the SKILL.md workflow.
Base image
Image / map / diagram: {file} Format: [ ] Horizontal 1920×1080 / [ ] Square 1080×1080
Callouts (one region per callout, in sequence)
Callout 1
Region: {describe / coordinates} | Outline shape: [ ] Rectangle / [ ] Ellipse / [ ] Freehand Region name (1–5 words): {name} Detail line (≤12 words): {detail} Card placement: {nearest clean space — e.g. bottom-left} Zoom needed? [ ] No (region ≥8% frame width) / [ ] Yes → zoom to {1.5–2.0×}
Callout 2
Region: {describe} | Outline shape: [ ] Rectangle / [ ] Ellipse / [ ] Freehand