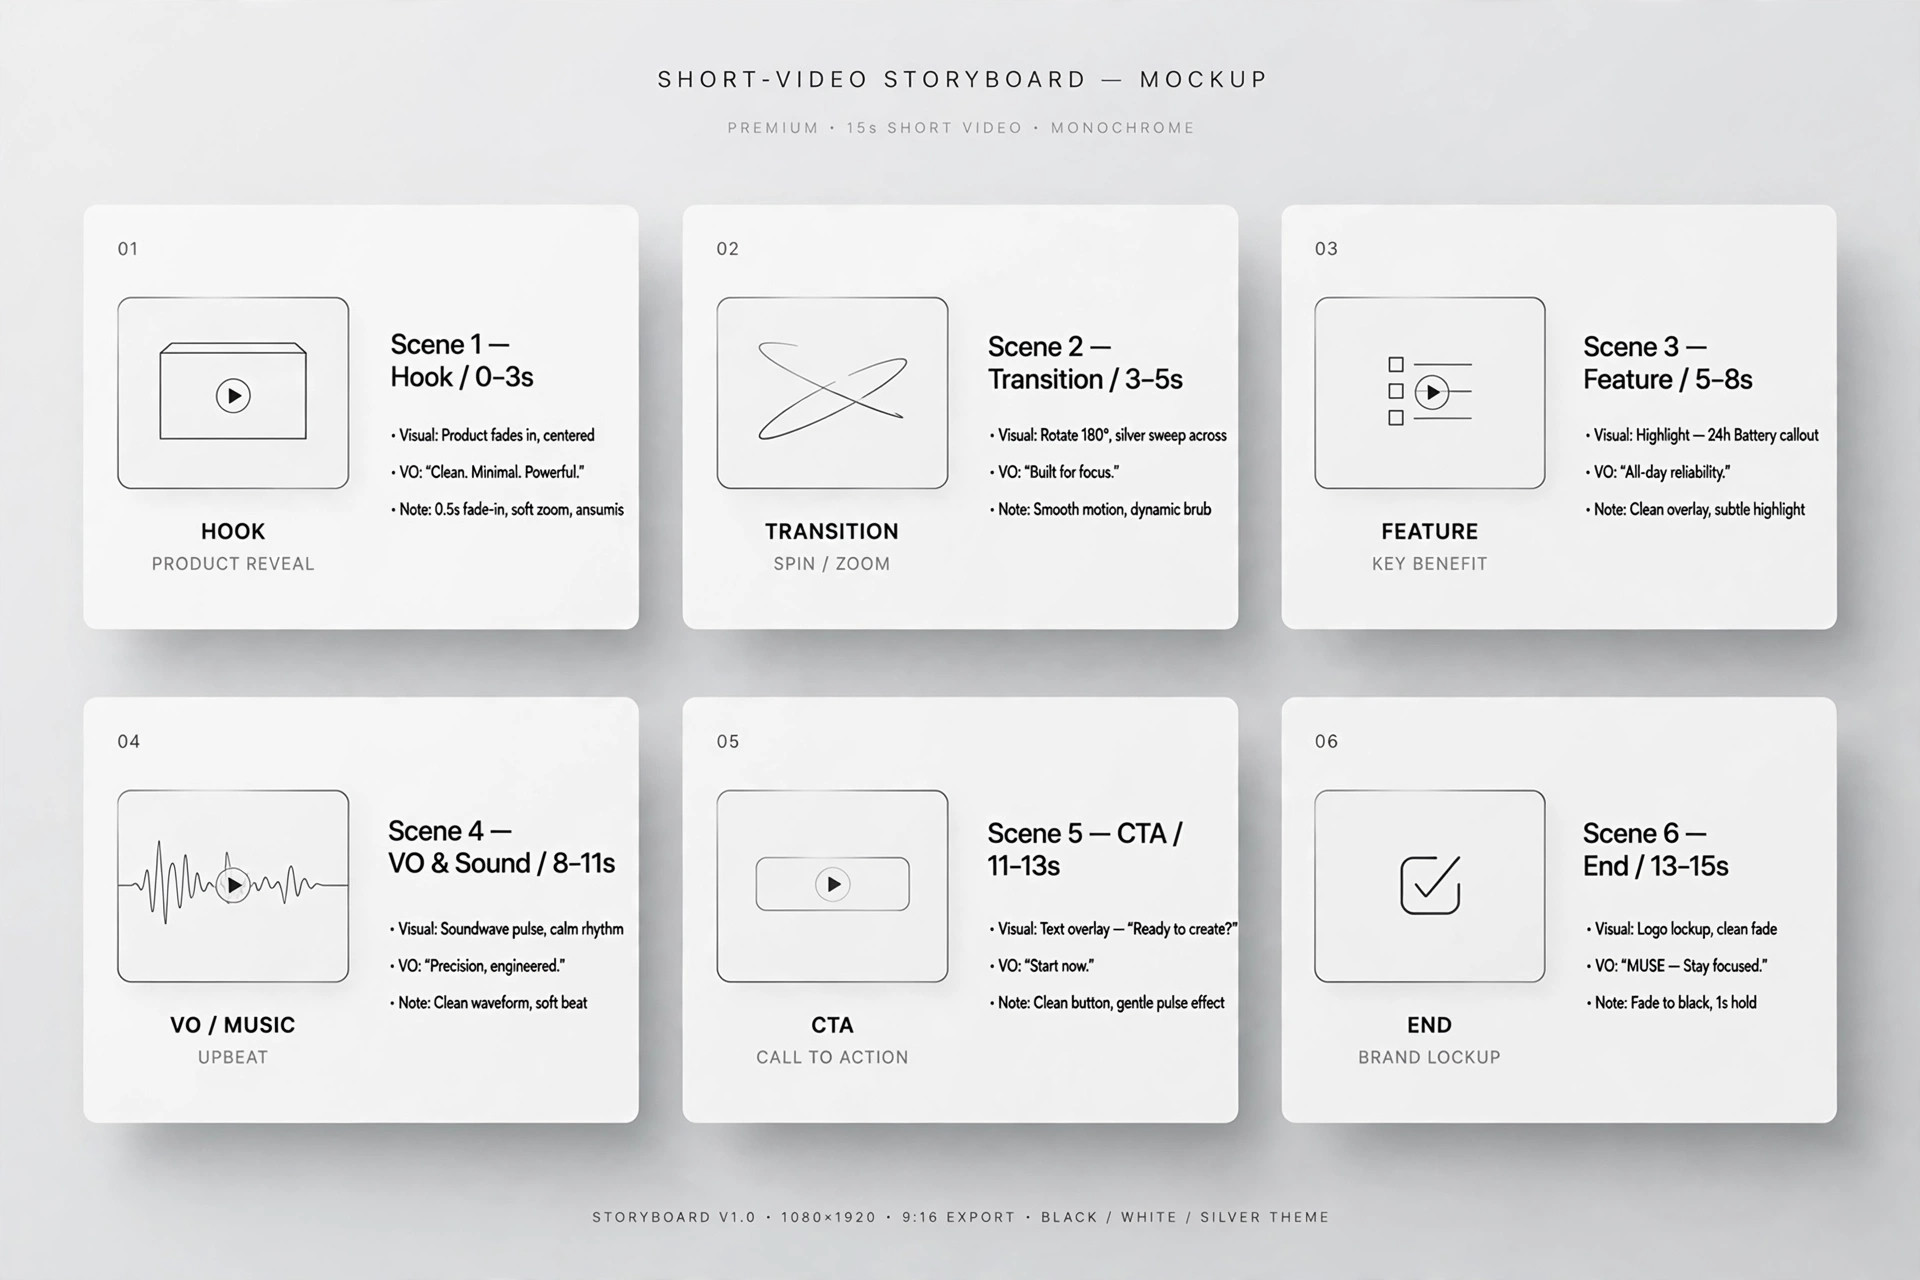
Raw Ink Storyboard
Rough ink frames and camera notes your crew can shoot from.
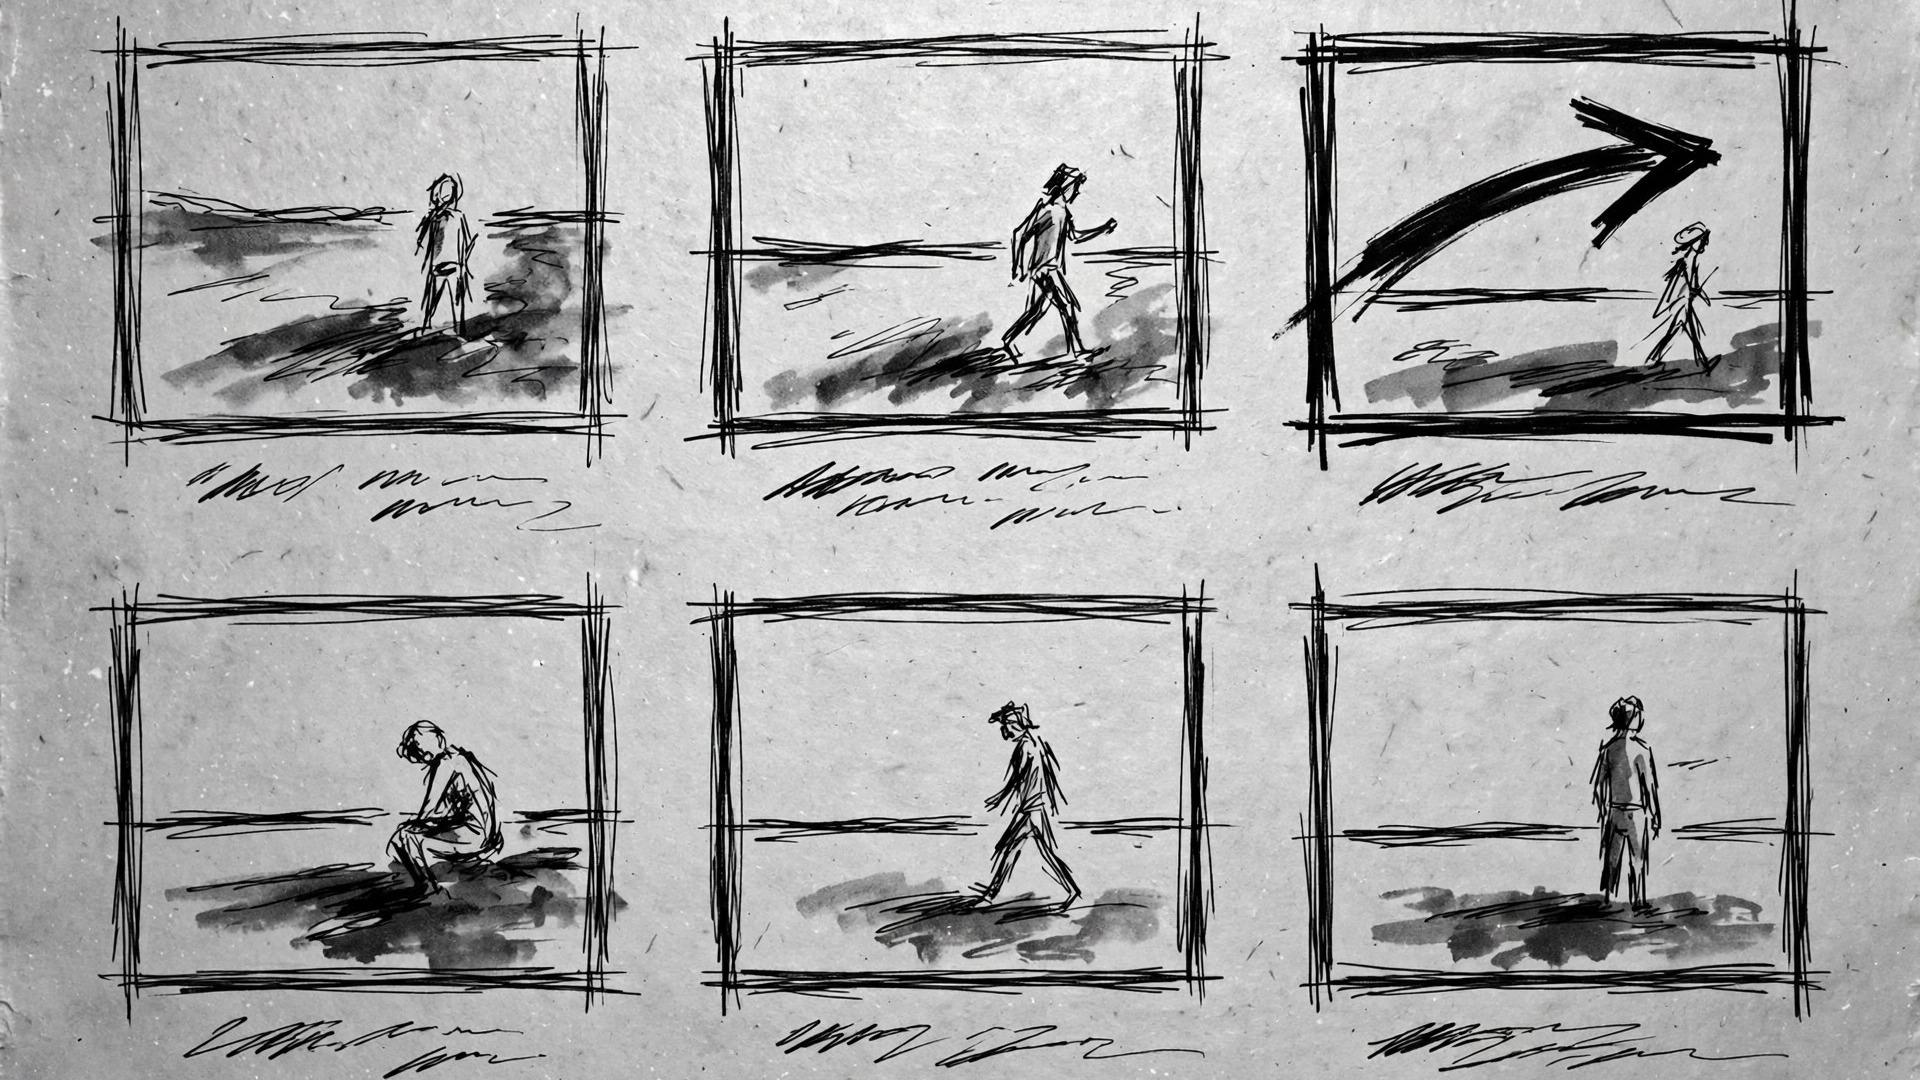
Turns your AI into a storyboard artist that sketches video scenes in a raw ink style — rough pen frames, wash shading, and camera notes that a crew can actually shoot from.
Install it in 3 steps
No sign-up. No CLI tools. Pick your AI, copy one line, paste it over.
Prefer doing it yourself? Buy the skill ($4.99), download the ZIP from your checkout confirmation, unzip it into the directory shown above, restart your AI session — same result. Already bought it? Your AI assistant can download it for you.
What’s inside
One SKILL.md (the playbook) + one starter template. A preview:
Raw Ink Storyboard
When to use
- You have a video script and need to see it before shooting — framing, pacing, and transitions, not just words on a page
- A client or collaborator keeps misunderstanding the shot you described, and a quick sketch would settle it in seconds
- You're planning a short film, ad, explainer, or music video and need a board the crew can carry on set
- Your animation or motion project needs key poses and camera moves locked before expensive frames get drawn
- You want a storyboard with a handmade feel — rough, energetic, honest about being a sketch — instead of polished renders that pretend the shoot is already done
Workflow
- Break the script into beats (input: script → output: beat list)
Read the script and mark every change that needs a new frame: a new shot, a camera move, a significant action, or a line of dialogue that changes the framing. One beat = one frame, with a rough duration ("~3s") and the script line it covers. A 60-second spot usually lands at 12–20 beats; a three-minute short at 30–50. If a beat needs two frames to be understood, split it — a board that confuses the crew is worse than a board with extra frames. - Sketch each frame in raw ink (input: beat list → output: ink frames)
Each frame is a rough 16:9 box drawn in loose pen strokes: a horizon line, the subject as a few gestural lines, and wash shading for mass and shadow — never a polished illustration. Keep the same hand throughout: same line weight, same wash density, same level of roughness. Draw what the camera sees, not what the scene "is": if the shot is a close-up, the frame shows a face filling the box, not a full figure with a circle around the face. Leave the inside of the frame for the image and put all words outside it. - Annotate camera and sound (input: ink frames → output: annotated frames)
Under each frame, write four short notes and no more: CAMERA (shot size + movement, e.g. "Wide, slow push-in"), ACTION (what happens, one line), DIALOGUE / SOUND (the line or the sound cue), and TRANSITION (cut, dissolve, whip pan, match cut). Use arrows inside the frame for camera and subject movement — a red or accented arrow reads instantly against black ink. If a note needs more than one line, the shot is doing too much; split it or simplify it.
Template preview
Raw Ink Storyboard — Build Template
One beat = one frame. Fill this in before sketching.
Project
Title: {project title} | Date: {date} | Format: {16:9}
Script source: {script file / link}
Beat list
_Total estimated duration: {sum} — must match the script length._
Frame sheet (repeat per frame)
Frame {N} — {beat description}
- Sketch: [rough 16:9 ink box — horizon, gestural subject, wash for mass/shadow; words stay OUTSIDE the frame]
- CAMERA: {shot size + movement}
- ACTION: {what happens, one line}
- DIALOGUE / SOUND: {line or sound cue}
- TRANSITION: {cut / dissolve / whip pan / match cut}