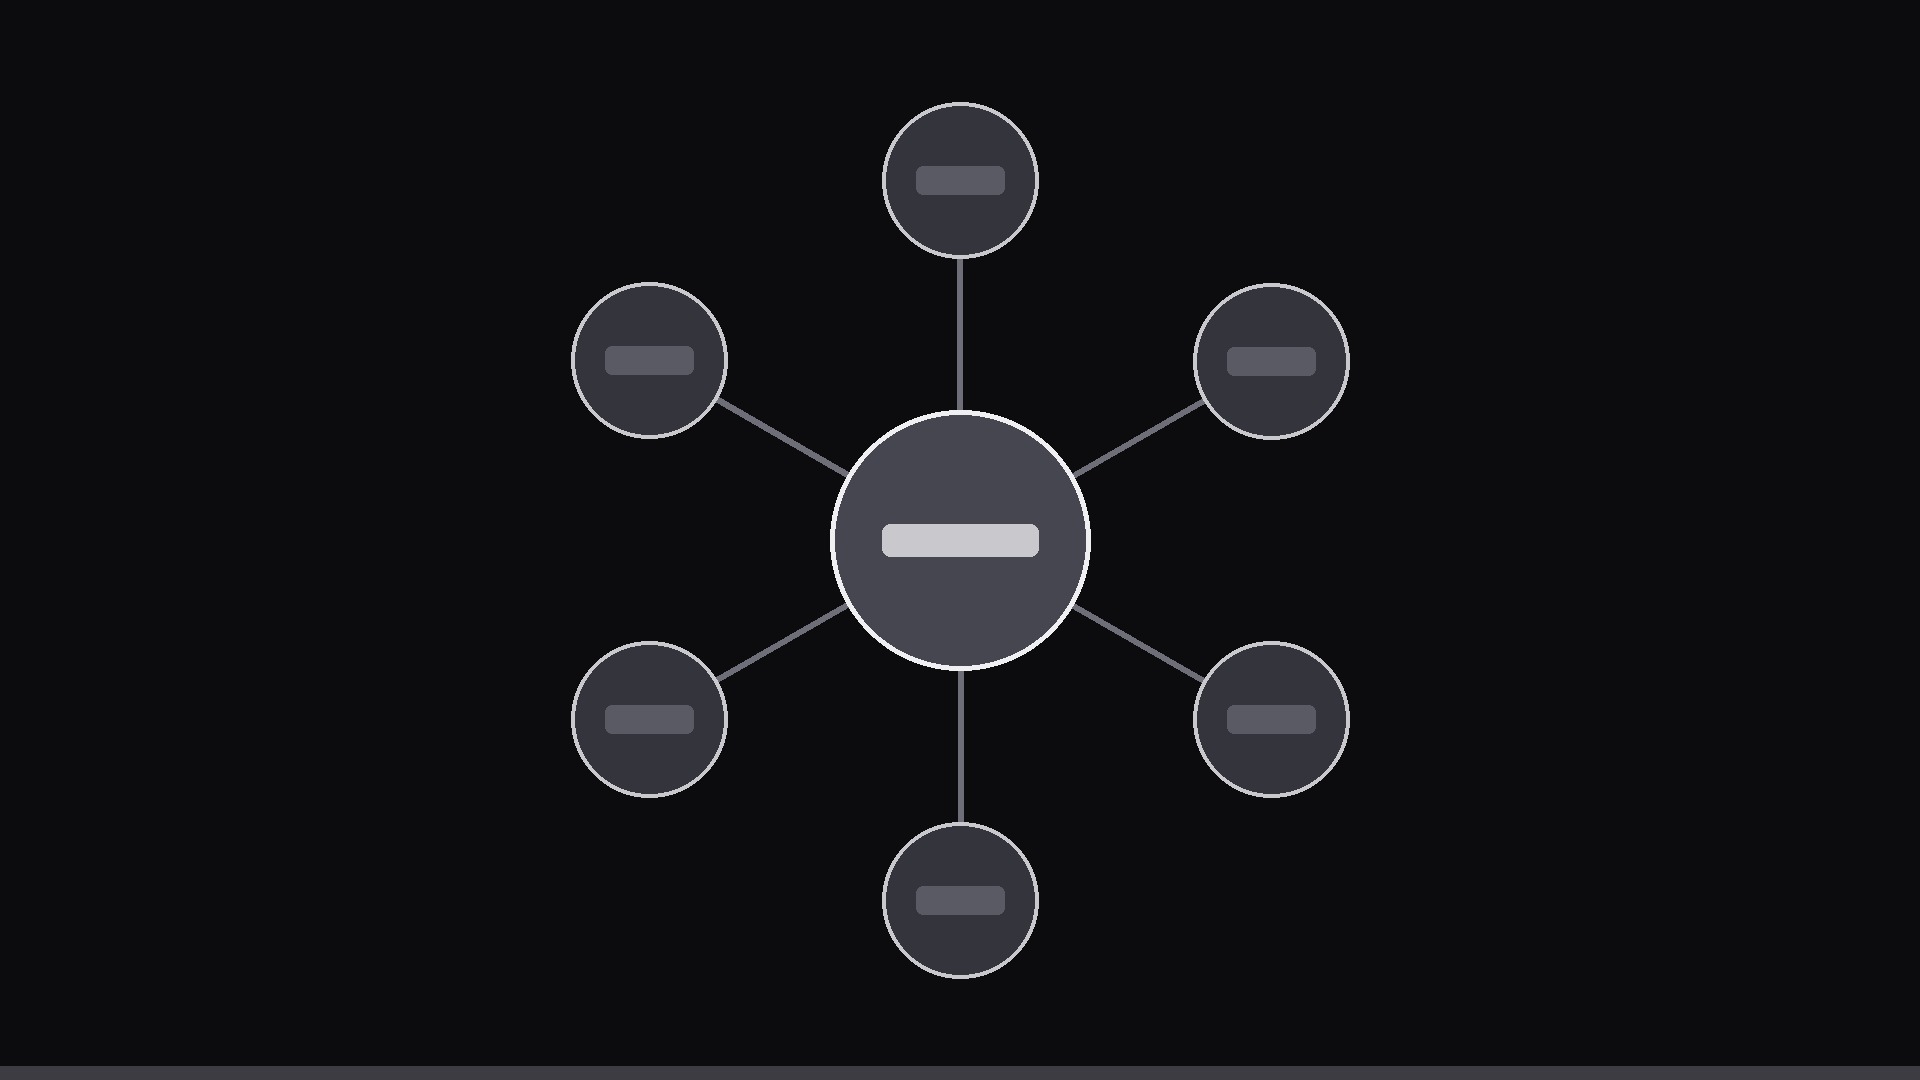
Radial Branch Reveal
One idea grows branches — each sub-idea pops in as its spoke arrives.
A central idea that grows outward on screen: spokes sprout from a center node and each branch ends in a sub-idea that pops in as its spoke arrives.
Install it in 3 steps
No sign-up. No CLI tools. Pick your AI, copy one line, paste it over.
Prefer doing it yourself? Buy the skill ($4.99), download the ZIP from your checkout confirmation, unzip it into the directory shown above, restart your AI session — same result. Already bought it? Your AI assistant can download it for you.
What’s inside
One SKILL.md (the playbook) + one starter template. A preview:
Radial Branch Reveal
When to use
- One central idea splits into 4–8 branches (features, causes, categories, options) and you want the structure to grow on screen
- A mind map screenshot is too dense to read at a glance; you want each branch to arrive one at a time
- The clip is a 15–35 second opener for a lesson, pitch, or explainer — the map is the table of contents
- Hierarchy matters: the viewer must feel what is central and what is a detail, not just see a list
- You need a visual that can later zoom into one branch for a deeper segment (the map becomes the navigation)
Workflow
- Write the tree (input: topic → output: center + 4–8 branch nodes)
Center: the topic in 1–3 words. Branches: 4–8 nodes, each 1–4 words plus an optional ≤8-word gloss. One level only for the reveal — if a branch has sub-branches, save them for the zoom-in segment, not the opening map. Order branches by importance clockwise from 12 o'clock; the first branch revealed should be the one you will discuss first. - Lay out the branches (input: tree → output: radial layout)
Center node at the middle of frame. Branch nodes sit on an invisible circle at 65–75% of frame radius, evenly spaced (e.g. 6 branches = every 60°). Branch lines: straight or gently curved spokes from center to node. Leave room: node labels must not collide with neighbors — if two labels touch, drop a branch or shorten the labels. Keep the center node visually dominant (largest, brightest). - Grow the spokes (input: layout → output: spoke keyframes)
Spokes grow outward from the center one at a time, in clockwise order. Each spoke draws over 0.4–0.6 s with ease-out — fast enough to feel like growth, slow enough to follow. Stagger: next spoke starts 0.15–0.25 s after the previous one starts, so growth overlaps slightly and feels organic rather than robotic. Stroke: 3–5 px at 1080p, tapering toward the node end. - Pop the nodes (input: spokes → output: node keyframes)
Each node pops in the moment its spoke reaches it: scale from 0 to 100% over 0.3 s with a gentle overshoot (ease-out-back, ~10% overshoot then settle). The node label fades in with the pop (0.25 s). Optional: a tiny particle puff or ring at the pop point (0.4 s, subtle). The gloss, if any, appears 0.2 s after the label. Never pop a node before its spoke arrives — the spoke is the cause, the node is the effect.
Template preview
Radial Branch Reveal — Template
Fill in the blanks, then build the clip from the SKILL.md workflow.
Topic
Center node (1–3 words): {topic} Total branches (4–8): {n} Format: [ ] Square 1080×1080 / [ ] Horizontal 1920×1080 End: [ ] Fade out / [ ] Zoom into first branch
Branches (clockwise from 12 o'clock, in discussion order)
Layout
Node circle radius: 65–75% of frame radius Center node style: {largest, brightest — color/size} Branch node style: {color/size} Spoke style: [ ] Straight / [ ] Gently curved | Stroke: {3–5 px at 1080p}, tapered