Portrait with Editorial Notes
A portrait read like a proof — circled, noted, understood
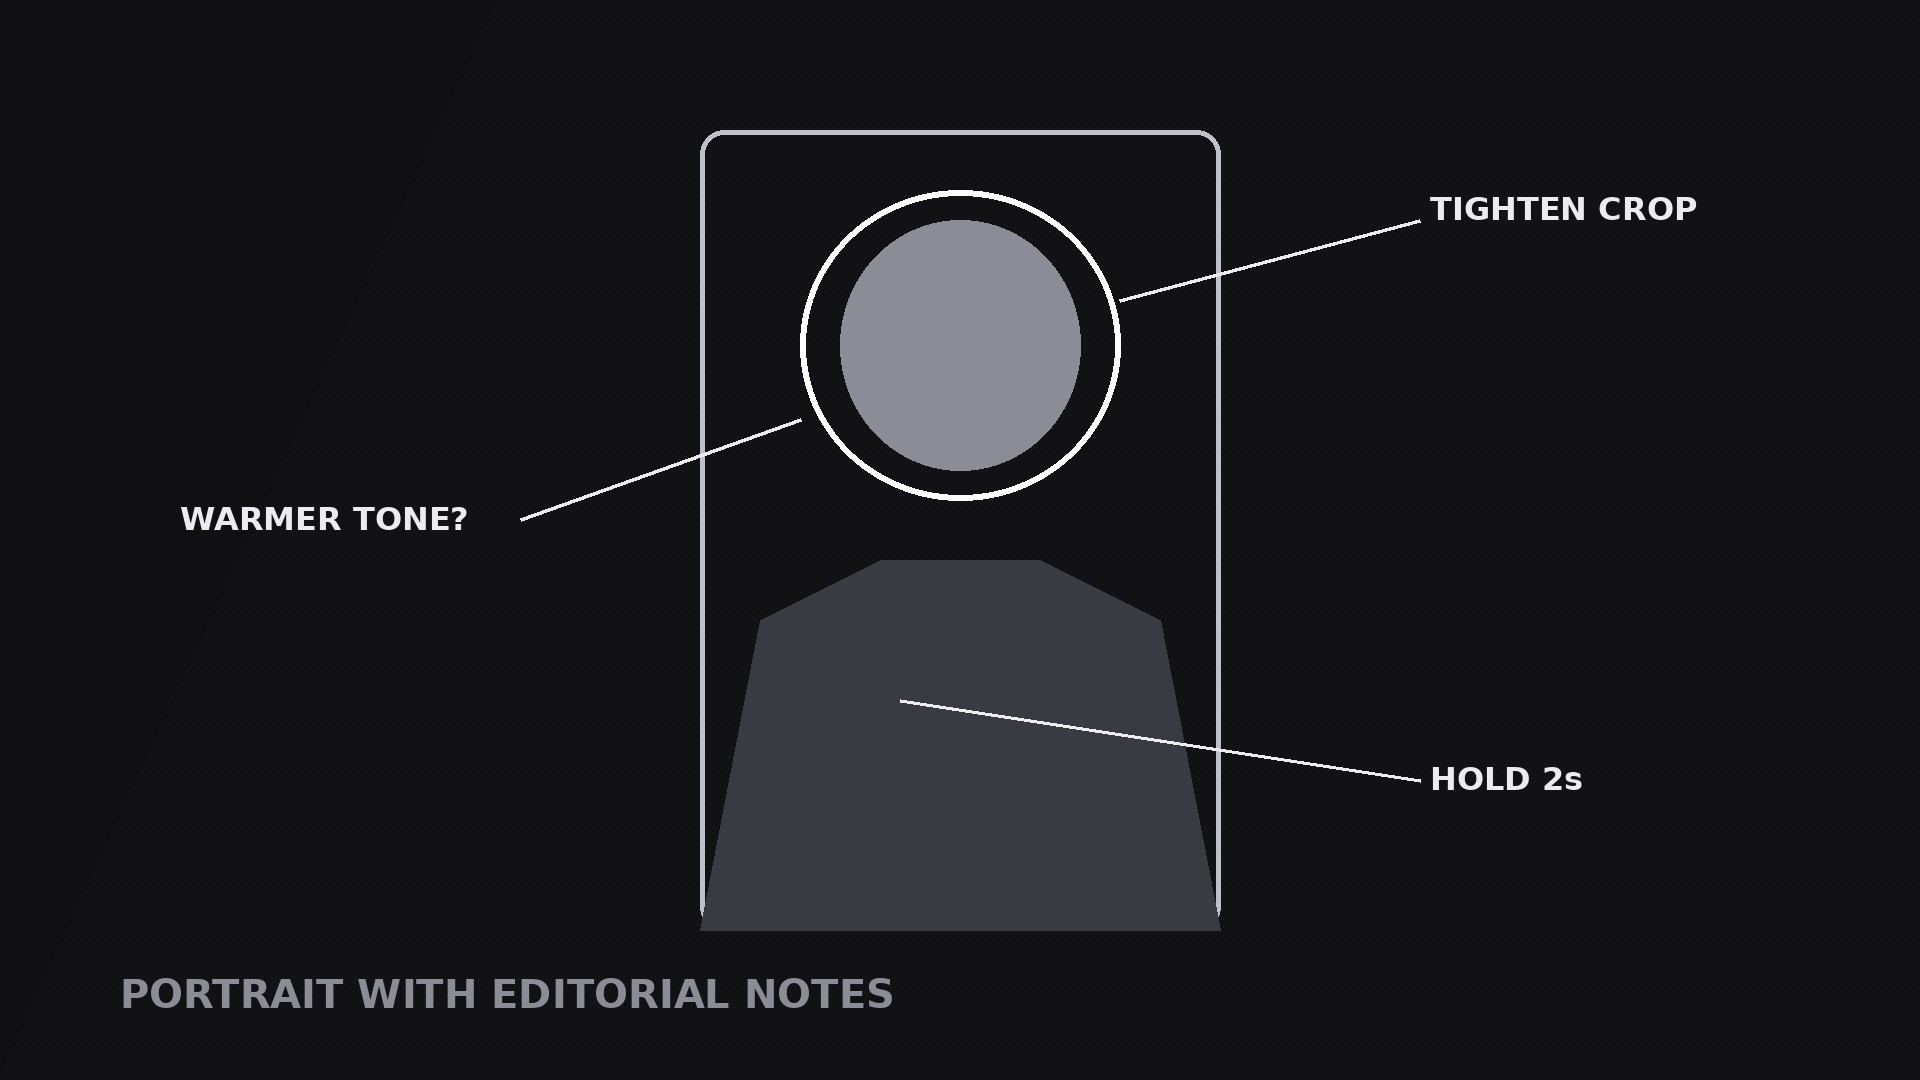
Turns your AI into a motion-graphics director for the portrait-with-editorial-notes pattern — a portrait annotated with circled details, arrows, and margin notes in an editor's hand, so viewers read a face the way an editor reads a proof.
Install it in 3 steps
No sign-up. No CLI tools. Pick your AI, copy one line, paste it over.
Prefer doing it yourself? Buy the skill ($4.99), download the ZIP from your checkout confirmation, unzip it into the directory shown above, restart your AI session — same result. Already bought it? Your AI assistant can download it for you.
What’s inside
One SKILL.md (the playbook) + one starter template. A preview:
Portrait with Editorial Notes
When to use
- A documentary, essay, or biography video where a portrait needs commentary — what to notice in the expression, the setting, the clothing, the hands
- A photo-critique or editing tutorial where you mark up a portrait live: crop here, warm this, soften that
- A history or archival video where a still portrait gets annotated with context: who this is, when it was taken, what was happening just out of frame
- A character-introduction video where the notes are the introduction: name, role, one telling detail, written beside the face instead of read aloud
- A review or reaction video where the notes are the joke or the verdict — a circled detail with a two-word comment that lands faster than a paragraph
Workflow
- Pick the portrait and the details (input: your subject → output: portrait + 2–4 note targets)
Choose a portrait with room around the subject — headroom above, space at the sides — because the notes need somewhere to live. Pick two to four details worth noting: an expression, a prop, a background element, a clothing detail. Each detail must be a visible, pointable spot on the portrait. If a note has no visible anchor ("she was nervous"), it belongs in the voiceover, not on the image. Rank the details in the order the viewer should notice them, and decide the note type for each: a circle (look here), an arrow (this connects to that), an underline (this word or detail matters), or a margin note (context that lives beside the portrait). - Frame the editorial space (input: portrait → output: framed layout)
Place the portrait slightly off-centre, leaving one side — usually the right — as the margin where longer notes live. The margin is part of the composition, not leftover space: give it a consistent treatment, such as a paper tone, a faint rule, or simply clean empty background. Keep the portrait large: notes that shrink the face to make room for commentary have the priorities backwards. If the portrait is a tight crop with no margin, add a side panel rather than shrinking the face — the face stays full-size, the notes get their own column.
Template preview
Portrait with Editorial Notes — Starter Template
One portrait, 2–4 notes, drawn on one at a time. Pick the details first — every mark needs a visible anchor.
The portrait
Portrait: {photo / still — with headroom and side space for notes}
Portrait position: {slightly off-centre, margin on the right / side panel for notes}
Margin treatment: {paper tone / faint rule / clean empty background}
The notes (2–4, each anchored to a visible detail)
Cut check: if a note has no visible anchor on the portrait, move it to the voiceover.
Order rule: {order the viewer should notice them} | Number the notes? {yes — order matters / no — any order}