Parallax Evidence and Conclusion
Proof scrolls in depth while the takeaway stays pinned
Turns your AI into a motion-graphics director for the parallax-evidence-and-conclusion pattern — layers evidence behind a conclusion and scrolls them at different speeds, so the proof feels deep and the takeaway stays put.
Install it in 3 steps
No sign-up. No CLI tools. Pick your AI, copy one line, paste it over.
Prefer doing it yourself? Buy the skill ($4.99), download the ZIP from your checkout confirmation, unzip it into the directory shown above, restart your AI session — same result. Already bought it? Your AI assistant can download it for you.
What’s inside
One SKILL.md (the playbook) + one starter template. A preview:
Parallax Evidence and Conclusion
When to use
- Your video presents a conclusion backed by several pieces of evidence, and a flat list of bullet points makes the proof feel thin
- A documentary or explainer beat where the takeaway ("This changed everything") must stay on screen while the supporting facts drift past behind it
- A data story: a headline finding in front, charts, photos, and quotes scrolling at different depths behind it
- A pitch where the claim stays pinned while the proof scrolls — the visual equivalent of "meanwhile, the evidence"
- A recap shot at the end of a video: conclusion forward, everything that proved it layered behind
Workflow
- Write the conclusion first (input: your argument → output: one conclusion line)
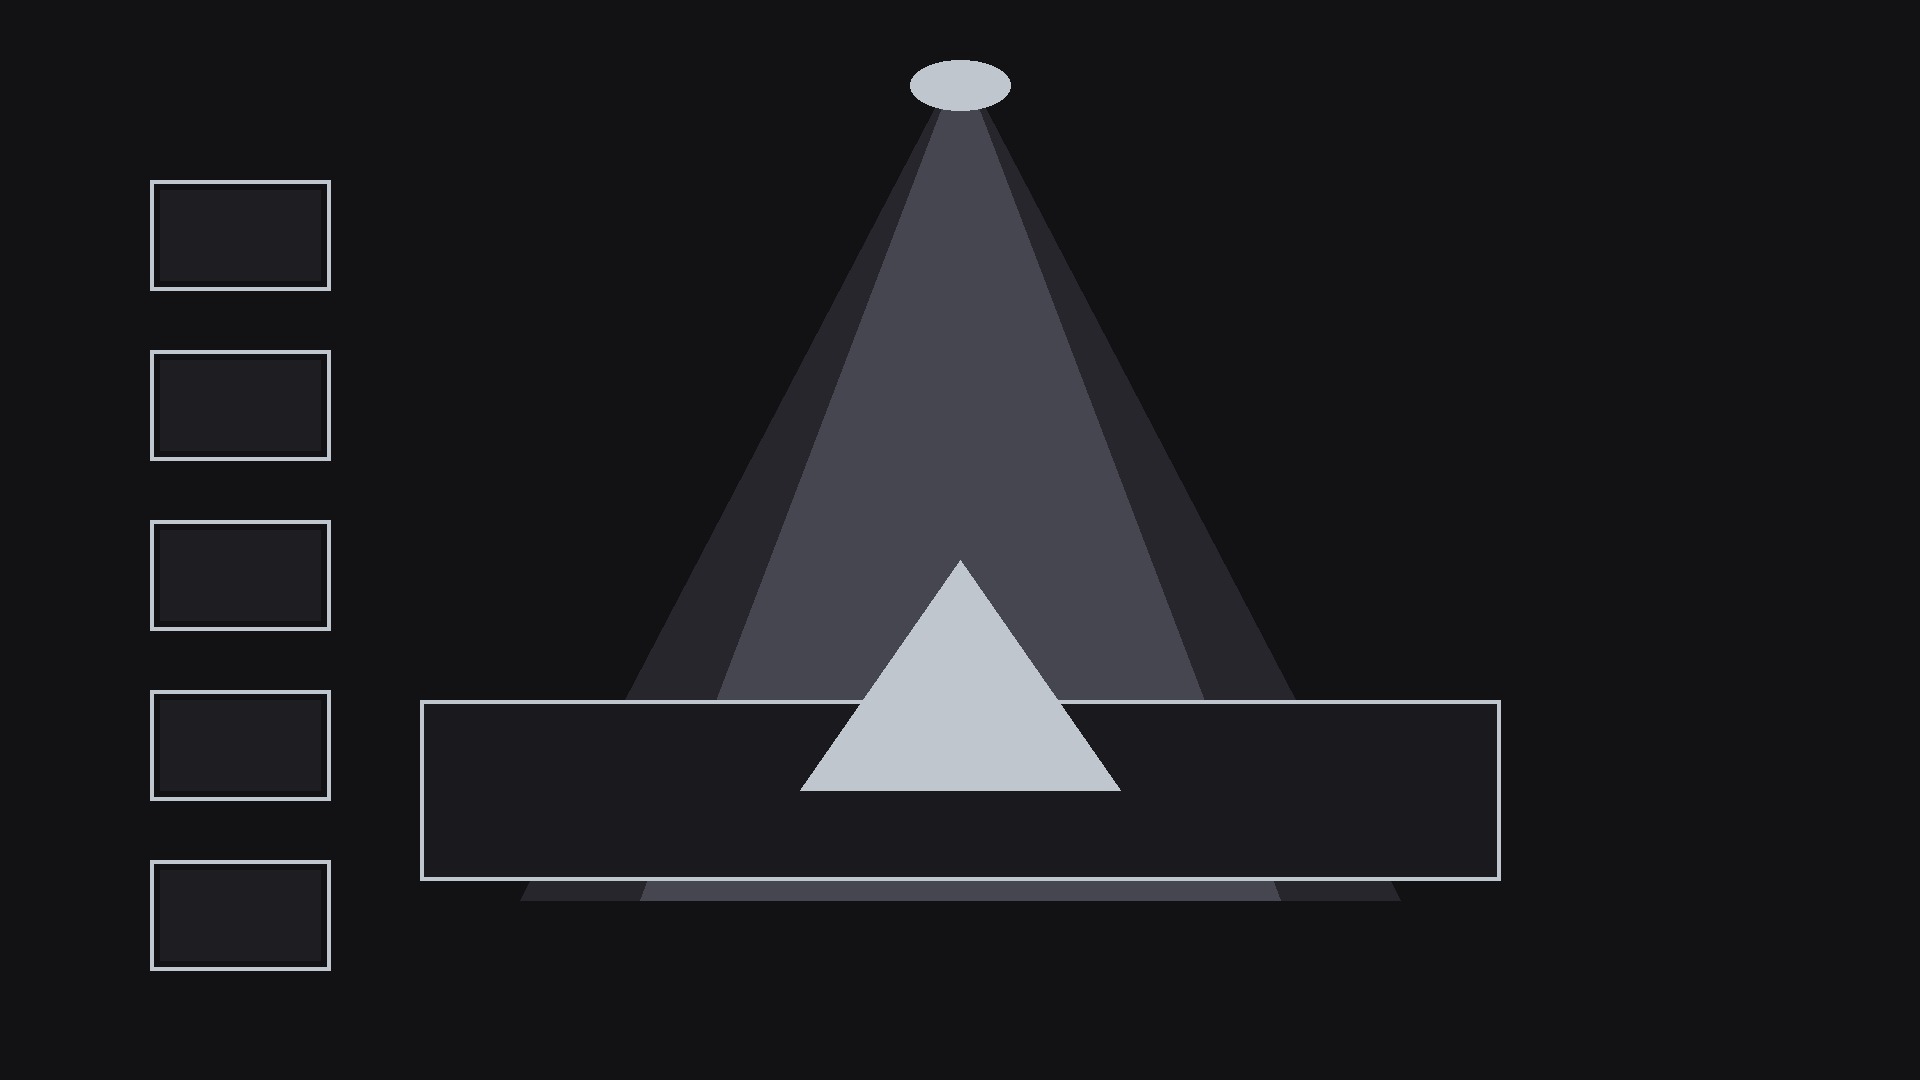
The conclusion is a single sentence of 6–14 words, stated as a claim: "Remote work raised output, not lowered it." It must be a claim that needs evidence — if it is self-evident ("Exercise is healthy"), the pattern has nothing to do. Write it in the largest type on screen, centered or lower-third, and freeze it: this line does not scroll, does not scale, does not fade during the shot. Every other element in the shot exists to support it, and the viewer must be able to read it at any moment by looking at one fixed place. - Collect the evidence layers (input: conclusion → output: 3–5 evidence pieces)
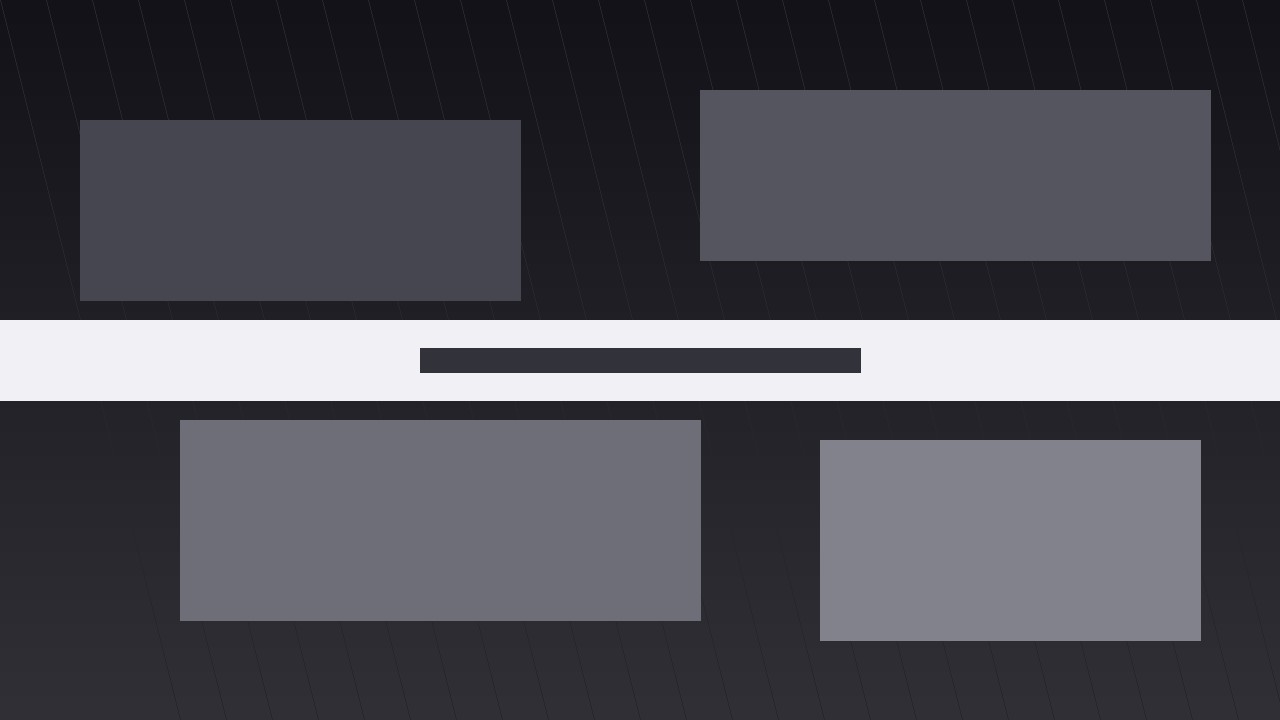
Gather three to five pieces of evidence, each one self-contained: a chart, a photo with a caption, a short quote, a single statistic. Each piece must independently support the conclusion — if removing one leaves the claim standing, it is filler and gets cut. Sort the evidence into depth layers: foreground (1–2 pieces, large, slowest), midground (1–2 pieces, medium), background (1–2 pieces, small, fastest). The layering is a hierarchy of importance, not decoration: the most decisive evidence sits closest to the viewer. - Build the depth stack (input: evidence → output: layered composition)
Compose the frame with the conclusion in front and the evidence behind it in three depth planes. Background pieces are smallest, dimmest (60–70% brightness), and slightly blurred (1–2 px) so they read as distant; midground pieces are medium and at ~85% brightness; foreground pieces are full brightness and large enough to read. Overlap the layers deliberately — edges of background pieces peeking from behind midground pieces sell the depth. Leave a clean zone behind the conclusion line: no evidence piece should pass directly behind the text at full brightness, or the conclusion becomes unreadable at the worst moment.
Template preview
Parallax Evidence and Conclusion — Starter Template
One pinned conclusion, layers of proof drifting behind it. Write the conclusion first.
The conclusion
Conclusion (6–14 words, a claim that needs evidence): {conclusion}
Placement: centered ☐ / lower-third ☐ — pinned, never moves during the shot.
Evidence pieces (3–5, each independently supporting the claim)
Filler check: remove any one piece — does the claim still stand on the rest? If a piece is removable, cut it. ☐
Depth stack
Clean zone: no evidence passes directly behind the conclusion at full brightness. ☐
Motion plan
Voiceover beat lines (one per evidence piece):