Nested Workspace Build
The workspace assembles itself — frame, panels, then content.
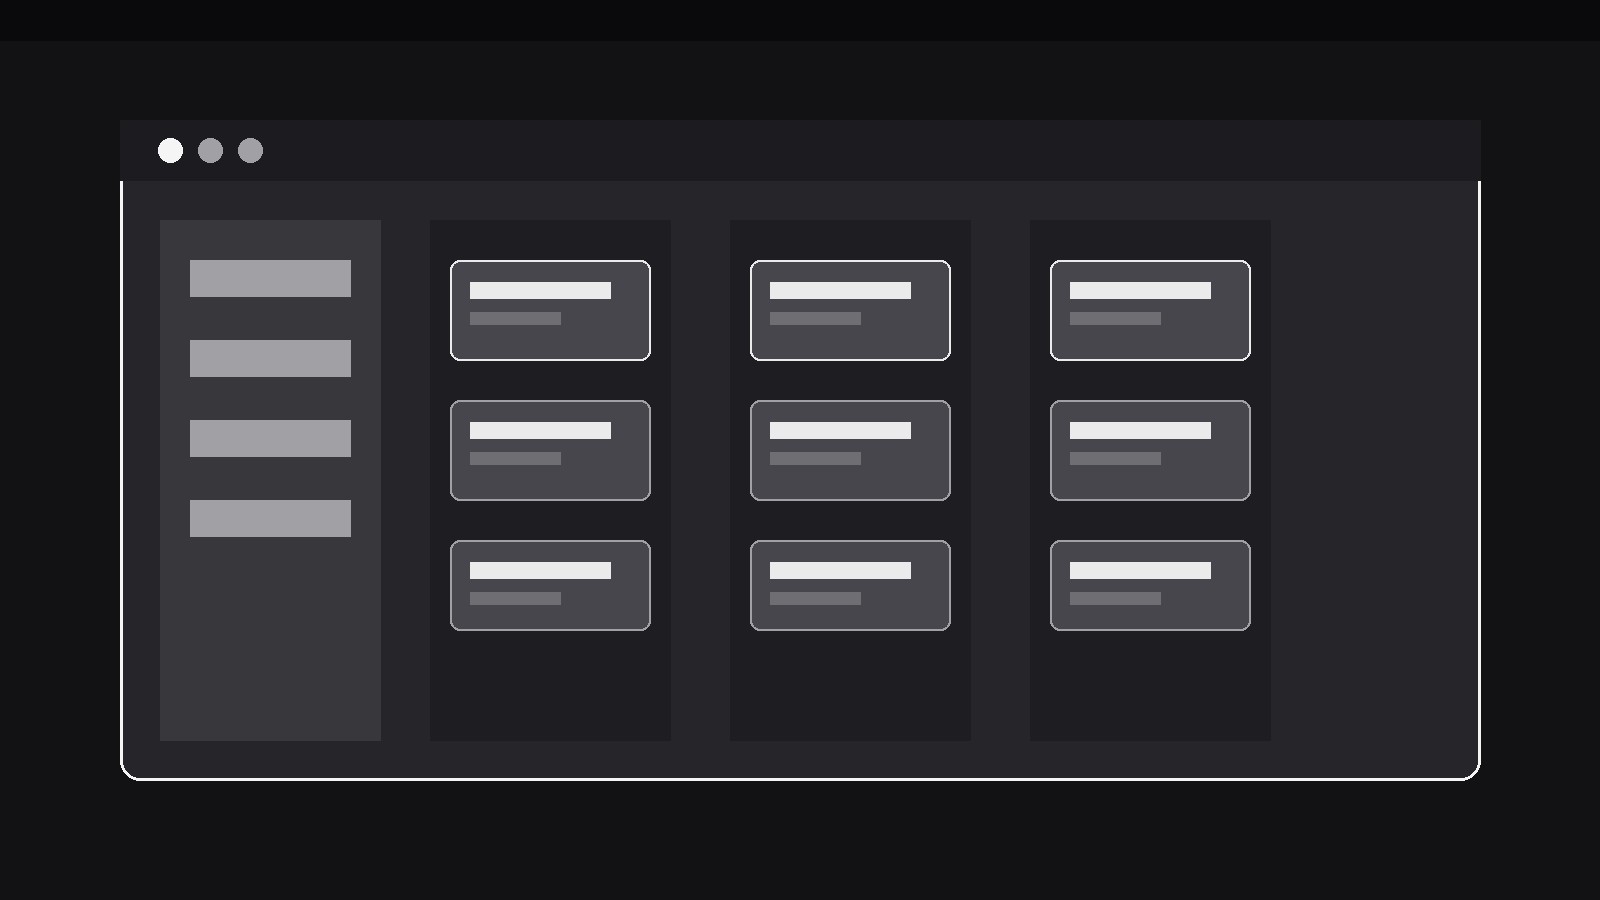
Turns your AI into a motion designer for one specific pattern — a workspace interface assembles itself on screen layer by layer, outer frame first, then panels, then the content nested inside them, so the viewer learns the layout by watching it get built. For SaaS demos, workspace tours, and onboarding videos where a finished screenshot would overwhelm a new user.
Install it in 3 steps
No sign-up. No CLI tools. Pick your AI, copy one line, paste it over.
Prefer doing it yourself? Buy the skill ($4.99), download the ZIP from your checkout confirmation, unzip it into the directory shown above, restart your AI session — same result. Already bought it? Your AI assistant can download it for you.
What’s inside
One SKILL.md (the playbook) + one starter template. A preview:
Nested Workspace Build
When to use
- A SaaS demo opens on a busy workspace (sidebar, boards, panels, widgets) and a new viewer can't tell where to look first — building it layer by layer teaches the layout
- An onboarding video introduces a workspace's structure: what lives in the frame, what lives in the panels, what lives in the content area
- A feature launch shows a new workspace layout and needs the viewer to understand the nesting (workspace → project → view → card) rather than just admire the screenshot
- A product tour must establish the interface's geography before any feature is clicked — the build is the map
- A comparison or review video wants to show how a tool's workspace is organised, panel by panel, without narrating over a static screenshot
- A redesign announcement shows the new layout assembling, so returning users can map the old layout onto the new one
Workflow
- Name the layers (input: your workspace → output: layer list)
Decompose the workspace from the outside in: outer frame (window chrome, top bar), first-level panels (sidebar, main area), second-level containers (project board, detail pane, tab strip), and finally the content (cards, rows, documents) nested inside the innermost container. Cap the build at 3–4 layers; a fifth layer means some containers should be introduced already assembled. Each layer gets a name (1–3 words) and a one-line job description ("Sidebar: navigation between projects"). If a layer's job can't be stated in one line, it is two layers pretending to be one. - Stage the empty frame (input: layer list → output: opening frame)
Open on the outer frame alone — window chrome and top bar, empty inside, at the workspace's real proportions. Hold it for 600–800ms. The empty frame is the pattern's promise: the viewer sees the container before the contents, so every later layer has a place to belong. Keep the frame honest to the product: same corner radius, same top-bar height, same background as the real app. A generic browser window with a fake URL bar teaches nothing about this workspace.
Template preview
Nested Workspace Build — Starter Template
Decompose outside in. Cap at 3–4 layers.
Layer list (outside → in)
Opening frame
- Outer frame: {window chrome + top bar, real proportions, real corner radius}
- Hold: {600–800ms} — empty, before any layer arrives
Build sequence
- Per-layer entrance: {300–400ms fade + scale 0.97→1.0 + 8px slide from natural edge}
- Spacing between layers: {400–600ms}
- Layer labels: {in-layer corner, fade after 1s / caption bar} — one style, consistent
- Content population: {groups of 2–3, 100–150ms apart, 200ms fade + 6px rise}
- First content item (the demo's next subject): {e.g. The card the narration will click next}