Inspect Split Reveal
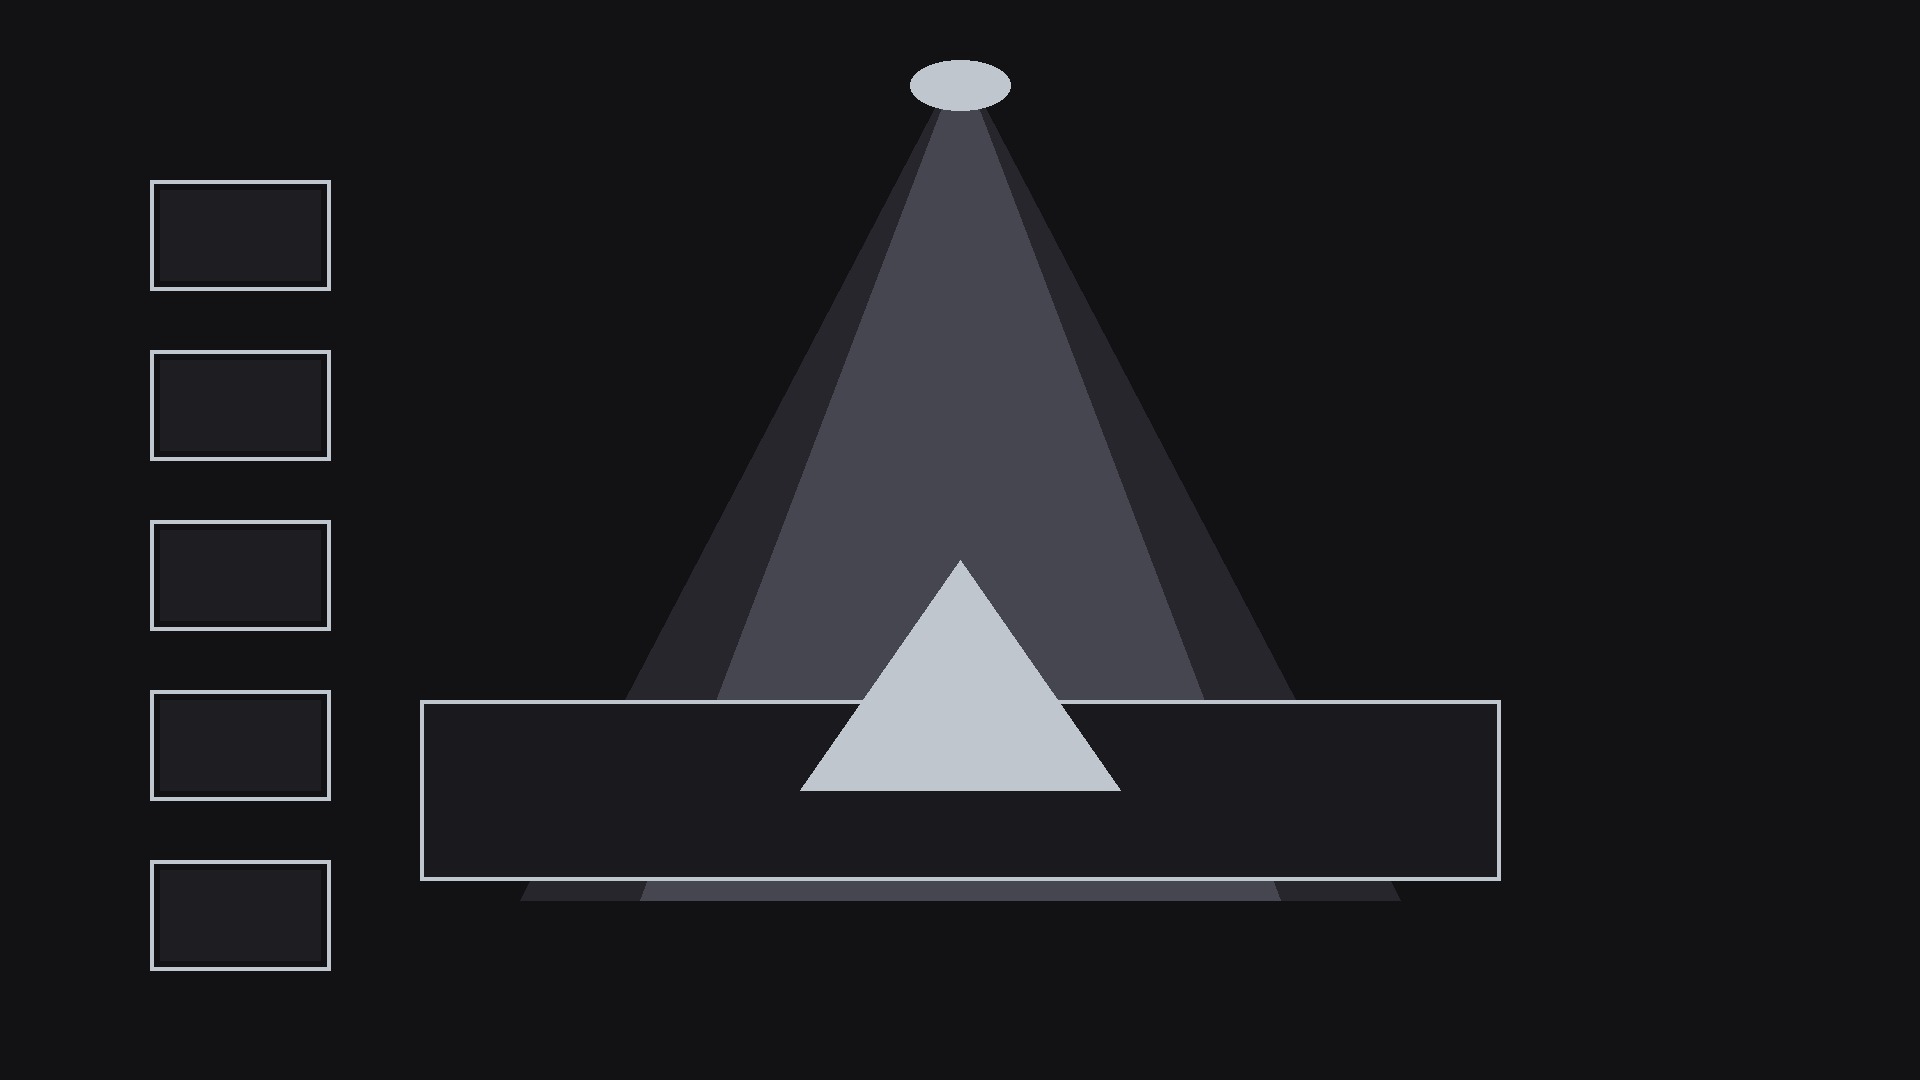
A split slides open and the detail underneath is inspected up close.
Turns your AI into a motion-graphics director for split reveals — takes one image or scene, splits it open along a clean line, and zooms into the detail underneath so the audience inspects exactly what matters. For before/after comparisons, quality checks, and any moment where the detail hides inside the whole.
Install it in 3 steps
No sign-up. No CLI tools. Pick your AI, copy one line, paste it over.
Prefer doing it yourself? Buy the skill ($4.99), download the ZIP from your checkout confirmation, unzip it into the directory shown above, restart your AI session — same result. Already bought it? Your AI assistant can download it for you.
What’s inside
One SKILL.md (the playbook) + one starter template. A preview:
Inspect Split Reveal
When to use
- A before/after comparison needs the audience to see both states of the same image — original vs. retouched, draft vs. final, worn vs. restored — with a split they control in their mind
- A product video has to zoom into a small detail (a stitch, a chip, a label, a defect) and prove it is really there in the full scene
- A quality-check or teardown video inspects one region of a larger object and the audience must keep track of where that region sits in the whole
- A design walkthrough compares two versions of the same layout side by side without cutting between two separate screenshots
- A tutorial highlights a single area of a screen, document, or photo and explains what is happening inside it while the rest stays visible for context
Workflow
- Pick the split and the detail (input: image or scene → output: split plan)
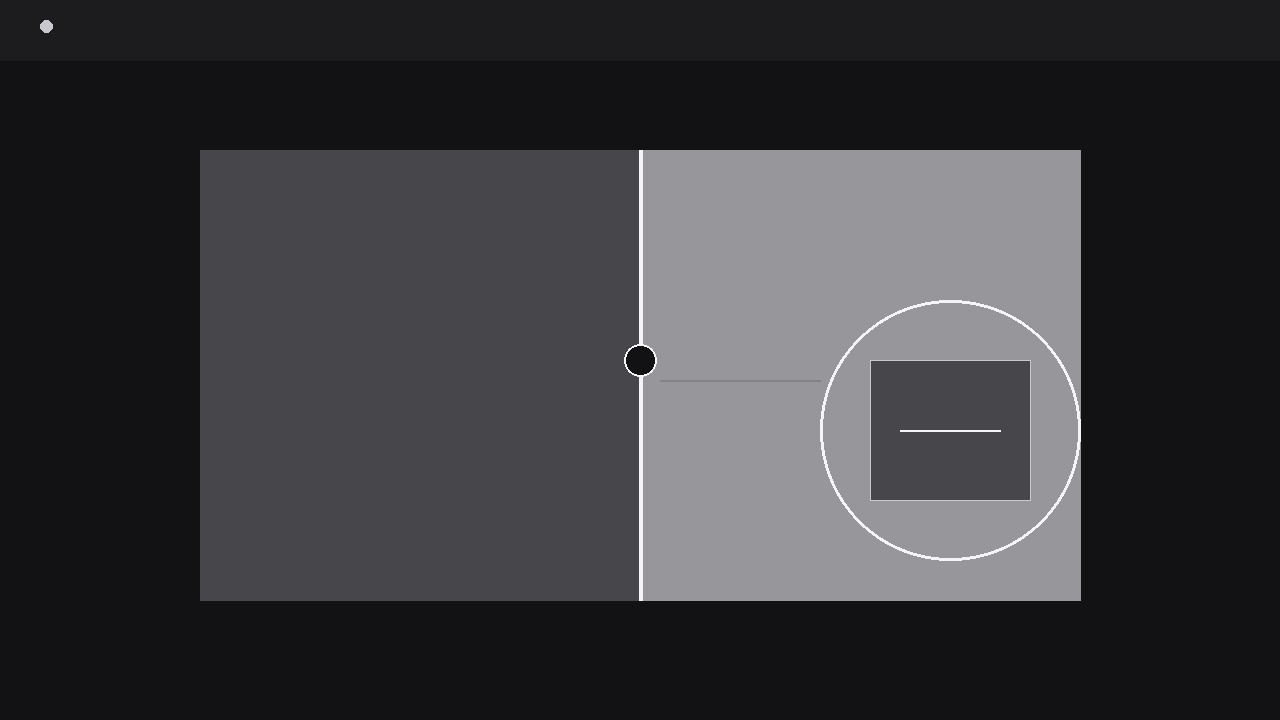
Choose the image and decide two things: where the split line goes, and which detail gets inspected. The split line should follow a natural seam in the image — a vertical line through the centre for before/after, a horizontal line for above/below, or a diagonal only when the image has a strong diagonal edge to follow. The detail is one region, roughly 10–25% of the frame, with a clear reason to inspect it: the change, the flaw, the feature, the proof. Write the detail's claim in one sentence before animating ("The stitching is double-rowed along this seam") — if you cannot state the claim, the zoom will wander and the audience will not know what they are looking at. Mark the detail's location on the full image now; the zoom must start from exactly that spot, or the audience will feel teleported. - Stage the whole, then split it (input: split plan → output: staged split)
Show the whole image first, full frame, for at least one second — the audience needs the "whole" before it is split. Then the split line draws itself across the frame over 300–400 ms: a thin, high-contrast line (2–3 px, white or near-white on a dark image, black on a light one) with a small handle or grip at its centre so it reads as a divider, not a scratch. The two sides separate along the line with a small gap (8–16 px) that reveals the background or a neutral strip between them — the gap is what makes the split read as an opening rather than a seam. Label each side the moment the split completes, with short tags at the outer edges ("Before" / "After", "Original" / "Restored"), never across the split line itself. The labels fade in over 150 ms and then stay fixed; a label that moves during inspection forces the viewer to re-read it.
Template preview
Inspect Split Reveal — Starter Template
One image, one split, one detail — proven to live inside the whole.
The image
Source image: {file / link} | Resolution: {must support the planned magnification}
Split plan
The detail (one region, 10–25% of frame)
Location in the full image: {e.g. lower-right seam, near the pocket} Claim (one sentence): {e.g. "The stitching is double-rowed along this seam."} Does the detail span the split line? {yes — loupe straddles it / no}
Animation settings
- Whole image first: {≥1 s}
- Split line draw: {300–400 ms}, {2–3 px}, handle: {yes}
- Side labels: fade in {150 ms} after split, fixed at outer edges