Hub Routing
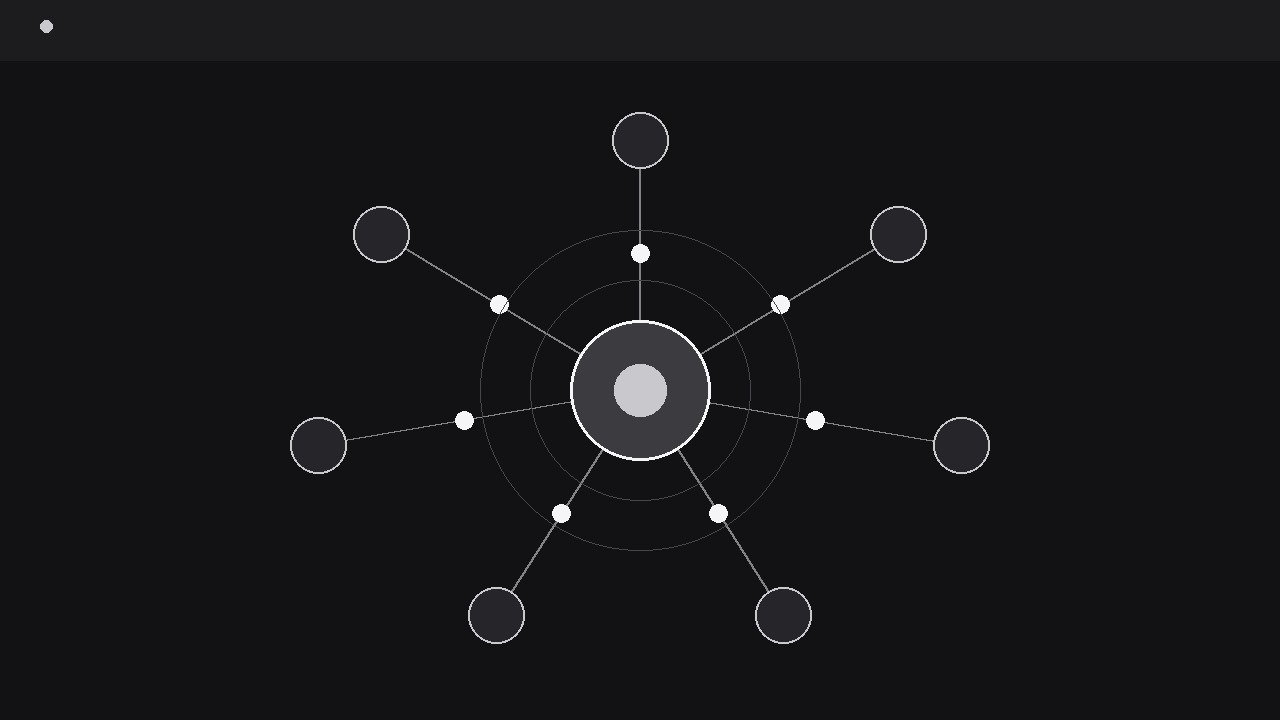
Everything routes through one hub — and every path stays traceable.
Turns your AI into a motion-graphics director for hub-and-spoke routing — takes one central hub and its destinations, draws clean routes outward, and animates packets travelling each path so the audience sees how everything flows through one centre. For explainers about networks, logistics, platforms, and any system with a single point of coordination.
Install it in 3 steps
No sign-up. No CLI tools. Pick your AI, copy one line, paste it over.
Prefer doing it yourself? Buy the skill ($4.99), download the ZIP from your checkout confirmation, unzip it into the directory shown above, restart your AI session — same result. Already bought it? Your AI assistant can download it for you.
What’s inside
One SKILL.md (the playbook) + one starter template. A preview:
Hub Routing
When to use
- An explainer video needs to show how a platform, warehouse, server, or control centre connects to many destinations at once
- A logistics or delivery video traces parcels, vehicles, or messages from one depot out to a set of stops and back
- A network or architecture overview has to make a central service understandable without a wall of boxes and arrows
- A product demo shows how one dashboard, inbox, or API routes work to different teams, tools, or locations
- A pitch video needs a single image that says "everything flows through us" and then proves it by moving traffic along every route
Workflow
- Define the hub and the spokes (input: system to explain → output: hub-spoke map)
Start on paper: one hub, and the destinations it serves. Name the hub in one or two words ("Central warehouse", "Main server", "Dispatch") and name each spoke the same way — every spoke is a real destination, not a category. Cap the spokes at eight; beyond that the routes tangle and the centre becomes a knot. For each spoke, write what travels along its route in one phrase ("orders", "sensor readings", "support tickets") and whether traffic is one-way (hub → spoke), inbound (spoke → hub), or two-way. If two spokes need the same route drawn twice, merge them: duplicate routes are the first sign the map is modelling org-chart politics instead of actual flows. Decide now what the packets are — the visible dots or tokens that travel the routes — and keep them identical across all spokes so the audience reads "same kind of traffic, different destinations". - Lay out the geometry (input: hub-spoke map → output: static layout)
Place the hub at the visual centre (or slightly left of centre if a caption column is planned on the right) and arrange the spokes in a balanced ring around it — roughly even angular spacing, with the most important spokes at the top and the sides rather than buried at the bottom. Routes are smooth curves, not straight lines: a gentle bend (control point offset 15–25% of the route length) keeps parallel routes from overlapping and gives each path its own identity. Draw every route at low opacity first, as a faint track, so the full network is visible before anything moves — the audience should see the whole shape in the first second. Spoke labels sit outside the ring, aligned outward from each spoke, and never cross a route. If two routes must cross, give the crossing a small bridge gap (one route visually passes over the other with a 4 px break) rather than letting lines merge into an ambiguous X.
Template preview
Hub Routing — Starter Template
One hub, clean routes, traffic you can follow with a finger.
The system in one sentence
{Example: "One dispatch hub routes deliveries to six city depots."}
Hub
Name: {e.g. Central warehouse} | Role (one line): {e.g. sorts and dispatches every order}
Spokes (max 8)
Packet (visible token): {e.g. small white dot, one size for all routes}
Geometry notes
- Hub position: {centre / slightly left of centre + caption column}
- Most important spokes placed: {top / sides}
- Route crossings: {none / at ___, use bridge gap}
- Spoke labels: {outside the ring, never crossing a route}