Device-Canvas Product Launch
One big device canvas carries your whole launch story.
Builds a product launch page around one large device frame that carries the product story: hero shot, feature tour with one canvas state per feature, pricing, and a single consistent call to action.

Install it in 3 steps
No sign-up. No CLI tools. Pick your AI, copy one line, paste it over.
Prefer doing it yourself? Buy the skill ($4.99), download the ZIP from your checkout confirmation, unzip it into the directory shown above, restart your AI session — same result. Already bought it? Your AI assistant can download it for you.
What’s inside
One SKILL.md (the playbook) + one starter template. A preview:
Device-Canvas Product Launch
When to use
- You are launching an app, tool, or device and need a page that shows it instead of just describing it
- Your current landing page is a wall of text and visitors bounce before they see what the product looks like
- You have screenshots or a short demo clip and want them arranged into one coherent launch story
- You need a launch page for a Product Hunt, App Store, or social announcement that reads well on both phone and desktop
- Your team keeps arguing about page structure — you want one canvas-first layout everyone can agree on
Workflow
- Pin down the one story (input: product facts → output: launch story line)
Write one sentence that says who the product is for, what it does, and why it beats the alternative. Everything on the page must support that sentence; anything that doesn't gets cut. If you can't write the sentence, the page isn't ready — fix the positioning before touching layout. - Collect the canvas material (input: product assets → output: asset pack)
Gather the raw material: 3–6 screenshots or renders of the product at its best, one short demo clip if you have it, the product name and logo, and three feature claims with proof (a number, a before/after, or a short quote). Name every file clearly. A canvas with blurry or placeholder screenshots will look unfinished no matter how good the layout is. - Lay out the device canvas (input: asset pack → output: page wireframe)
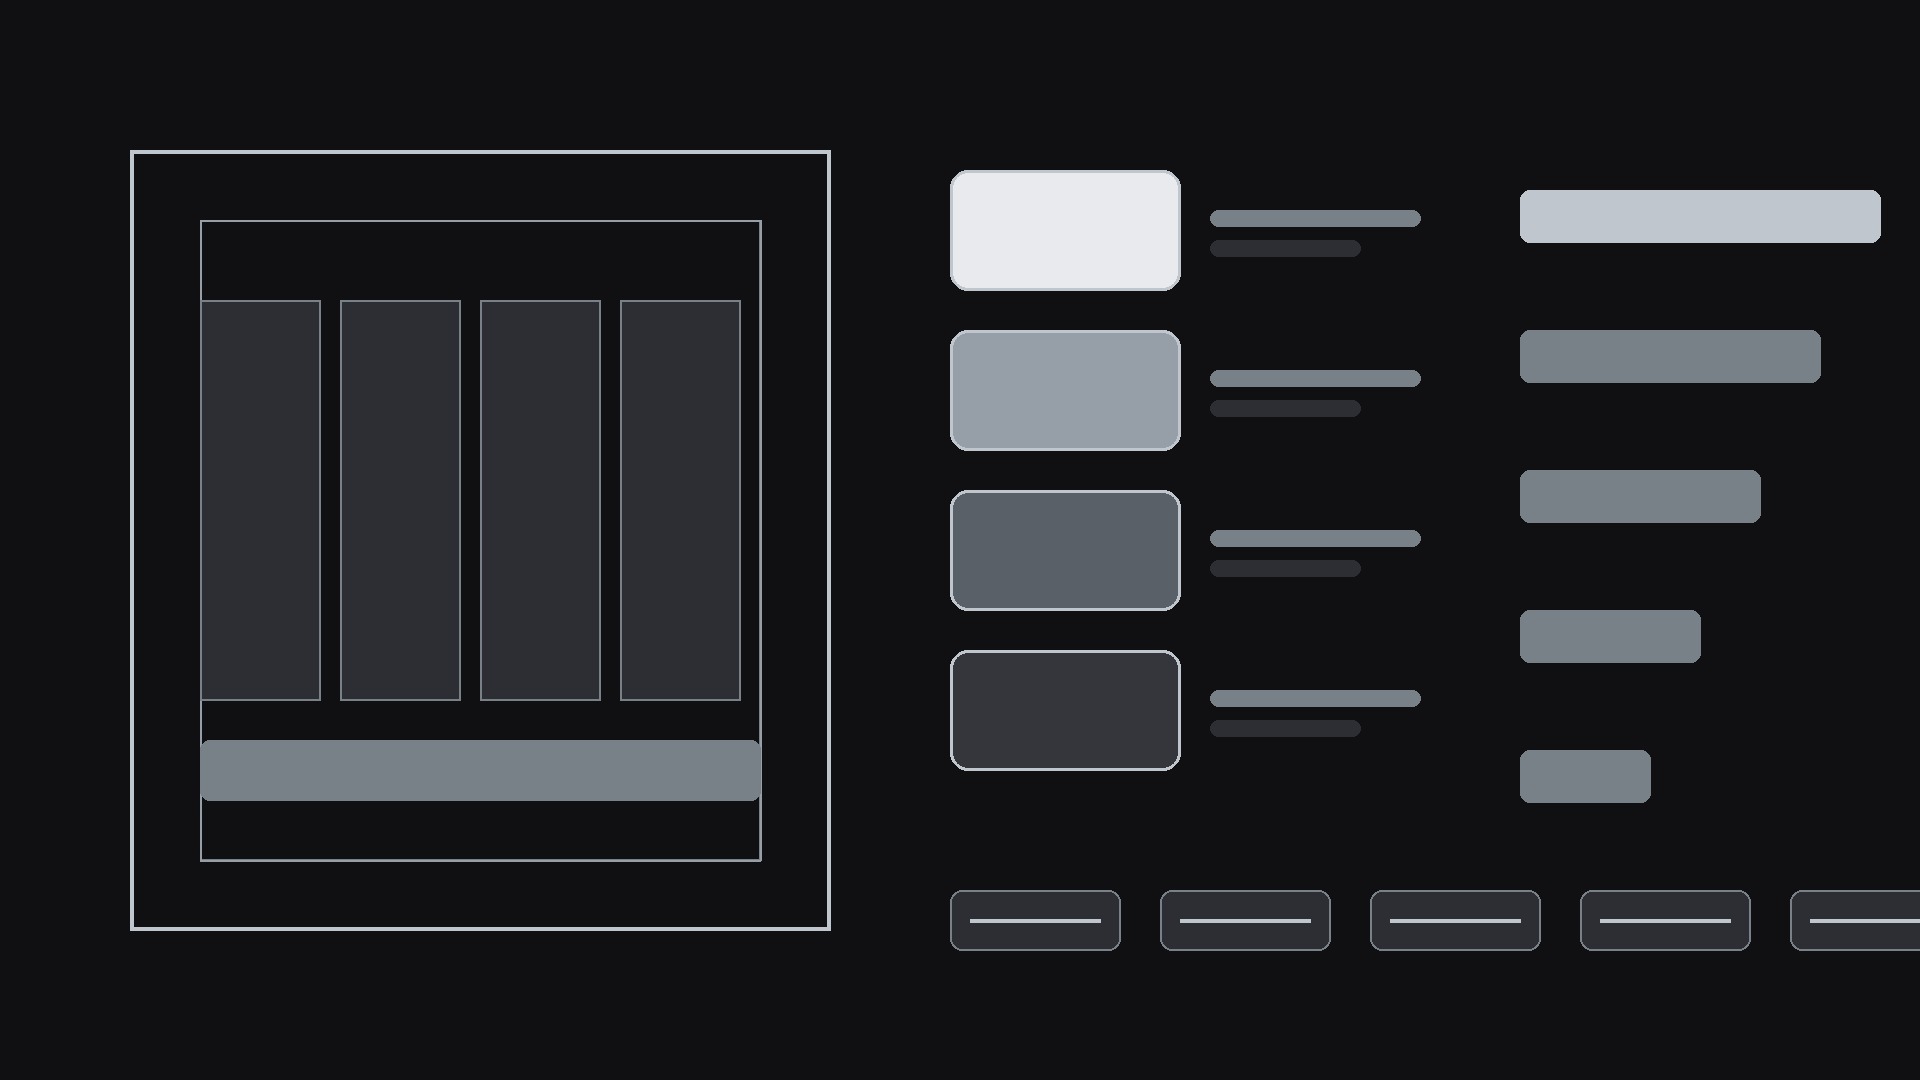
Build the page around one large device frame — phone, laptop, or tablet, whichever your users actually use — that acts as the canvas for the product story. The hero shows the device with your single best screen inside it. Below the hero, the same canvas reappears in the feature tour: each feature gets one canvas state (one screen, one callout, one line of copy). Keep the canvas in the same position and size across sections so the page feels like one continuous demo, not a slideshow of unrelated images. - Write the copy to the canvas (input: wireframe → output: full page copy)
Write headlines that describe the outcome, not the feature: "Inbox zero by 9am" beats "Smart triage engine". Each feature section gets a headline (one outcome), one sentence of explanation, and one proof point. The call to action appears three times — after the hero, after the feature tour, and at the bottom — and always says the same thing. If a section doesn't change what the reader does next, delete it.
Template preview
Device-Canvas Product Launch — Page Template
Fill this in before building the page. One canvas, one story.
Launch story line
Product: {product name} For: {audience} Does: {what it does, plain words} Why it beats the alternative: {one advantage}
Story line (one sentence): {audience} use {product} to {outcome}, unlike {alternative} which {weakness}.
Asset pack
Feature claims (one proof point each)
- {Feature 1} — proof: {number / before-after / short quote}
- {Feature 2} — proof: {number / before-after / short quote}
- {Feature 3} — proof: {number / before-after / short quote}