Cinematic Shot Grid
One page per scene: every shot, camera move, and cue the crew needs.
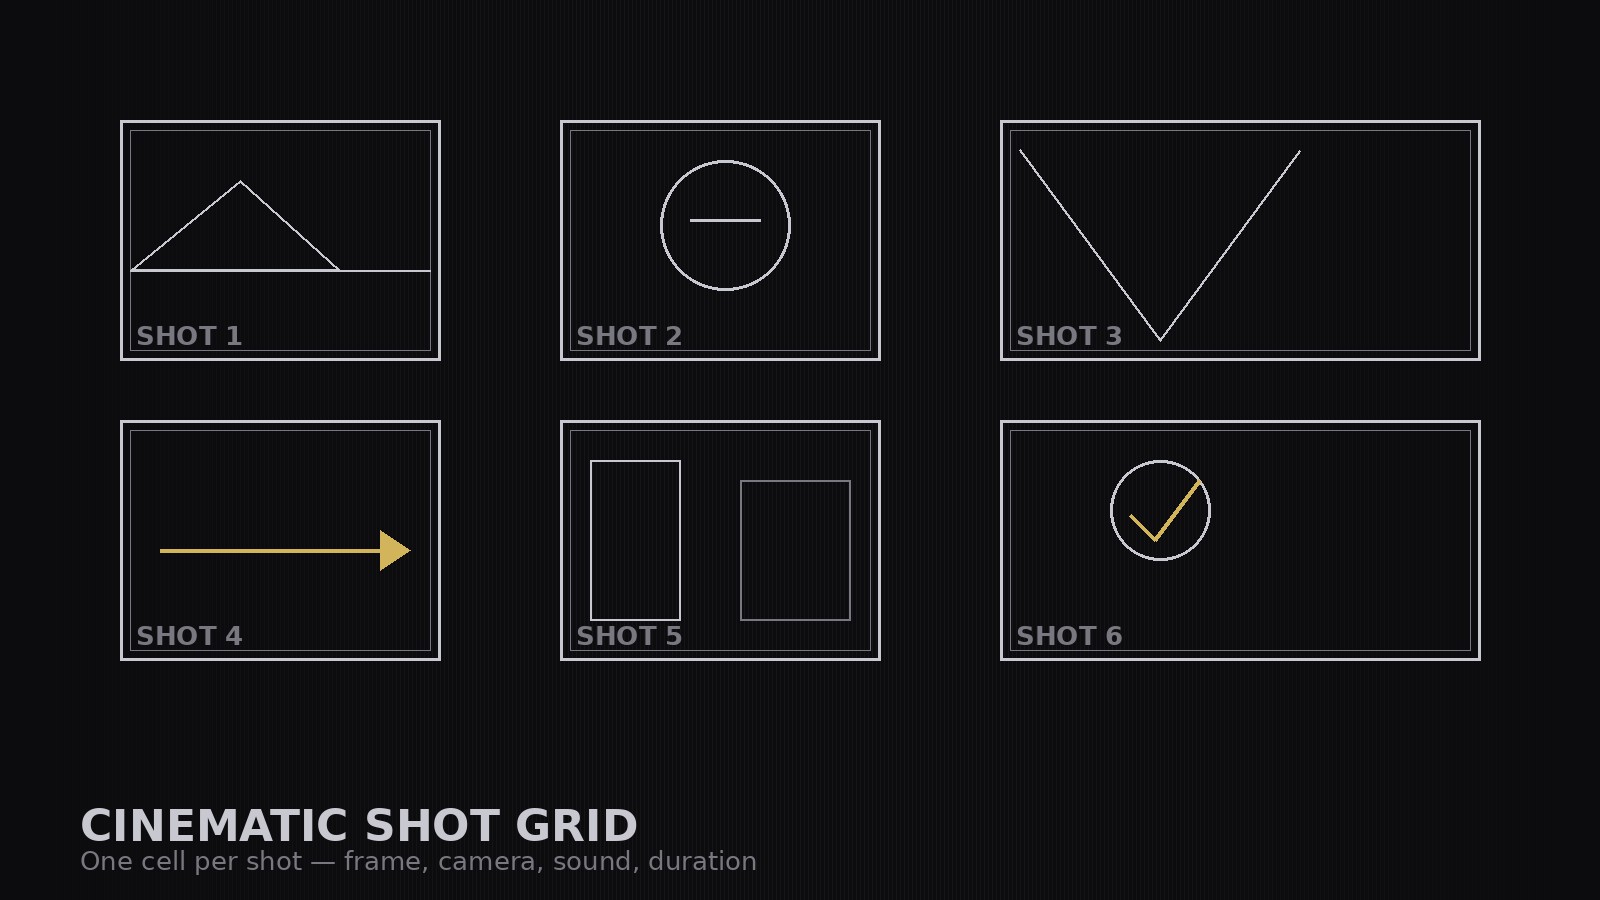
Turns a script into a visual shot grid — one cell per shot with a frame sketch, shot size, camera angle, movement, sound cue, and duration — so a scene's rhythm is visible at a glance and the shoot day runs off one page.
Install it in 3 steps
No sign-up. No CLI tools. Pick your AI, copy one line, paste it over.
Prefer doing it yourself? Buy the skill ($4.99), download the ZIP from your checkout confirmation, unzip it into the directory shown above, restart your AI session — same result. Already bought it? Your AI assistant can download it for you.
What’s inside
One SKILL.md (the playbook) + one starter template. A preview:
Cinematic Shot Grid
When to use
- You have a finished script but no plan for how it actually gets shot, angle by angle
- Your shoot day keeps stalling because nobody agreed on coverage before the camera rolled
- You are directing a short film, music video, or ad and need the crew to see the whole scene at a glance
- You keep overshooting — hours of footage for a two-minute scene — because shots were never locked in advance
- You need to hand a director, DP, or client one page that shows the scene's visual rhythm before anyone picks up a camera
Workflow
- Break the script into beats (input: script pages → output: beat list)
Read the scene and split it into beats: each beat is one change in what the audience should feel or learn. A two-page scene usually yields 4–8 beats. Write each beat as one line — what happens, and what the audience should take from it. If a beat can't be stated in one line, it is two beats. - Assign one shot per beat — then add the coverage (input: beat list → output: shot list)
Give each beat its primary shot: the angle that carries the beat's meaning. Then add only the coverage the edit actually needs — an establishing shot to open the scene, cutaways for reactions or details, and a closer or wider shot where the emotion turns. Every shot must justify itself against its beat; a shot with no beat is a shot you will cut. - Lay out the grid (input: shot list → output: shot grid)
Draw the grid: one cell per shot, in story order, left to right, top to bottom. Each cell holds a rough frame sketch (stick figures are fine — composition and eyeline matter, draftsmanship doesn't), the shot size (wide / medium / close-up), the camera angle, and the beat number it serves. The grid is the scene's map: anyone should be able to read the scene's rhythm by scanning it. - Add the camera and sound pass (input: shot grid → output: annotated grid)
For each cell, add three lines: camera (static / pan / dolly / handheld — and where it starts and ends), sound (dialogue line, sound effect, or music cue), and duration (estimated seconds). Keep movements simple and motivated: the camera moves because the story moves, not because the rig is available. Check that consecutive shots cut together — eyelines match, screen direction stays consistent, and no two adjacent shots are the same size from the same angle.
Template preview
Cinematic Shot Grid — Scene Template
One scene = one grid. Break the script into beats before assigning a single shot.
Scene: {scene title / number}
Script pages: {pages} | Target runtime: {seconds} | Location: {location} | Characters: {names}
Beat list (one line each — what happens + what the audience should take from it)
Shot grid (story order, left to right, top to bottom)
Total estimated runtime: {sum} seconds vs. target {target} seconds
Continuity check
[ ] Eyelines match between consecutive shots [ ] Screen direction consistent (180-degree rule held, or deliberate break marked)