Bento Designer Portfolio
Every tile earns its size.
A designer portfolio playbook using a bento-grid layout: work ranked so the best pieces get the big tiles, each project backed by a short case study covering the problem, the key decision, and the honest outcome.
Install it in 3 steps
No sign-up. No CLI tools. Pick your AI, copy one line, paste it over.
Prefer doing it yourself? Buy the skill ($4.99), download the ZIP from your checkout confirmation, unzip it into the directory shown above, restart your AI session — same result. Already bought it? Your AI assistant can download it for you.
What’s inside
One SKILL.md (the playbook) + one starter template. A preview:
Bento Designer Portfolio
When to use
- You're a product, visual, or brand designer whose portfolio is a uniform grid of thumbnails that all look equally important — so none of them are
- Recruiters skim your site and can't tell which project is your best work
- Your case studies are either missing ("here's the final screen") or 3,000-word essays nobody finishes
- You have 4–10 strong pieces across different formats — screens, brand systems, motion, print — and a single-column list flattens them
- You want a portfolio that reads well on a phone, where most first views happen
Workflow
- Rank the work (input: all pieces → output: ranked shortlist)
Pick 4–10 pieces. Rank by (a) quality of outcome, (b) relevance to the jobs you want. The top 1–2 pieces get the big tiles; the rest fill medium and small tiles. Cut anything you'd be embarrassed to walk through in an interview — a weak piece in a small tile still weakens the page. - Assign tile sizes (input: ranked shortlist → output: bento layout map)
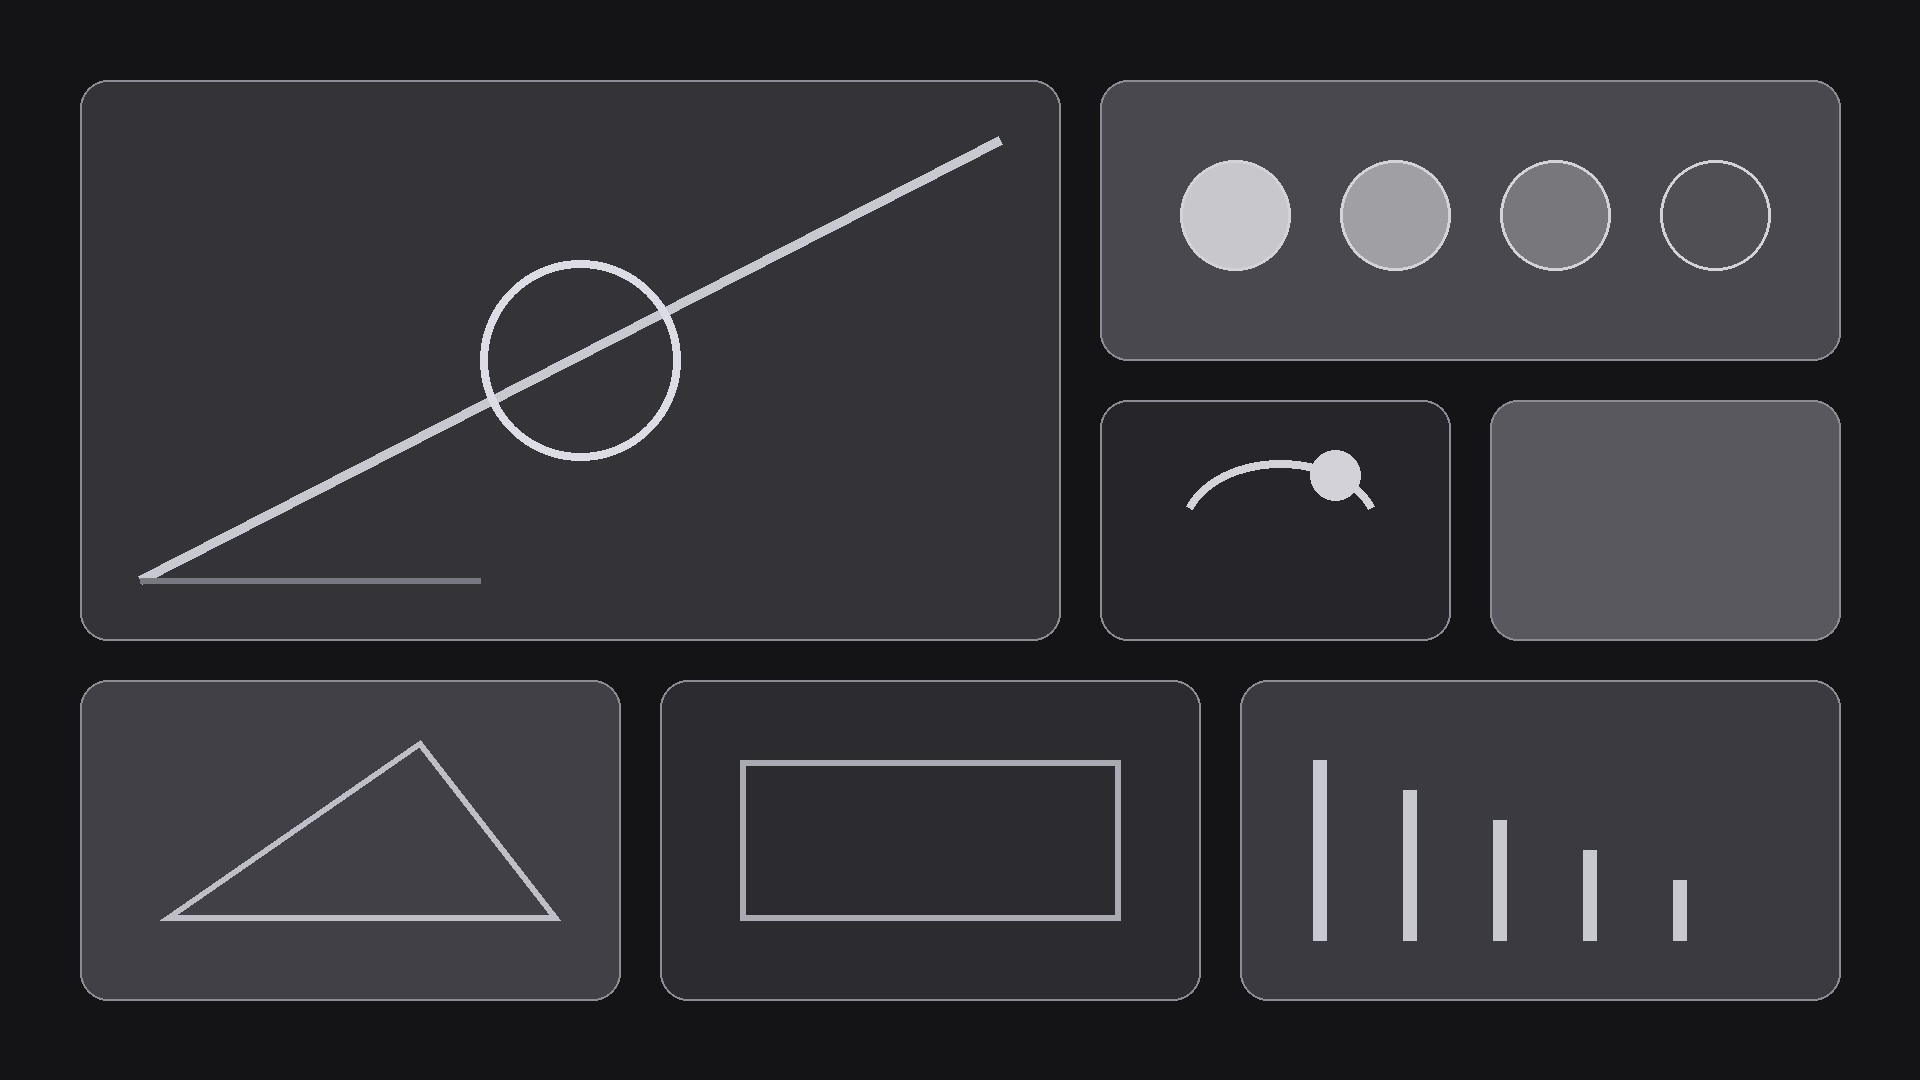
Big tiles (2×2) for the 1–2 hero projects, medium tiles (2×1 or 1×2) for strong supporting work, small tiles (1×1) for logos, textures, experiments, a portrait, or a "currently" note. Every tile has a purpose — no filler tiles added just to make the grid symmetrical. - Write the case-study layer (input: layout map → output: per-project write-ups)
Each project gets: the problem (2 sentences), your role and constraints (2 sentences), the key decision — what you chose and why (2–3 sentences), the outcome — what changed, honestly stated. Final visuals come last in the write-up; thinking first, pixels second. - Design the grid (input: write-ups → output: design spec)
Consistent tile radius and gap, one background tone, clear type hierarchy: project name + one-line outcome per tile. Hover or tap reveals the case-study link. Images cropped to tile, never stretched. Mobile: the grid reflows to one column in rank order, hero first. - Publish and maintain (input: design spec → output: live portfolio)
Link every tile to either its case study or the work itself — no dead tiles. Test on a phone. Maintenance rule: remove or replace the weakest tile every time you add a stronger piece, so the grid never drifts back into a dumping ground.
Output spec
- Bento layout map: tile sizes + which piece fills each, with a reason per size
- 4–10 pieces, each with problem / role / key decision / outcome write-up
- Design spec: grid rules, tile radius/gap, type hierarchy, mobile reflow order
- Every tile linked to its case study or the work itself; no dead tiles
- Maintenance rule: weakest tile out when a stronger piece arrives
Good vs. bad examples
Template preview
Bento Designer Portfolio — Grid Planner Template
Fill this in before designing. One portfolio = one planner.
Designer: {name}
Discipline: {product / visual / brand / …} Jobs I want next: {…} Contact: {…}
Ranked shortlist (4–10)
Rank by (a) quality of outcome, (b) relevance to the jobs you want. Top 1–2 get the big tiles.
Bento layout map
Filler tiles added for symmetry: none — [ ] confirmed
Case-study layer (one per project)
#### Project: {name}
- Problem (2 sentences): {…}
- My role + constraints (2 sentences): {…}
- Key decision — what I chose and why (2–3 sentences): {…}
- Outcome (honestly stated): {…}