Anchored Callout Reveal
A dot, a line, a label — pointing at exactly one spot.
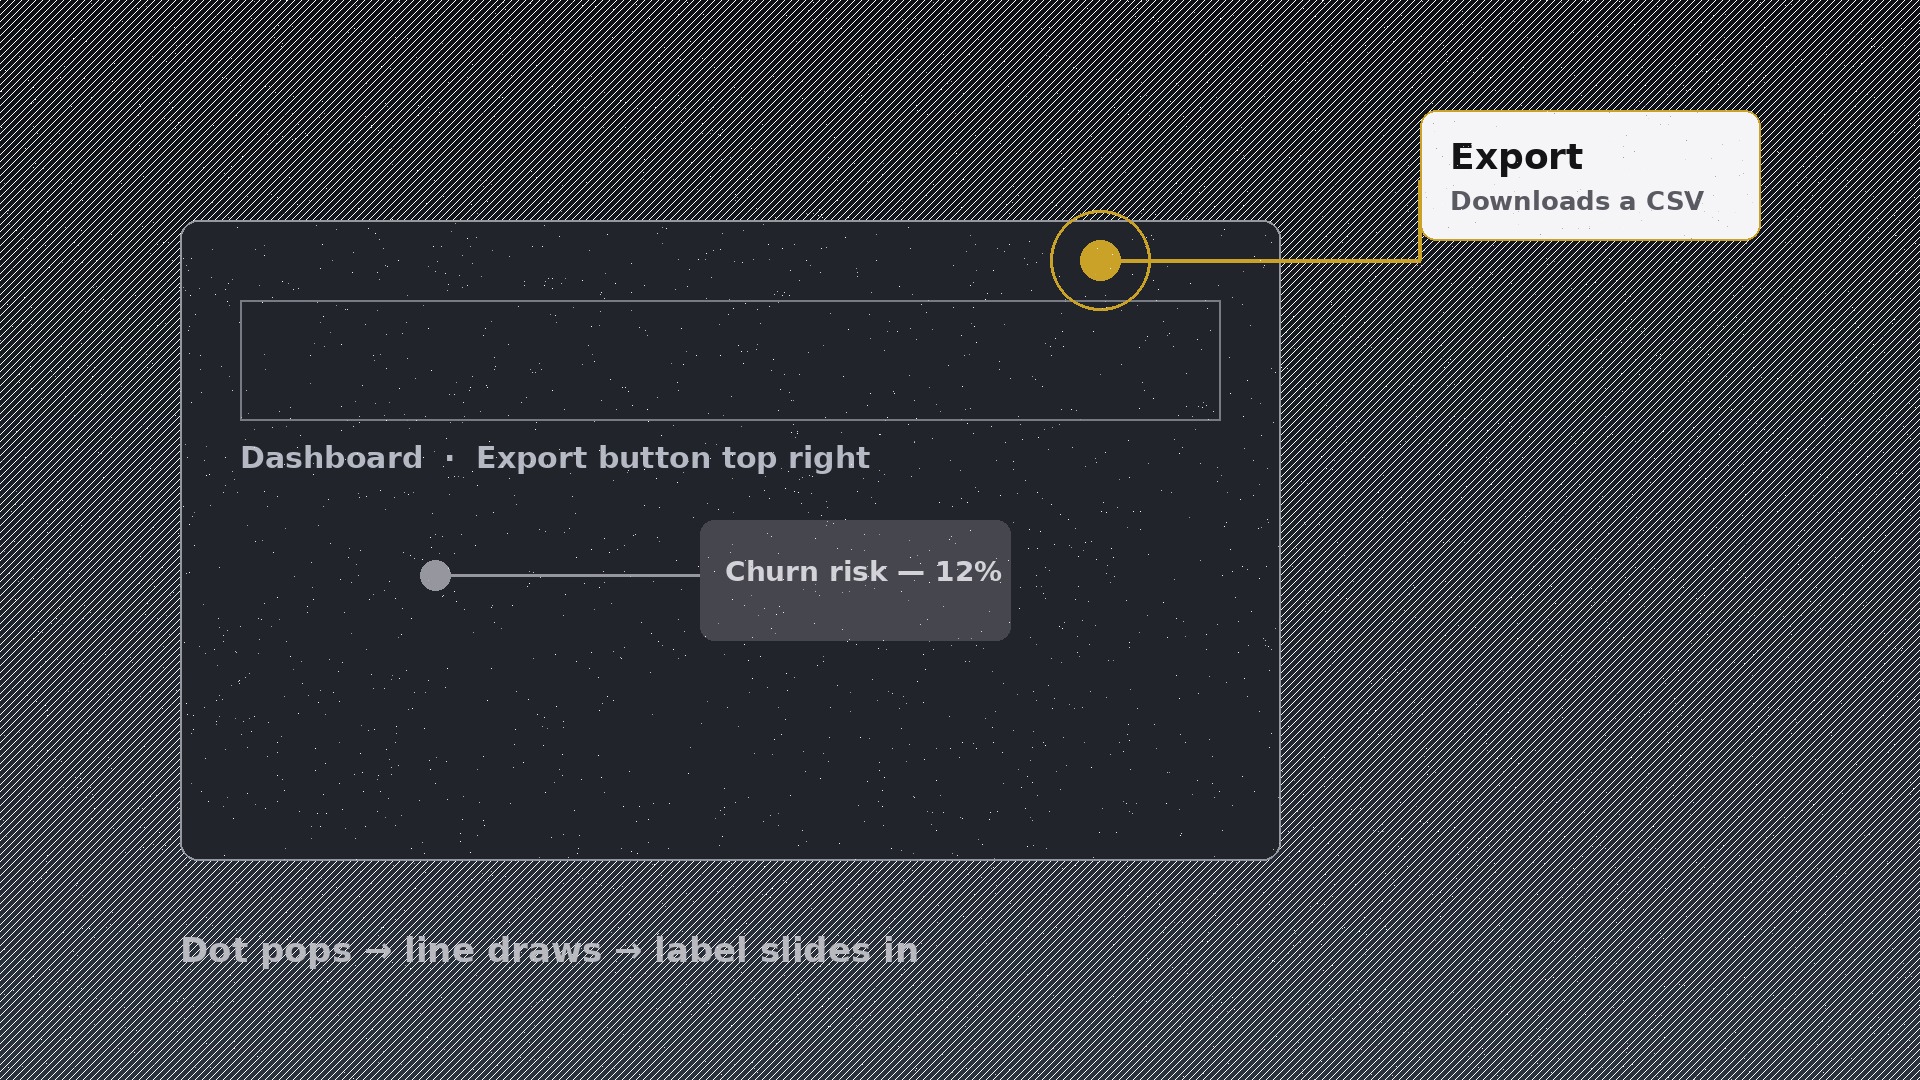
Teaches the AI to produce one specific motion pattern: a callout label anchored to an exact on-screen point reveals in three beats — dot pop, leader-line draw, label slide — so viewers connect each label to precisely the right spot.
Install it in 3 steps
No sign-up. No CLI tools. Pick your AI, copy one line, paste it over.
Prefer doing it yourself? Buy the skill ($4.99), download the ZIP from your checkout confirmation, unzip it into the directory shown above, restart your AI session — same result. Already bought it? Your AI assistant can download it for you.
What’s inside
One SKILL.md (the playbook) + one starter template. A preview:
Anchored Callout Reveal
When to use
- A product demo needs to name one specific button, port, or part without covering the screen in text
- A tutorial must point at an exact UI element or diagram detail and explain it in one line
- A map, chart, or technical diagram needs labels that sit outside the image but point precisely inward
- A comparison video must highlight one difference at a time, anchoring the eye to the right spot
- An onboarding video needs to walk viewers through a screen element by element
- You have a dense visual (dashboard, floor plan, engine diagram) and want to introduce labels one at a time
Workflow
- Pick the anchor points (input: your visual + script → output: anchor map)
Mark the exact pixel each callout points to — the corner of the button, the centre of the port, the peak of the chart. One callout per point, one point per callout; a callout that gestures vaguely at a region is a caption, not a callout. Order the anchors by the story (top-to-bottom or workflow order), and cap the sequence at 5–6 callouts per scene — beyond that, split the scene. The anchor dot is the contract: everything in the callout must be true of that exact spot. - Write the callout copy (input: anchor map → output: callout lines)
Each callout gets a short bold label (2–4 words: "USB-C port", "Churn risk") plus one supporting line of ≤10 words. No paragraph callouts — a callout is a pointer with a name, not a text box. If a point needs more explanation, the voiceover or the next scene carries it. Check each line against its anchor: would a viewer looking at the dot learn the right thing from this label alone? If not, rewrite the label, not the layout. - Lay out the leader line and label (input: callout lines → output: layout)
Place the label box outside the busy part of the frame (or in a clear margin), with the leader line running from the box to the anchor dot in one or two straight segments — never a curve that wanders, never a line that crosses another callout's line. The dot is 6–10px, filled, in the accent colour; the line is 1.5–2px in the same colour at 80% opacity; the box is a clean pill or rounded rectangle with the label inside. Keep a minimum 24px gap between neighbouring label boxes so callouts never collide.
Template preview
Anchored Callout Reveal — Starter Template
Fill in every {placeholder}. One callout per point, one point per callout — a callout that gestures at a region is a caption, not a callout.
Scene
- Visual being annotated: {dashboard_screenshot | diagram | map | chart | floor_plan | photo}
- Visual size: {width × height}px · Callout count: {≤6 per scene}
Anchor map (exact pixels — measure, don't guess)
Callout copy (label 2–4 words + supporting line ≤10 words)
- {label_1} — {supporting_line_1}
- {label_2} — {supporting_line_2}
- {label_3} — {supporting_line_3}
- {label_4} — {supporting_line_4}