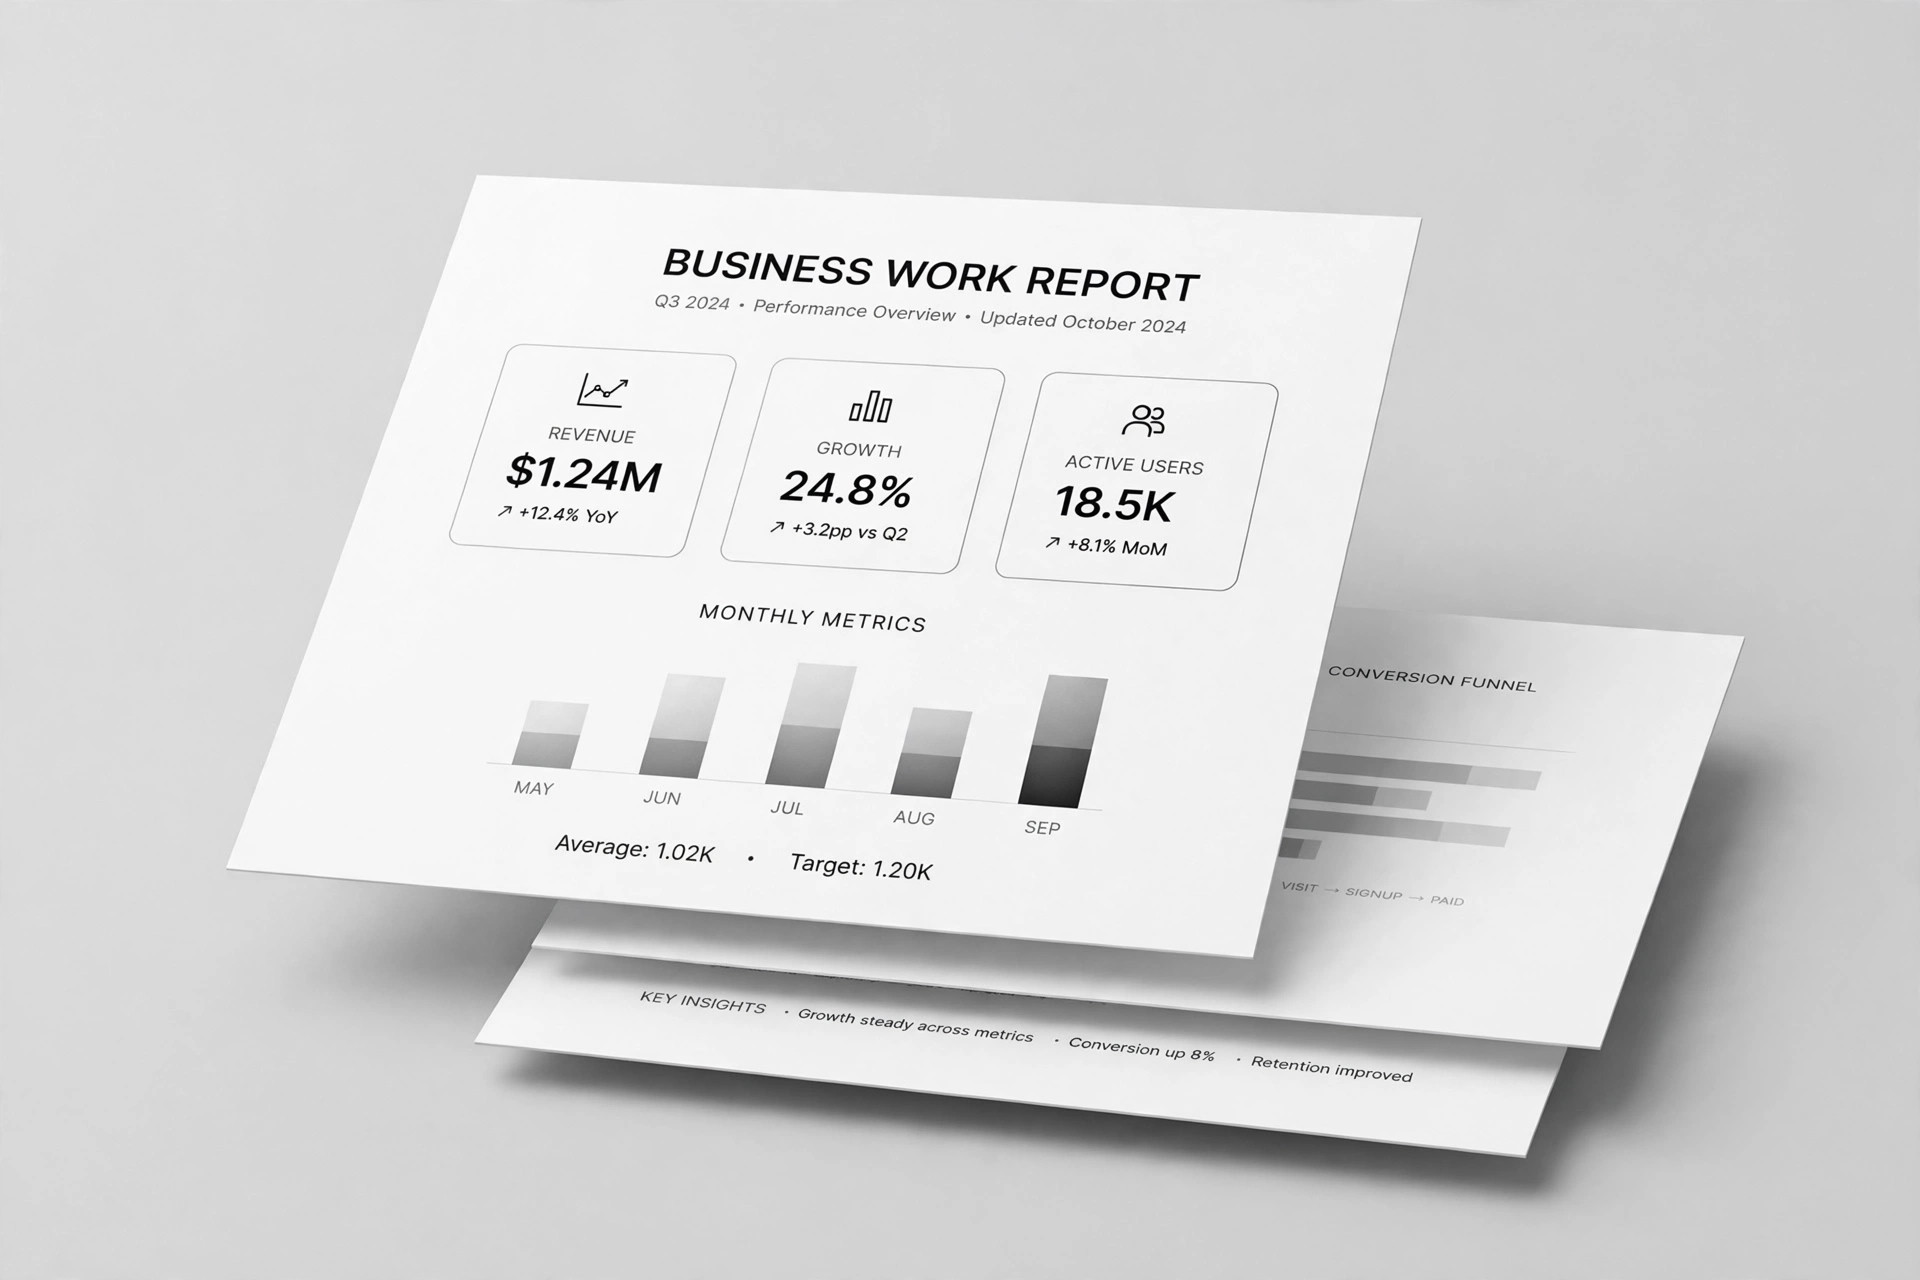
Field Notes Deck
Turn raw fieldwork into a deck of dated evidence — and honest recommendations
Turns your AI into a research-storytelling assistant that turns site visits, interviews, and observations into a field-notes deck: dated entries, photos, and findings that build to recommendations.
Install it in 3 steps
No sign-up. No CLI tools. Pick your AI, copy one line, paste it over.
Prefer doing it yourself? Buy the skill ($4.99), download the ZIP from your checkout confirmation, unzip it into the directory shown above, restart your AI session — same result. Already bought it? Your AI assistant can download it for you.
What’s inside
One SKILL.md (the playbook) + one starter template. A preview:
Field Notes Deck
When to use
- You visited stores, factories, farms, or neighborhoods and need to turn raw observations into a deck anyone can follow
- A research trip, user visit, or field study produced notebooks and photos that nobody will read in raw form
- Your team needs evidence from the field — what you saw, heard, and measured — before deciding what to build
- A client or manager wants the trip's findings with the receipts: dated notes, real photos, direct observations
- You are pitching a project grounded in fieldwork and the deck must show you were actually there
Workflow
- Gather the raw notes (input: notebooks, photos, recordings → output: dated entry list)
Transcribe every note into dated, located entries: date, place, who was present, what you observed, what you heard (as direct quotes where possible). Keep observation and interpretation in separate sentences — "the shelf was empty at 3pm" is observation; "demand exceeds supply" is interpretation. Photos get captions with date and place. - Sort entries into threads (input: entry list → output: 3–5 threads)
Group entries by the pattern they point to, not by day: all the "customers ask for X" entries become one thread even if they happened on different days. Each thread needs at least three entries from at least two locations or days — a single observation is an anecdote, not a finding. Name each thread in plain words ("Staff improvise around the broken scanner"). - Build the deck as a notebook (input: threads → output: deck draft)
Open with a cover slide: trip purpose, dates, places, who went. Then one section per thread: 2–4 slides of dated entries (photo + observation + quote), followed by one slide stating the finding the thread supports. Close with a recommendations section: each recommendation tied to the thread that backs it, with the strength of evidence stated honestly. - Check every claim against its entry (input: deck draft → output: verified deck)
For each finding and recommendation, trace it back to the entries cited on the slide. If a finding rests on one visit, say so. If a photo shows something the text does not claim, fix the text or the photo — never let a dramatic photo imply a finding the notes do not support. - Deliver with the archive (input: verified deck → output: deck + appendix)
Attach an appendix with the full entry list and photo index so anyone can audit the deck's claims. State what you did not see: places not visited, people not interviewed, questions left open. A field-notes deck that names its gaps is more credible than one that pretends the trip covered everything.
Output spec
Template preview
Field Notes Deck — Template
Evidence first, conclusions second. Fill in the entries before writing any finding.
Cover
Trip purpose: {e.g. See how shoppers actually use the self-checkout} Dates: {range} | Places visited: {list} | Team: {names}
Entry list (observation and interpretation kept separate)
Threads (3–5, each ≥3 entries from ≥2 locations/days)
Thread 1 — {plain-words name, e.g. Staff improvise around the broken scanner}
- Entries: {#s} | Finding: {what the thread supports} | Evidence strength: {strong / moderate / thin}
Thread 2 — {name}
- Entries: {#s} | Finding: {finding} | Evidence strength: {strong / moderate / thin}