Architectural Project Deck
A project deck a non-architect can actually read.
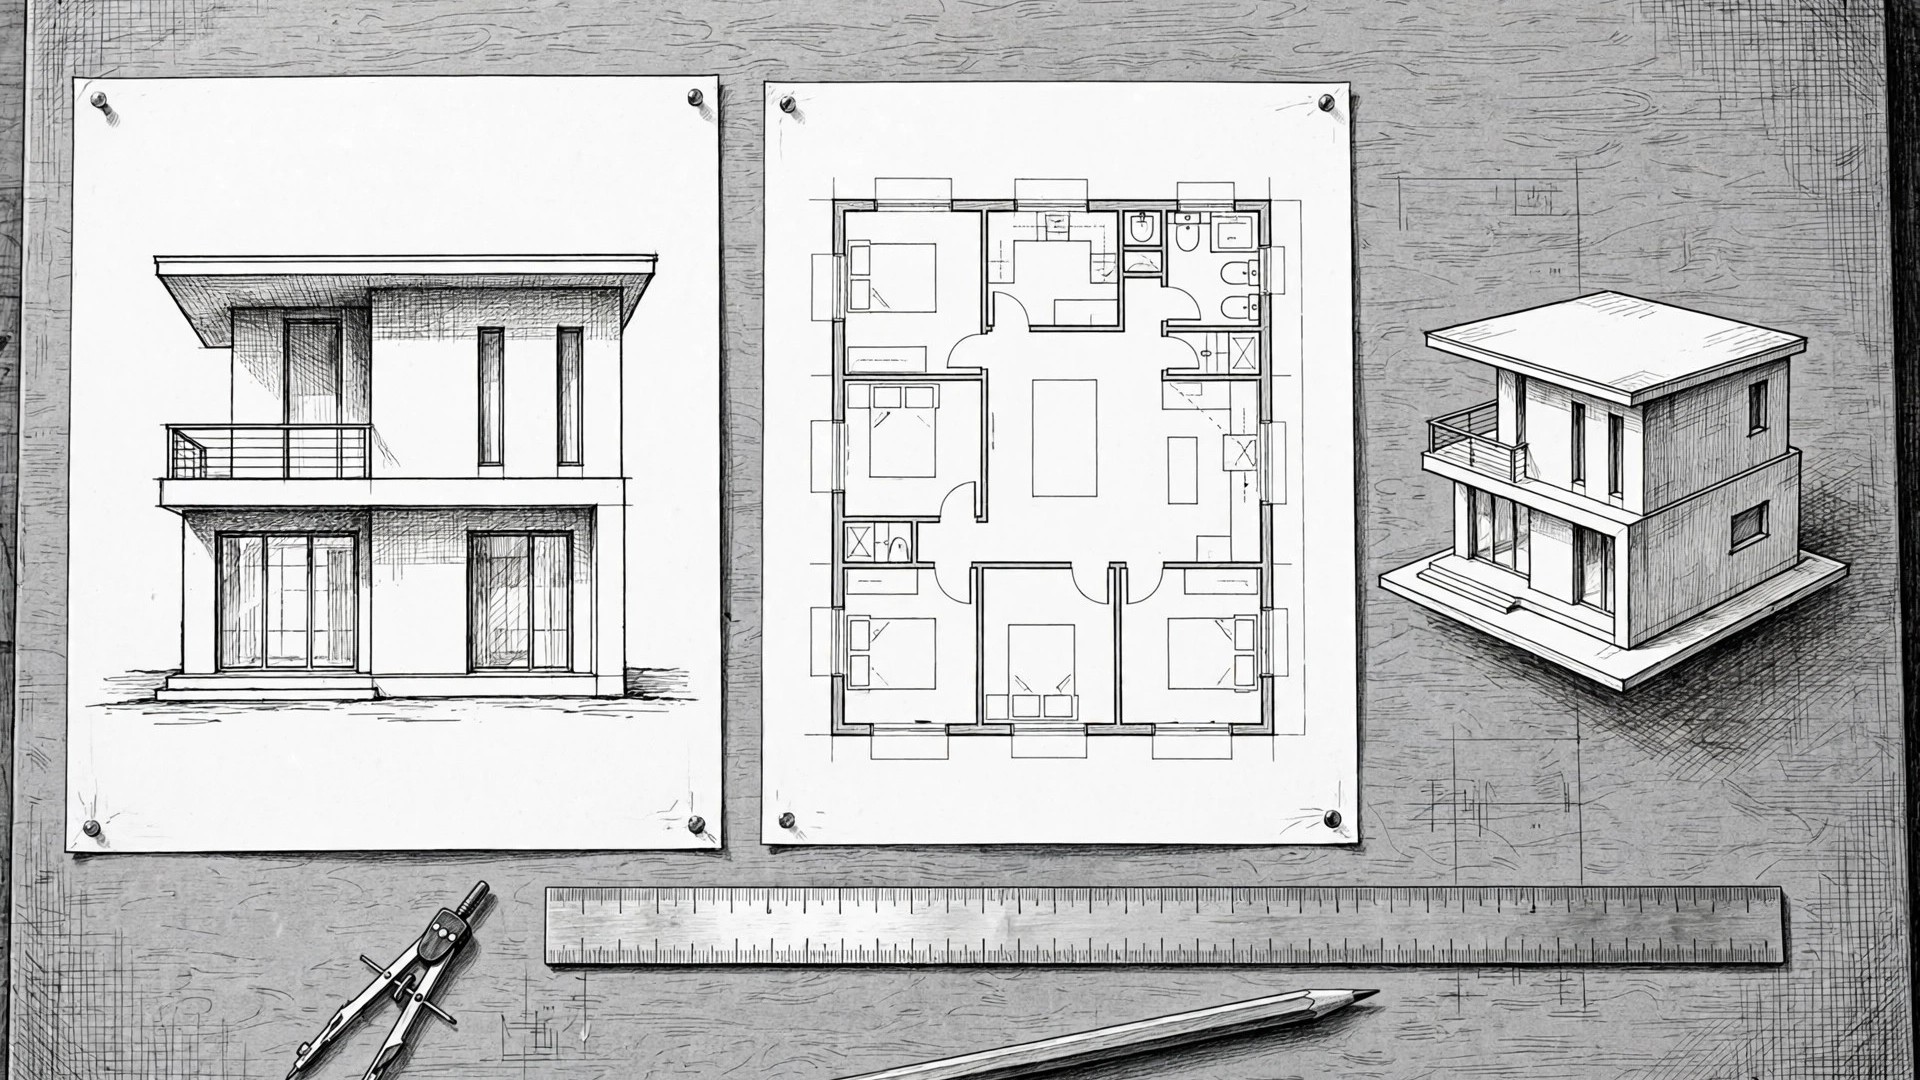
Presents an architecture project as a clear story — concept, site, plans, renders, and timeline — in a deck a client, jury, or planning reviewer can follow without an architect narrating it.
Install it in 3 steps
No sign-up. No CLI tools. Pick your AI, copy one line, paste it over.
Prefer doing it yourself? Buy the skill ($4.99), download the ZIP from your checkout confirmation, unzip it into the directory shown above, restart your AI session — same result. Already bought it? Your AI assistant can download it for you.
What’s inside
One SKILL.md (the playbook) + one starter template. A preview:
Architectural Project Deck
When to use
- You are presenting a design proposal to a client who is not an architect
- A competition or jury submission needs the project explained in a fixed slide order
- A planning or community consultation needs the scheme shown clearly to non-specialists
- A studio needs a portfolio deck for a built or in-progress project
- You are briefing consultants, contractors, or a design team on a project's intent before detailed design
Workflow
- Gather the project material (input: drawings, renders, brief → output: project dossier)
Collect the material the deck will draw on: the brief and site constraints, the concept statement, site and floor plans, sections, elevations, renders or models, key dimensions and areas, and the timeline and next steps. Note the status of each item (concept, developed, approved, built) — a deck must never present a concept-stage drawing as if it were approved. Flag anything missing (no site plan, no north arrow) before building slides around it. - Build the story arc (input: project dossier → output: slide outline)
Order the deck as a story a non-architect can follow: site and brief → concept (one idea, stated plainly) → how the concept shapes the plan → key spaces → materials and light → timeline and next steps. Aim for 10–14 slides, one idea per slide. If the concept cannot be stated in one sentence, it is not ready for a slide — clarify it first. - Set the visual system (input: slide outline → output: drawing standards)
Fix drawing standards before laying out slides: one scale note per drawing, a consistent north arrow and scale bar on every plan, one line-weight hierarchy, and one palette for annotations (for example, muted grey drawings with a single accent color for the concept moves). Every drawing gets a caption: what it is, its scale or "not to scale", and its status. Renders are labeled as renders, not photographs, when the project is unbuilt. - Build the slides (input: outline + standards → output: full deck draft)
Give each slide one job. Site slides show context (location, constraints, sun, access). Concept slides show the one big idea with a simple diagram, not a paragraph. Plan slides show one drawing large, with 2–3 callouts pointing at what matters — never shrink three drawings onto one slide. Renders get breathing room: one view per slide, captioned with what the viewer is looking at. Timeline slides show phases, dates, and decisions needed, in plain language.
Template preview
Architectural Project Deck — Build Template
One project = one deck. Confirm drawing status before presenting anything as final.
Project: {project name} — {site / client}
Audience: {client / jury / planning reviewers / consultants} Concept in one sentence: {the one idea, plainly stated} Status of the project: {concept / developed / approved / built}
Project dossier
Missing items (do not build slides around them): {list or "none"}
Slide outline (10–14 slides, story order)
Drawing standards (fixed before layout)
- North arrow + scale bar on every plan: [ ]
- Scale note per drawing (e.g., 1:100) or "not to scale": [ ]