Parallax Evidence and Conclusion
Le prove scorrono in profondità, la conclusione resta ferma
Trasforma la tua AI in un regista di motion graphics per il pattern «prove e conclusione in parallasse» — dispone le prove dietro una conclusione e le fa scorrere a velocità diverse, così le prove sembrano profonde e la conclusione resta ben salda.
Installala in 3 passaggi
Nessuna registrazione. Nessuno strumento da riga di comando. Scegli la tua AI, copia una riga e incollala.
Preferisci fare da te? Acquista la skill ($4.99), scarica lo ZIP dalla conferma d'acquisto, decomprimilo nella cartella mostrata sopra e riavvia la sessione della tua AI — stesso risultato. L'hai già acquistata? Il tuo assistente AI può scaricarla per te.
Cosa contiene
Un file SKILL.md (la guida operativa) + un modello di partenza. Un'anteprima:
Parallax Evidence and Conclusion
When to use
- Your video presents a conclusion backed by several pieces of evidence, and a flat list of bullet points makes the proof feel thin
- A documentary or explainer beat where the takeaway ("This changed everything") must stay on screen while the supporting facts drift past behind it
- A data story: a headline finding in front, charts, photos, and quotes scrolling at different depths behind it
- A pitch where the claim stays pinned while the proof scrolls — the visual equivalent of "meanwhile, the evidence"
- A recap shot at the end of a video: conclusion forward, everything that proved it layered behind
Workflow
- Write the conclusion first (input: your argument → output: one conclusion line)
The conclusion is a single sentence of 6–14 words, stated as a claim: "Remote work raised output, not lowered it." It must be a claim that needs evidence — if it is self-evident ("Exercise is healthy"), the pattern has nothing to do. Write it in the largest type on screen, centered or lower-third, and freeze it: this line does not scroll, does not scale, does not fade during the shot. Every other element in the shot exists to support it, and the viewer must be able to read it at any moment by looking at one fixed place. - Collect the evidence layers (input: conclusion → output: 3–5 evidence pieces)
Gather three to five pieces of evidence, each one self-contained: a chart, a photo with a caption, a short quote, a single statistic. Each piece must independently support the conclusion — if removing one leaves the claim standing, it is filler and gets cut. Sort the evidence into depth layers: foreground (1–2 pieces, large, slowest), midground (1–2 pieces, medium), background (1–2 pieces, small, fastest). The layering is a hierarchy of importance, not decoration: the most decisive evidence sits closest to the viewer. - Build the depth stack (input: evidence → output: layered composition)
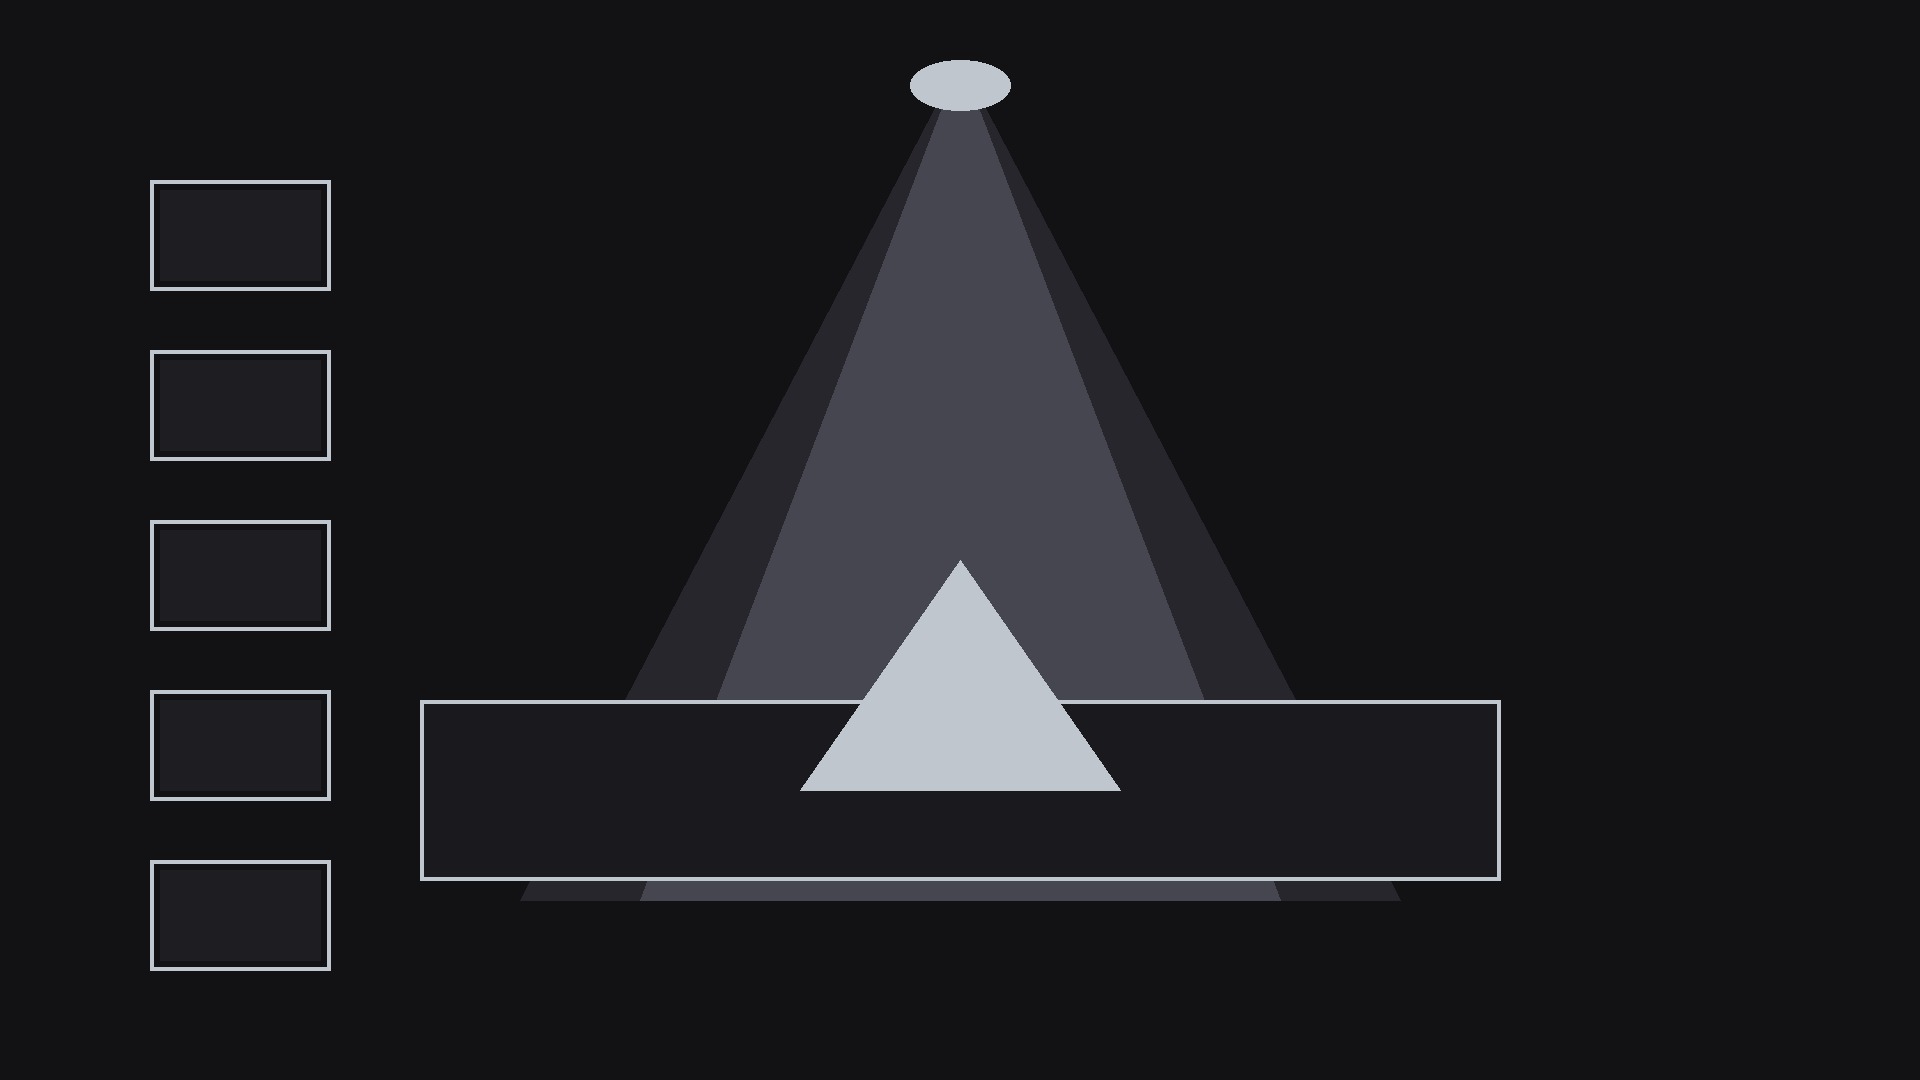
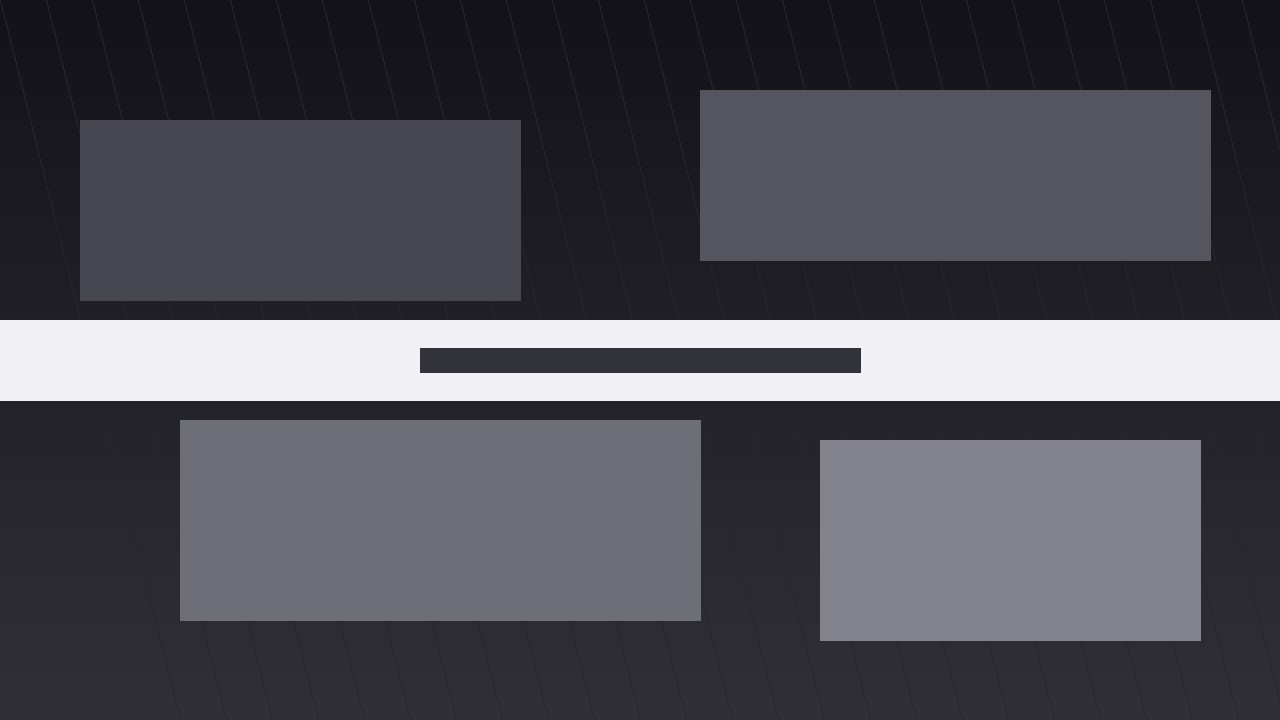
Compose the frame with the conclusion in front and the evidence behind it in three depth planes. Background pieces are smallest, dimmest (60–70% brightness), and slightly blurred (1–2 px) so they read as distant; midground pieces are medium and at ~85% brightness; foreground pieces are full brightness and large enough to read. Overlap the layers deliberately — edges of background pieces peeking from behind midground pieces sell the depth. Leave a clean zone behind the conclusion line: no evidence piece should pass directly behind the text at full brightness, or the conclusion becomes unreadable at the worst moment. - Choreograph the parallax scroll (input: composition → output: timed motion plan)
The evidence layers scroll in one direction (upward or sideways) while the conclusion stays pinned. The parallax rule: background moves fastest (full speed), midground at ~60% speed, foreground at ~30% speed. Over a 4–6 s scroll, that speed difference is what makes the layers feel like separate depths rather than one flat sheet sliding by. Ease the whole scroll with a gentle ease-in-out at the start and end so the motion settles rather than jerks. Keep the scroll continuous — no stops, no reversals — because a reversal breaks the illusion of depth and reads as indecision. If a foreground piece must pause for reading, slow the whole scroll to a crawl (10% speed) for 1 s rather than stopping one layer. - Time the evidence beats (input: scroll plan → output: beat sheet)
As each evidence piece crosses the frame's focal zone (the center band where the eye naturally rests), give it a 0.5 s moment: a slight brightness lift to 100%, or a thin outline appearing. Only one piece gets the lift at a time, and the lift moves with the scroll — it is a spotlight travelling with the evidence, not a jump cut. Space the pieces so their beats do not overlap: at 4–6 s of scroll for 3–5 pieces, aim for ~1.2 s between beats. The voiceover should name each piece as its beat lands ("Output up 14%… retention up too…") — the narration, the spotlight, and the scroll all point at the same thing at the same moment. - Resolve and release (input: beat sheet → output: final clip)
End the scroll by letting the last evidence piece drift out and the conclusion remain alone on a clean background for 1.5–2 s — the proof has passed, the takeaway stays. Optionally, the conclusion line gets one final emphasis on release: a subtle scale to 103%, or an underline drawing itself. Total clip: 6–9 s. Check on a phone: the conclusion must be readable through the entire scroll (no evidence crossing behind it at full brightness), and each evidence beat must be identifiable without pausing.
Anteprima del modello
Parallax Evidence and Conclusion — Starter Template
One pinned conclusion, layers of proof drifting behind it. Write the conclusion first.
The conclusion
Conclusion (6–14 words, a claim that needs evidence): {conclusion}
Placement: centered ☐ / lower-third ☐ — pinned, never moves during the shot.
Evidence pieces (3–5, each independently supporting the claim)
Filler check: remove any one piece — does the claim still stand on the rest? If a piece is removable, cut it. ☐
Depth stack
Clean zone: no evidence passes directly behind the conclusion at full brightness. ☐
Motion plan
Voiceover beat lines (one per evidence piece):
Il pacchetto della skill (SKILL.md + modello) è scritto in inglese.