Skin Mechanism Visual
Le fonctionnement de la peau, montré couche par couche.
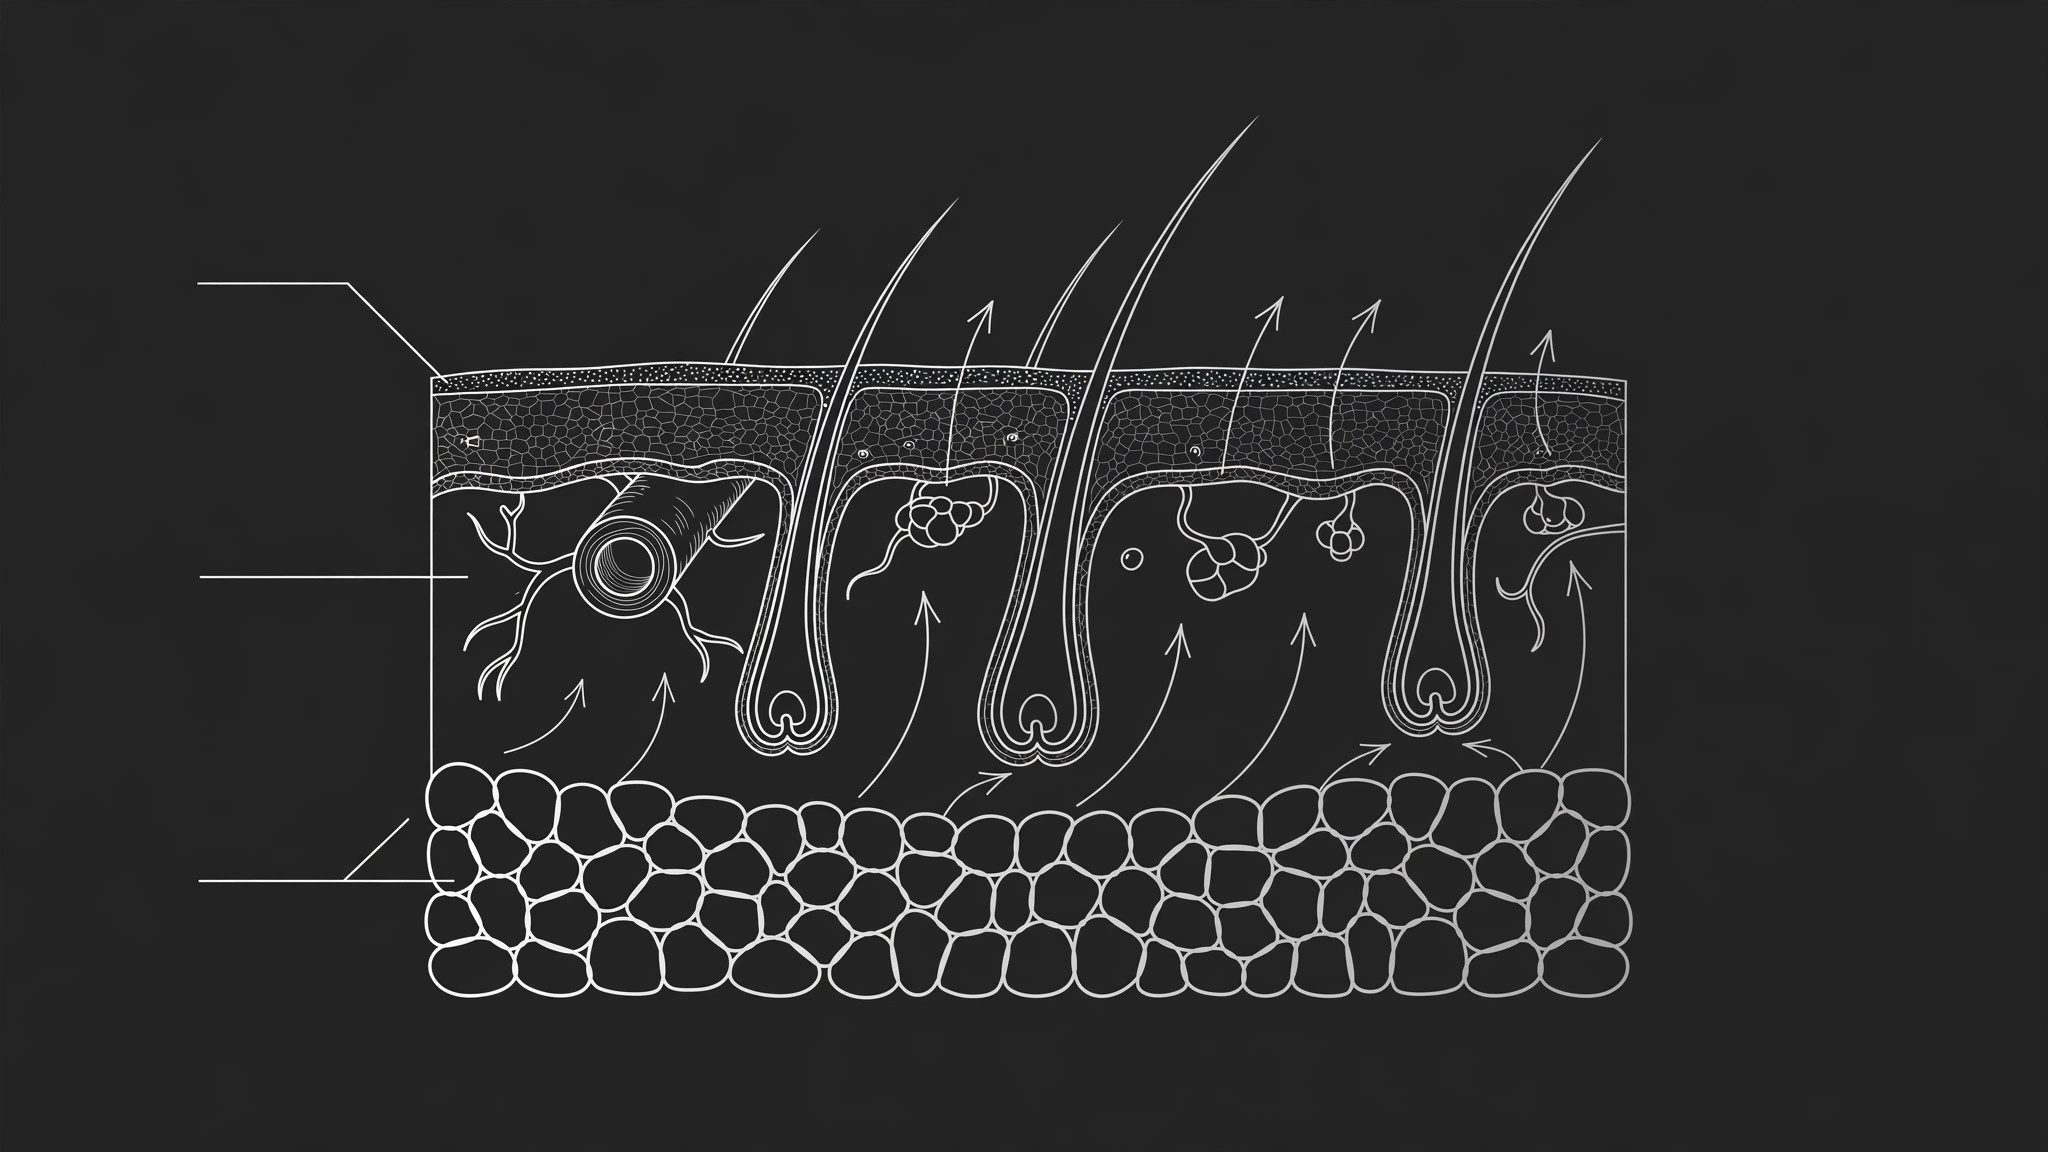
Transforme votre IA en explicateur visuel de la science de la peau — elle crée un schéma clair et précis de la stratification et du fonctionnement de la peau, avec des libellés en langage clair et une séquence de mécanisme étape par étape pour l'éducation, les soins de la peau ou le contenu santé.
Installez-la en 3 étapes
Sans inscription. Sans outils en ligne de commande. Choisissez votre IA, copiez une ligne, collez-la.
Vous préférez le faire vous-même ? Achetez la compétence ($4.99), téléchargez le ZIP depuis votre confirmation d'achat, décompressez-le dans le répertoire indiqué ci-dessus, redémarrez votre session IA — même résultat. Vous l'avez déjà achetée ? Votre assistant IA peut la télécharger pour vous.
Contenu du pack
Un fichier SKILL.md (le guide pratique) + un modèle de départ. Aperçu :
Skin Mechanism Visual
When to use
- A skincare brand needs to explain what its product does without resorting to vague "deep repair" claims
- A health educator wants a diagram of skin layers for a lesson, handout, or patient leaflet
- A beauty or dermatology blog post needs a visual that shows a process (how skin renews itself, how it keeps water in) instead of just naming parts
- A packaging or poster project needs a clean cross-section of skin that a non-expert can read
- A training deck for salon or clinic staff needs one shared picture of how skin works to anchor the lesson
Workflow
- Define the audience and the one mechanism (input: topic → output: scoped brief)
Pick one mechanism and one audience: "how skin renews itself, for skincare shoppers" beats "everything about skin, for everyone." Write the brief as one sentence — audience, mechanism, and the one thing the reader should understand after looking at the visual. If the brief needs an "and" to finish, it is two visuals; split it now rather than cramming two processes into one diagram. - Map the three layers (input: brief → output: layer map)
Draw skin as a cross-section with its three widely described layers, outermost first: the epidermis, the thin outer layer that forms the barrier and sheds surface cells; the dermis, the thicker middle layer holding collagen and elastin fibres, blood vessels, nerves, sweat glands, and hair follicles; and the hypodermis (also called the subcutis), the deepest layer of fat that insulates and cushions. Keep the proportions honest — the epidermis is thin compared with the dermis — and label each layer once, in plain words, with the technical name in parentheses if your audience needs it. - Show the mechanism in motion (input: layer map → output: process sequence)
A mechanism is a process, not a parts list: show it as a short sequence of 3–5 steps with arrows across or beside the cross-section. For renewal, show new cells forming low in the epidermis, moving upward as they flatten, and shedding from the surface. For moisture, show water held in the outer layer and the barrier slowing its escape. Each step gets one short label and one visual change; if a step has no visible change, it does not belong in the diagram — put it in the caption instead. - Label plainly (input: diagram → output: labeled visual)
Label every structure you draw and nothing you don't. Use plain language first ("outer barrier layer") with technical terms alongside where they help ("epidermis"), and keep labels short — a label is a name, not a paragraph. Put longer explanations in a numbered caption or legend keyed to the diagram, so the picture stays readable and the text stays findable. Never label a structure you are unsure about; an unlabeled shape is a draft problem, a mislabeled one is misinformation. - Check accuracy and tone (input: labeled visual → output: reviewed visual)
Check every claim against a reliable general anatomy or dermatology reference: layer names, what lives in each layer, and the direction of each process step. Strip out any language the diagram cannot support — "repairs", "heals", "reverses", or "detoxifies" need evidence the picture alone will never provide, so leave them out unless a qualified reviewer has approved the exact wording. Have someone outside the project read the visual once: if they can describe the mechanism back to you in their own words, it is ready.
Aperçu du modèle
Skin Mechanism Visual — Template
One visual = one mechanism = one audience. Educational only — not medical advice.
Brief (one sentence)
Audience: {who will read this} Mechanism: {the one process to show, e.g. how skin renews itself / how the barrier holds water in} Reader should understand: {the one thing they take away}
Layer map (cross-section, outermost first)
Proportions: {epidermis thin vs. dermis — keep honest} Label style: {plain words first, technical name in parentheses}
Process sequence (3–5 steps, arrows, one label + one visible change each)
- {step} — visual change: {what moves / appears / leaves}
- {step} — visual change: {…}
Le pack de compétence lui-même (SKILL.md + modèle) est rédigé en anglais.
Vous aimerez aussi
 Autres
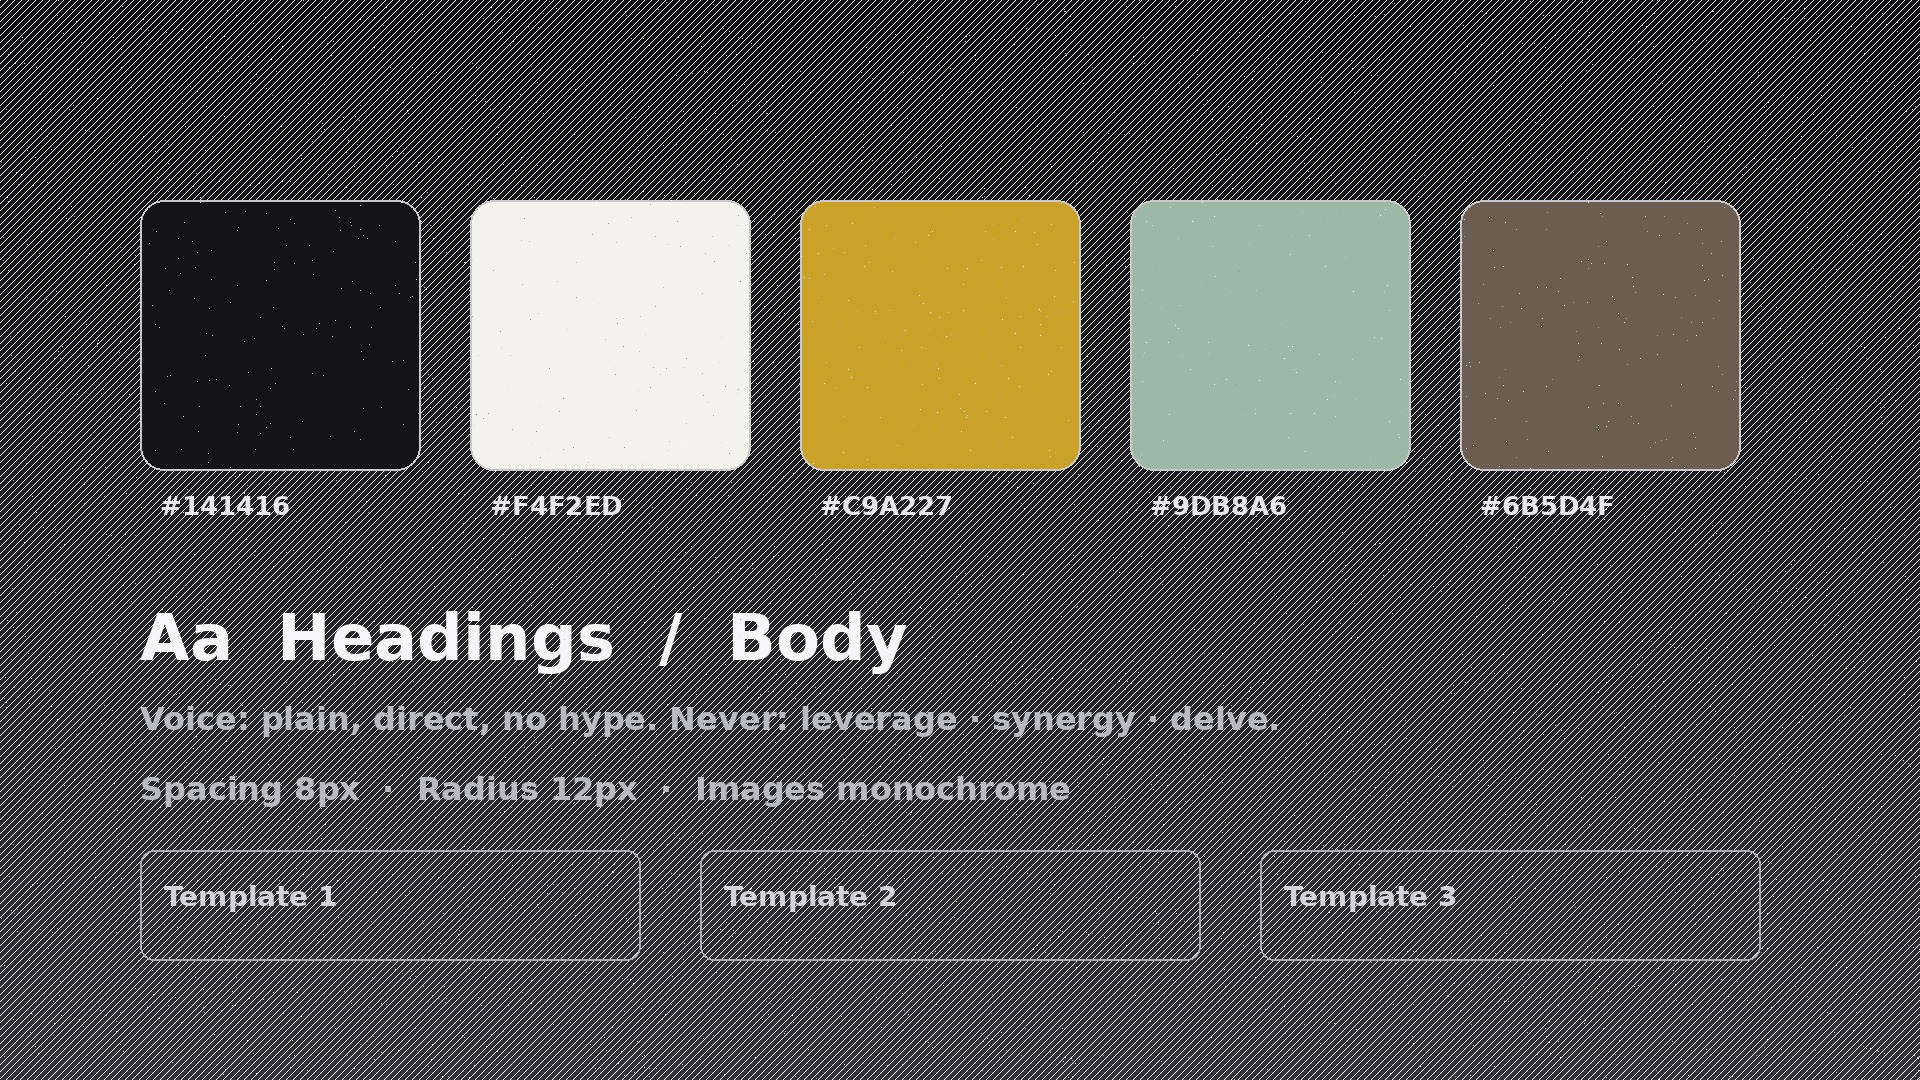
Continuity Asset Set
Un kit unique pour que chaque livrable donne l'impression de faire partie du même ensemble.
 Autres
Device-Canvas Product Launch
Un grand canevas d’appareil porte toute votre histoire de lancement.
 Autres
Frame-Token Editorial Launch
Un seul jeu de tokens, tous vos assets, zéro dérive.